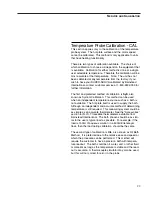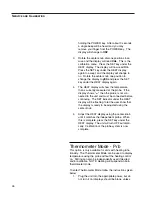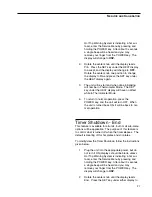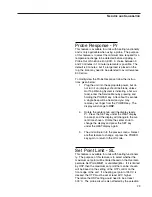
System Method of Calibration
1.
Select an independent temperature probe to be
placed in the load, along with the unit tempera-
ture probe before continuing with calibration.
Select the load to be calibrated, and place on
top of the hot plate. Place a stir bar in the mix-
ture if stirring is desired and available on the
unit being calibrated. Make sure to have probe
plugged into the unit and placed in the load.
Also ensure that the OTP adjustment on the
front edge of the unit is set high enough to allow
the load to achieve the calibration temperature.
2.
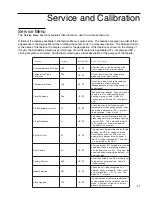
With the unit plugged into the appropriate
power, but not turned on yet (displays should be
blank, unless the Hot Top Warning System is
indicating a hot surface), enter the Service
Menu by pressing and holding the POWER key.
After about 3 seconds a single beep will be
heard and you may remove your finger from the
POWER key. The display will change to
OSP
.
3.
Rotate the center knob dial one position clock-
wise and the display will read
CAL
. This is the
calibration menu. Press the SET key under the
HEAT display. The display will now read
OiL
.
Rotate the center knob one position and the dis-
play will read
SyS
. Press the SET key under
the HEAT display again to accept, and the dis-
play will change to no. Rotate the center knob
one position to change the display to
yES
and
press the SET key under the HEAT display
again.
4.
The SET indicator under the HEAT display will
be lit, and the displays will show the tempera-
ture at which the unit was last calibrated. The
calibration temperature may be adjusted by
using the center knob. Temperature can only be
selected in whole degrees Celsius. The
adjustable range is 1 – 300°C. When the
adjustment is completed, press the SET key
under the HEAT display to approve the selec-
tion.
5.
If the unit undergoing calibration does not have
24
S
ERVICE AND
C
ALIBRATION
Summary of Contents for SUPER-NUOVA HP133420-33
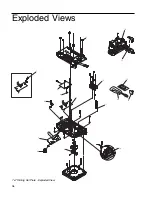
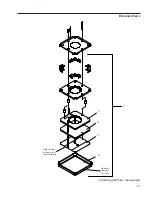
Page 38: ...38 EXPLODED VIEWS 7 x 7 Hot Plate Exploded View 5 6 7 8 10 22 12 13 16 1 2 3 4...
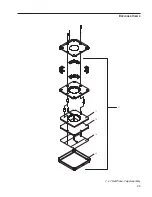
Page 39: ...39 EXPLODED VIEWS 21 17 18 19 20 7 x 7 Hot Plate Top Assembly...
Page 45: ...45...
Page 46: ...46...
Page 47: ...47...


