10. Advanced Settings
5. Select
File services
.
6. Press
ENTER
to activate.
The File services menu will be displayed. (menu 10-22)
7. Select
Load [Automatic]
or
Load [Manually]
.
8. Press
ENTER
to toggle between
Automatic
and
Manually
.
Automatic
The most corresponding file will be loaded automatically.
Manually
The operator has the possibility to load a specific file.
Advanced Settings
Gamma
Color Temperature
Input Balance
Noise Reduction
Display Settings
Installation
Service
Back
Menu 10-20
Installation
File Service
When no signal
OSD configuration
Back
Menu 10-21
File Service
Load file
Load [automatic]
Back
Menu 10-22
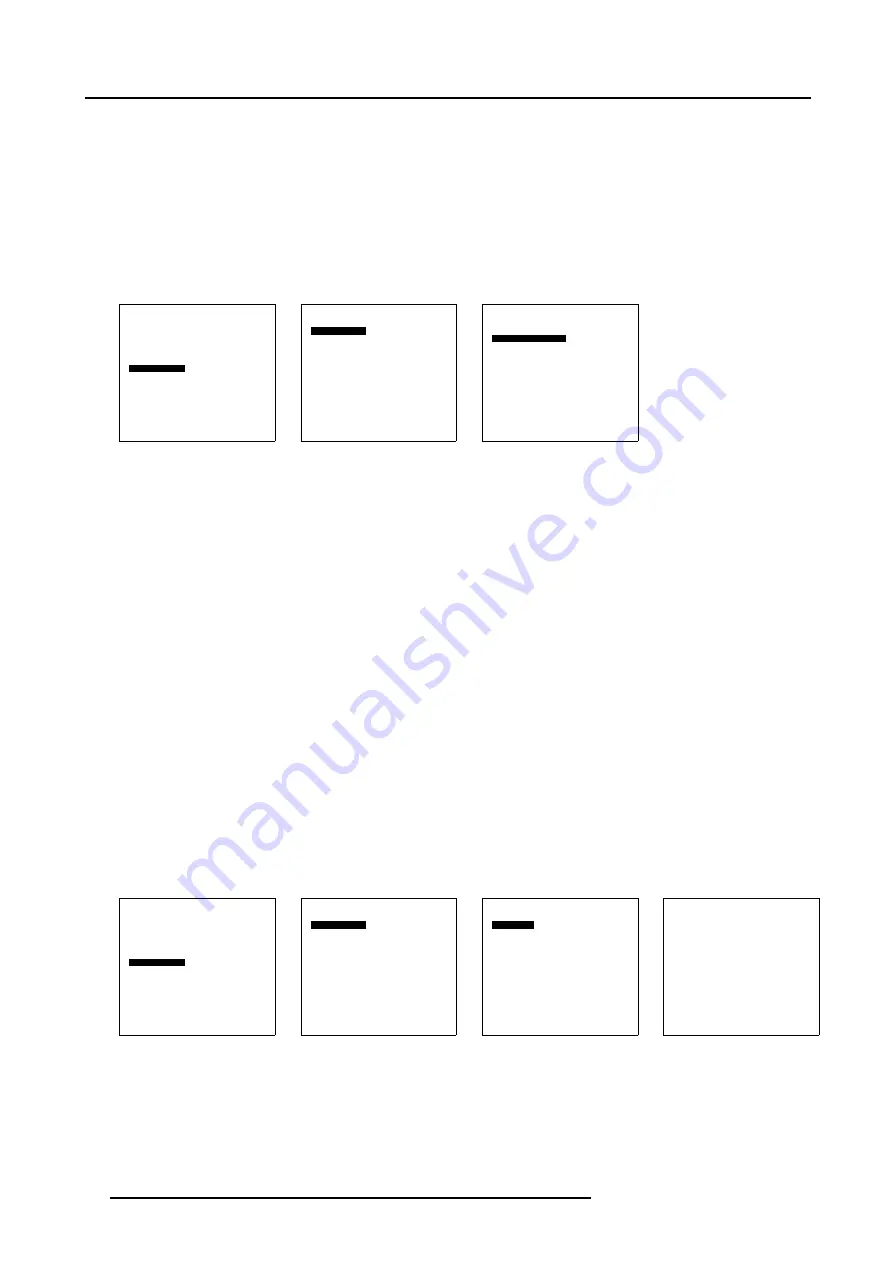
10.7.1.3 Loading a specific file
How to load a specific file
1. Select
Advanced Settings
.
2. Press
ENTER
to activate.
The
Advanced Settings
menu will be displayed. (menu 10-23)
3. Select
Installation
.
4. Press
ENTER
to activate.
The
Installation
menu will be displayed. (menu 10-24)
5. Select
File services
.
6. Press
ENTER
to activate.
The File services menu will be displayed. (menu 10-25)
7. Select
Load file
.
The load file menu will be displayed. (menu 10-26)
8. If you want to load from a list of matching file, select
List matching files
.
If you want to load from the all available files, select
List all files
.
9. Select the desired file and press
ENTER
.
While scrolling through the files, the image will be online adapted.
Advanced Settings
Gamma
Color Temperature
Input Balance
Noise Reduction
Display Settings
Installation
Service
Back
Menu 10-23
Installation
File Service
When no signal
OSD configuration
Back
Menu 10-24
File Service
Load file
Load [automatic]
Back
Menu 10-25
Load File
List matching files
List all files
Back
Menu 10-26
10.7.2 When no Signal
About When no signal
The Solaris LC40 can switch automatically to standby after a certain time when no signal is available on the inputs.
62
R5976672 SOLARIS LC40 01122003
Summary of Contents for Solaris LC40 R9004120
Page 1: ...MEDIA EVENTS SOLARIS LC40 R9004120 Events R9004125 Media OWNERS MANUAL 01122003 R5976672 00 ...
Page 4: ......
Page 10: ...1 Packaging and Dimensions 6 R5976672 SOLARIS LC40 01122003 ...
Page 26: ...3 Connections 22 R5976672 SOLARIS LC40 01122003 ...
Page 38: ...6 Input Selection 34 R5976672 SOLARIS LC40 01122003 ...
Page 50: ...7 Image Settings 46 R5976672 SOLARIS LC40 01122003 ...
Page 54: ...8 Audio Settings 50 R5976672 SOLARIS LC40 01122003 ...
Page 56: ...9 Compact PC Control 52 R5976672 SOLARIS LC40 01122003 ...
Page 77: ...B Optional Mounting Equipment A Image B 5 A B Image B 6 R5976672 SOLARIS LC40 01122003 73 ...
Page 78: ...B Optional Mounting Equipment 74 R5976672 SOLARIS LC40 01122003 ...


