


6. Adjustments with the ADVANCED menu
100
0
0
- - -
- - -
- - -
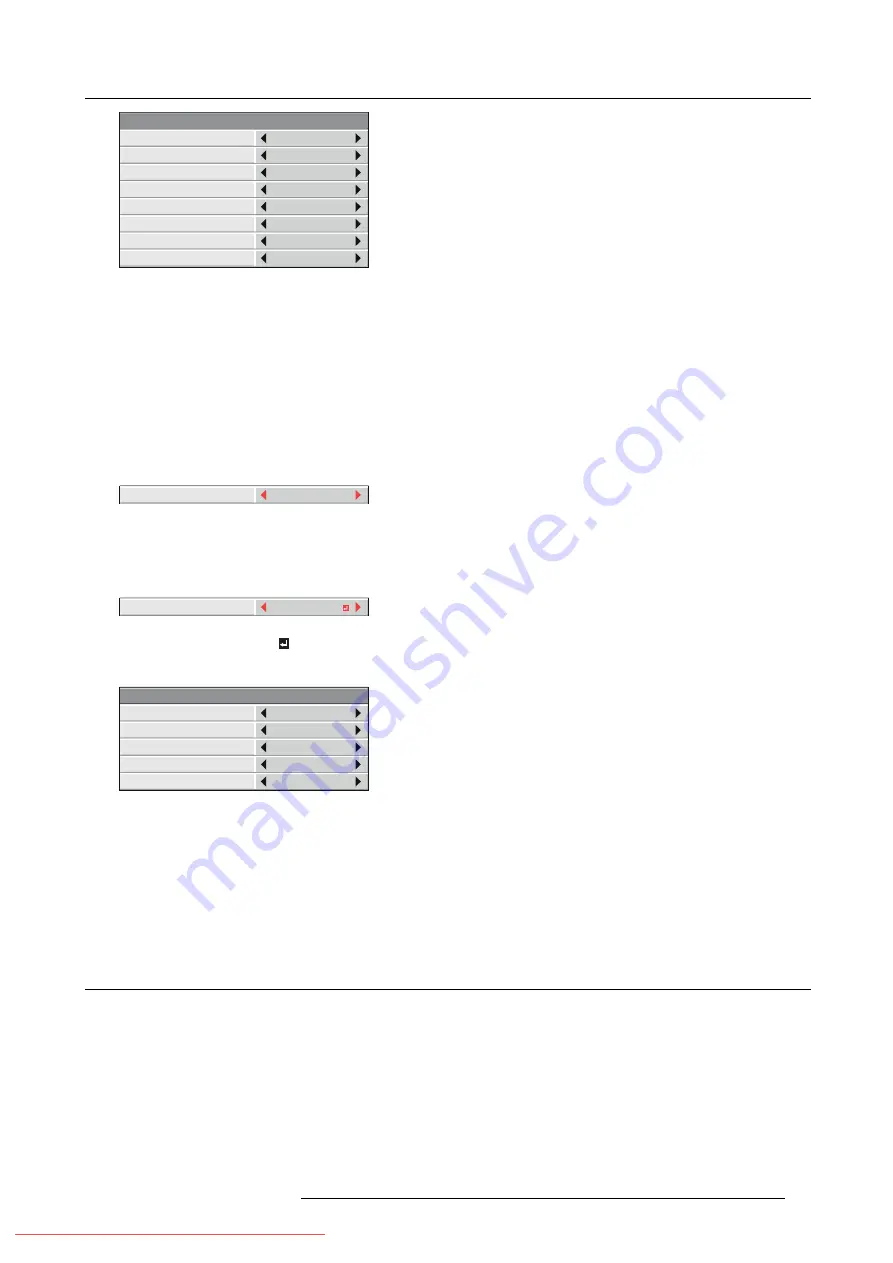
MANUAL – SETTING
COLOR
GAIN
SATURATION
HUE
RED
WHITE R
WHITE G
WHITE B
AUTO PATTERN
ON
Image 6-20
7. Select an item you want to set by pressing the
▲
or
▼
key.
Select the color you want to adjust using COLOR.
When you set AUTO PATTERN to ON, the test pattern of each color is displayed.
8. Select a setting value by pressing the
◄
or
►
key.
9. Repeat step 7 and step 8, if necessary.
Adjustment using a chroma meter
1. Display the
MULTI-SCREEN
menu.
2. Select
COLOR MATCHING
by pressing the
▲
or
▼
key.
OFF
COLOR MATCHING
Image 6-21
3. Select
MEASURE
by pressing the
◄
or
►
key.
Set now the measured brightness and the chromaticity coordinates
4. Select
MEASURE
by pressing the
▲
or
▼
key.
MEASURED DATA
MEASURE
Image 6-22
5. Select
MEASURED DATA
by pressing the
◄
or
►
key.
6. Press the
ENTER
key.
*
.
***
*
.
***
*
.
***
MEASURE – TARGET DATA
COLOR
GAIN
x
y
RED
AUTO PATTERN
ON
Image 6-23
7. Select an item you want to set by pressing the
▲
or
▼
key.
→
Select the color you want to adjust using COLOR.
→
When you set AUTO PATTERN to ON, the test pattern of each color is displayed.
8. Select a setting value by pressing the
◄
or
►
key.
9. Repeat step 7 and step 8, if necessary.
6.18 Resetting the settings
About reset
You can reset the SETTING, MANUAL, and MEASURE settings to the factory defaults.
How to reset
1. Display the
MULTI-SCREEN
menu.
2. Select
SETTING
,
MANUAL
or
MEASURE
by pressing the
▲
or
▼
key.
3. Select
RESET
by pressing the
◄
or
►
key.
4. Press the
ENTER
key.
R5905597 PHXX SERIES 20/05/2014
67


