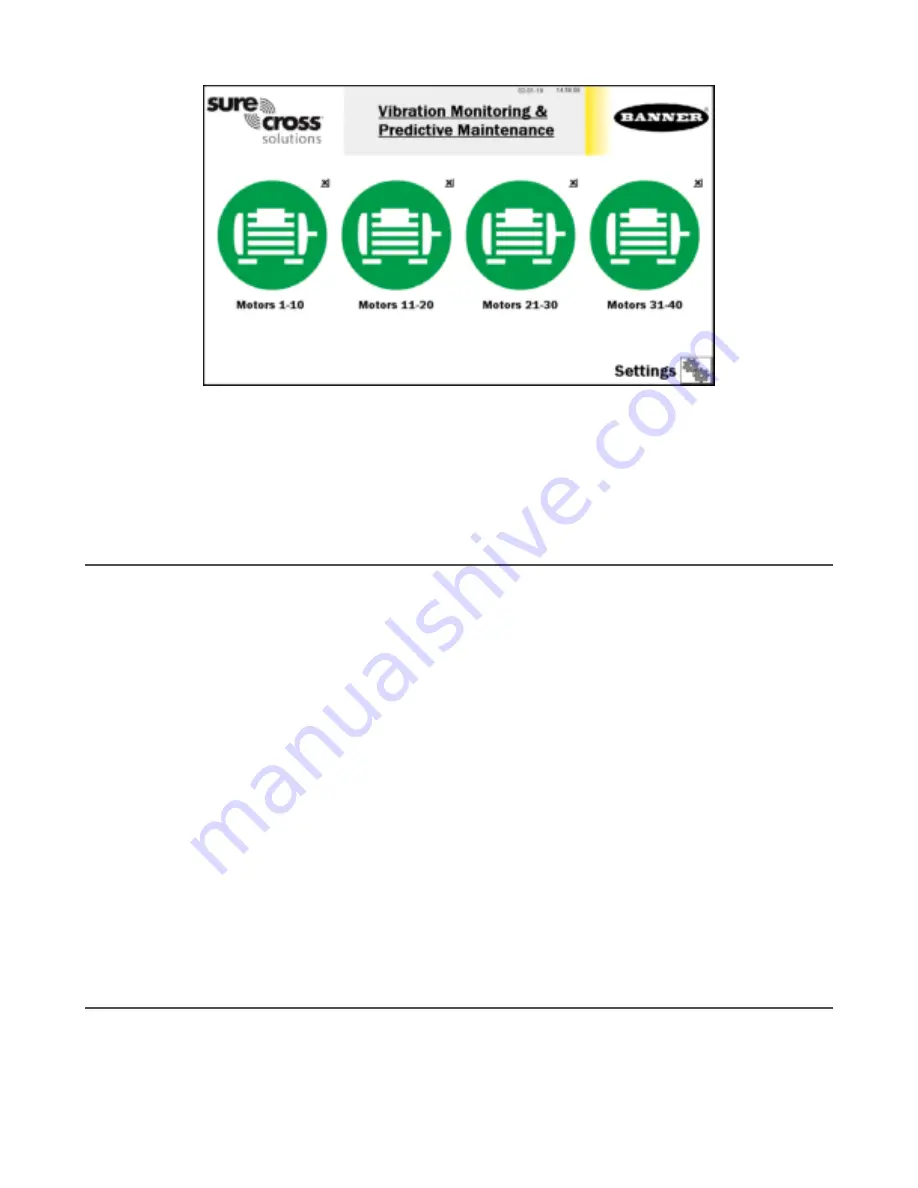
Press
X
(in the upper right hand corner of each icon) to hide that group of assets and prevent Node status alerts for any Nodes
within that group. Press the icon that appears after pressing
X
to unhide that group for future expansion.
In this MultiHop version, all but motor #1 start as hidden for program efficiency. Only unhide sensors that have been added and are
in the network.
Press
Settings
to open access to radio binding, radio site survey, asset baselining, log file downloads, and other settings (see
Settings Screen
on page 5).
Touch each asset group label to re-label the icon.
Assign Modbus IDs to the Sensors
To begin configuring the sensors, each sensor must have a Modbus Sensor ID assigned to it. Modbus Sensor IDs must be between
11 and 50.
Each Modbus Sensor ID corresponds to individual sensor icon on the HMI, with ID 11 being Motor 1 and ID 50 being Motor 40.
Sensor IDs don’t have to be assigned in order and sensor IDs can be skipped if desired.
To assign Modbus Sensor IDs, use either the menu system or the configuration software. To use the radio’s menu system, follow
these steps. For VT1 sensors, use your M-H10 radio and for VT2 sensors, use one of many radio options, such as M-H, M-H2, etc.
1. Apply power to the radio and connect one sensor at a time.
2. Push button 1 until
*DVCFG
appears, then push button 2.
3. Push button 1 until
-S ADR
appears and push button 2.
4. Push button 1 and wait for the radio to read the current sensor sensor ID.
A three-digit value appears with the current sensor ID with a blinking cursor.
5. Assign a unique Modbus Sensor ID value from 11 to 50. Use the left button to cycle the value from 0 to 9 and the right
button to accept the value and move the cursor to the next digit right.
6. Push and hold button 2.
The screen says SAVING.
7. To repeat for more sensors, unplug the sensor and plug in the next sensor and repeat steps 3 through 6 with a new device
ID.
8. After you have finished, double-click button 2 to return to the main menu.
9. Connect all sensors to be attached to that radio.
To assign the Modbus Sensor IDs using the configuration software, use the
Sensor Configuration Software
with a computer and
either the
BWA-USB1WIRE-001
cable accessory for the VT1 sensor or the
BWA-UCT-900
cable accessory for the VT2 sensor to
connect the sensor to the computer.
Follow the instructions in the
Sensor Configuration Software Instruction Manual
(p/n 170002) to assign the sensor's Modbus ID to a
value between 11 and 50.
Site Survey and Binding Screen
Banner Wireless radios, such as the battery-powered H10 radio paired with VT1 Vibration and Temperature Sensors or any Banner
MultiHop Radio with RS485 connected to VT2 Vibration and Temperature Sensors, must be bound to the DXM Wireless Controller
inside the Solutions Kit to begin communicating.
Following the instructions below, the radios are assigned a Modbus ID and begin communicating with the DXM wirelessly. Radios
and sensors are purchased separately and after they are combined, must be bound individually. A new radio and sensor can be
added to the network at any time by using the binding procedure.
Radios must be bound to IDs 51 through 110.
Vibration Monitoring and Predictive Maintenance Solutions Kit Quick Start Guide (MultiHop)
2
www.bannerengineering.com - Tel: + 1 888 373 6767
P/N 214301 Rev. F


