


18
Operation and Printing
3.
Once installed, open the program and add the PrintMaker printer by selecting the
menu Connect Machine
• Choose machine type
FlashForge Adventurer 3
4.
Change the connection mode to Wi-Fi and input your printers IP address (port). This can be
found by going to main menu on your printer, select
Tools About
, toggle to the second
page to find IP-address. Enter this information into the Flash Print PC software and select
connect
5.
Now that the printer is connected to the FlashPrint PC software, load your file by clicking on
the load button at the top of the screen or by going to
File menu Load File
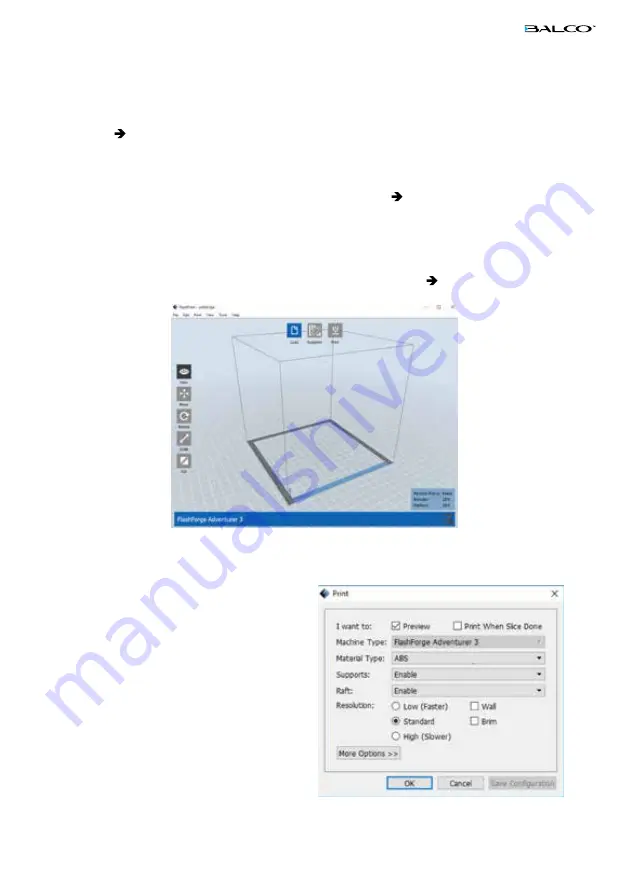
6.
Once your file is loaded you can make adjustments to the size of the print, placement,
supports and various other settings. Once
you are happy with the file, select the print
button at the top of the screen
7.
A window will appear requesting further
information. Adjust these settings
accordingly and press ok. Your file will then
be sliced to the correct file type
8.
Once the file has been sliced correctly,
your printer will start to warm up and
prepare for printing. The PC software
screen will also change to show you the
progress of printing
Summary of Contents for PrintMaker
Page 1: ...INSTRUCTION MANUAL VERSION 1 0...
Page 2: ...2...
Page 16: ...16 4 4 About Shows the basic information about the printer Additional Settings...
Page 23: ...23...
Page 24: ......


