7
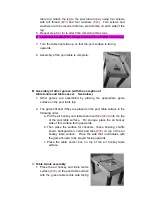
red figurine and another goalie
rod stopper onto the rod.
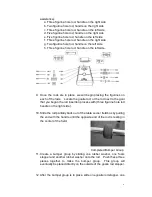
13. Create a second bumper group
by sliding one rubber washer, one
foam bumper and another rubber
washer onto the rod and pushing
these three pieces together.
Goalie Rod Stopper and
Bumper Group
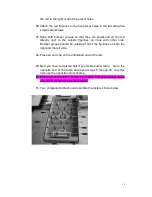
14. Once these pieces are placed on the rod, you may again slide the
rod through the remaining hole in the side of the table soccer field
box.
15. Slide the first bumper group far to the right, so that it is positioned on
the rod, to the right of all of the precut holes.
16. In the furthest hole to your right, attach the goalie rod stopper by
using one of the threaded screws.
17. Attach the red figurine to the center hole using a small metal screw.
18. Attach the remaining goalie rod stopper in the third hole using
another of the threaded screws.
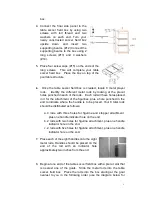
19. Slide both bumper groups so that they are
positioned on the rod directly next to the
goalie rod stoppers, on the outside of each
stopper.
( Bumper Group Placement see photo to
the right)
20. Place an end cap on the unfinished end of the goalie rod.
21. Locate the next rod, (Two figurine hole rod, handle on the right side.)
Slide this rod partially back out of the table soccer field box by
pulling the handle until the opposite end is resting in the center of the
field.
22. Create a bumper group by sliding one rubber washer, one foam


