


6
PROGRAMMING THE AX-ADDCAM
For models with a factory backup camera:
• Turn the key (or push-to-start button) to the ignition position and wait until the L.E.D. inside
the AX-ADDCAM interface comes on.
•
For Mazda vehicles only:
After the vehicle is in the ignition position, and the Mazda logo
is present (dim), put the vehicle in reverse to activate the camera. Wait until ‘Please Check
Surroundings For Safety” is shown on the radio display, then put the vehicle in the park
position. This process should take within 30 seconds.
Note:
If the L.E.D. doesn’t come on within a few seconds, yet blinks instead, turn the key to the off
position, disconnect the interface, check all connections, reconnect the interface, and then try again.
• Test all functions of the installation for proper operation, before reassembling the dash.
For models without a factory backup camera:
Chrysler, Dodge, Jeep
• These vehicles will require two 5-minute key cycles for the radio to accept the AX-ADDCAM
interface. Programming will be complete after the second 5-minute key cycle.
• With all the doors of the vehicle shut, wait until the domelight goes out, then cycle the key
(or push-to-start button) to the ignition position for 30-seconds.
• Cycle the key (or push-to-start button) off and wait until the domelight goes out, then
wait 5-minutes.
• Cycle the key (or push-to-start button) to the ignition position for 30-seconds.
• Cycle the key (or push-to-start button) off and wait until the domelight goes out, then
wait 5-minutes.
• Turn the key (or push-to-start button) to the ignition position and test all functions of the
installation for proper operation, before reassembling the dash.
Ford
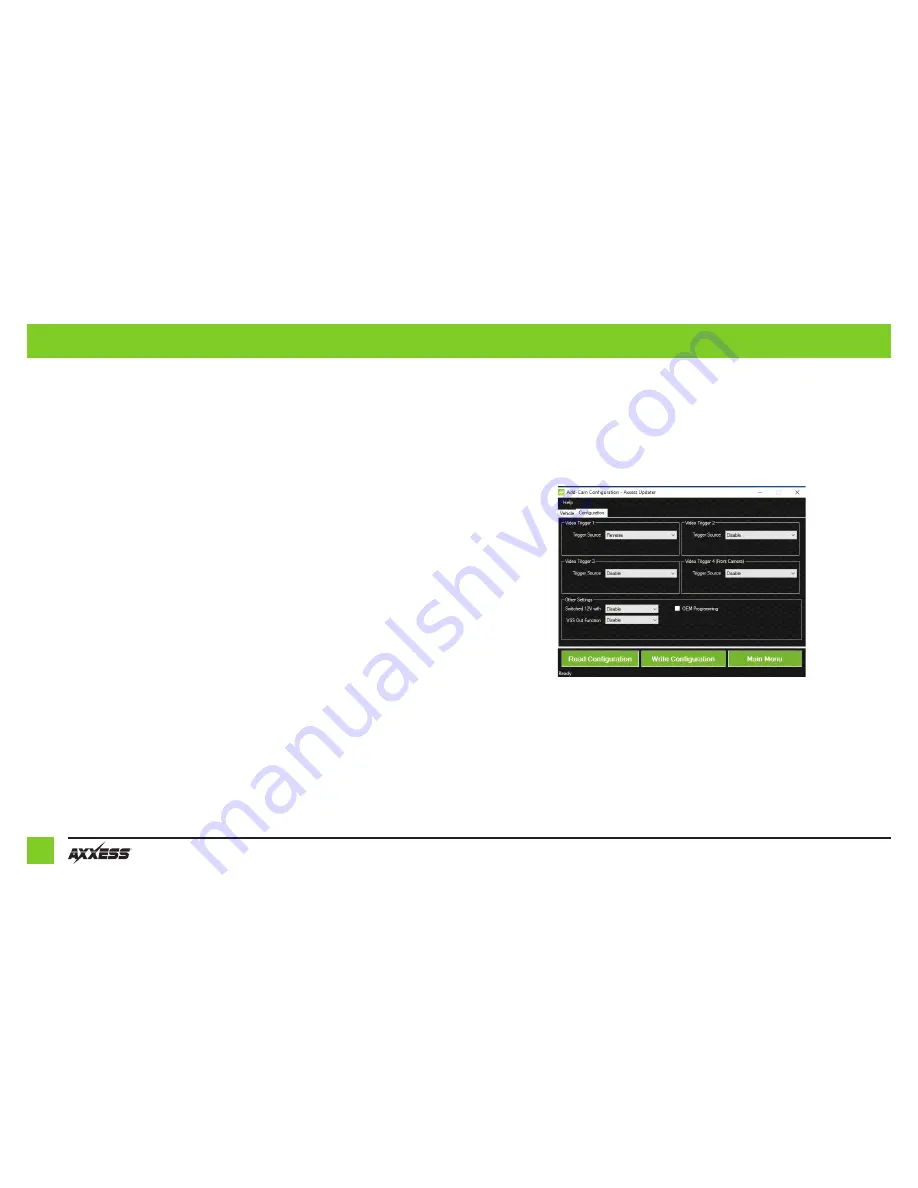
• Configure the AX-ADDCAM in the Axxess Updater first. In the Axxess Updater there will be an
option box labeled “OEM Programming” under the “Configuration” tab after the vehicle type
has been entered. Check this box to allow the AX-ADDCAM configure the camera settings for
the vehicle. (Figure A)
•
Turn the key (or push-to-start button) to the ignition position and wait until the L.E.D. inside the AX-ADDCAM
interface comes on. The radio will reboot and may show a diagnostic screen during this process
.
Note:
If the L.E.D. in the interface doesn’t come on within a few seconds, yet blinks instead, turn the key to
the off position, disconnect the interface, check all connections, reconnect the interface, and then try again
.
Note:
Ensure that the Video 1 input in the interface is set to “reverse camera”.
• Test all functions of the installation for proper operation, before reassembling the dash.
(Figure A)


