-35-
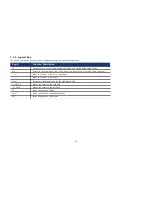
3-1-2. List Box
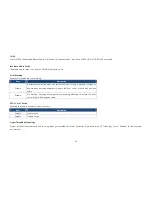
This box appears only in the opening screen. The box displays an initial list of configurable items in the menu you selected.
3-1-3. Sub-menu
Note that a right pointer symbol (▶) appears to the left of certain fields. This pointer indicates that you can display a sub-menu from this field. A sub-menu
contains additional options for a field parameter. To display a sub-menu, move the highlight to the field and press <Enter>.
The sub-menu appears. Use the legend keys to enter values and move from field to field within a sub-menu as you would within a menu.
Use the <Esc> key to return to the main menu.
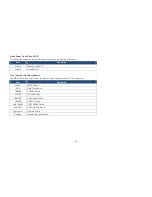
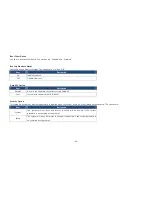
Take some time to familiarize yourself with the legend keys and their corresponding functions.
Practice navigating through the various menus and submenus. If you accidentally make unwanted changes to any of the fields, press <F6> to load the fail-
safe default values. While moving around through the Setup program, note that explanations appear in the Item Specific Help window located to the right of
each menu. This window displays the help text for the currently highlighted field.
Summary of Contents for ONe
Page 1: ...MANUALE V1 2B ...
Page 9: ... 9 Package Contents miniO main unit User manual Power cable Driver CD Roll paper ...
Page 10: ... 10 Optional Customer Display CDP Normal CDP Pole type CDP ...
Page 11: ... 11 Optional PLU Keyboard PLU Keyboard 55Key Image of Main Unit with PLU Keyboard ...
Page 12: ... 12 Optional Mini Keyboard Mini Keyboard Image of Main Unit with Mini Keyboard ...
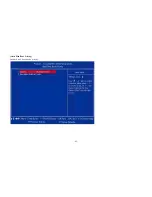
Page 41: ... 41 Hard Disk Boot Priority Set hard disk boot device priority ...
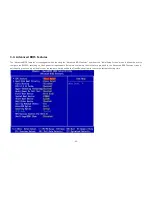
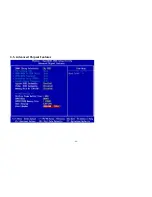
Page 46: ... 46 3 5 Advanced Chipset Features ...
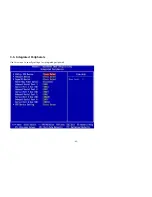
Page 49: ... 49 3 6 Integrated Peripherals Use this menu to specify settings for integrated peripherals ...
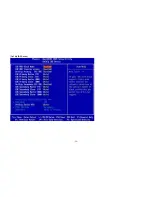
Page 50: ... 50 OnChip IDE Device ...
Page 61: ... 61 3 8 PnP PCI Configuration ...
Page 76: ... 76 Chapter 5 Motherboard 5 1 Motherboard Layout ...
Page 77: ... 77 ...


