


Installation Note
AVTECH Software, Inc.
Temperature & Environment Monitoring...
Made Easy!
AVTECH.com
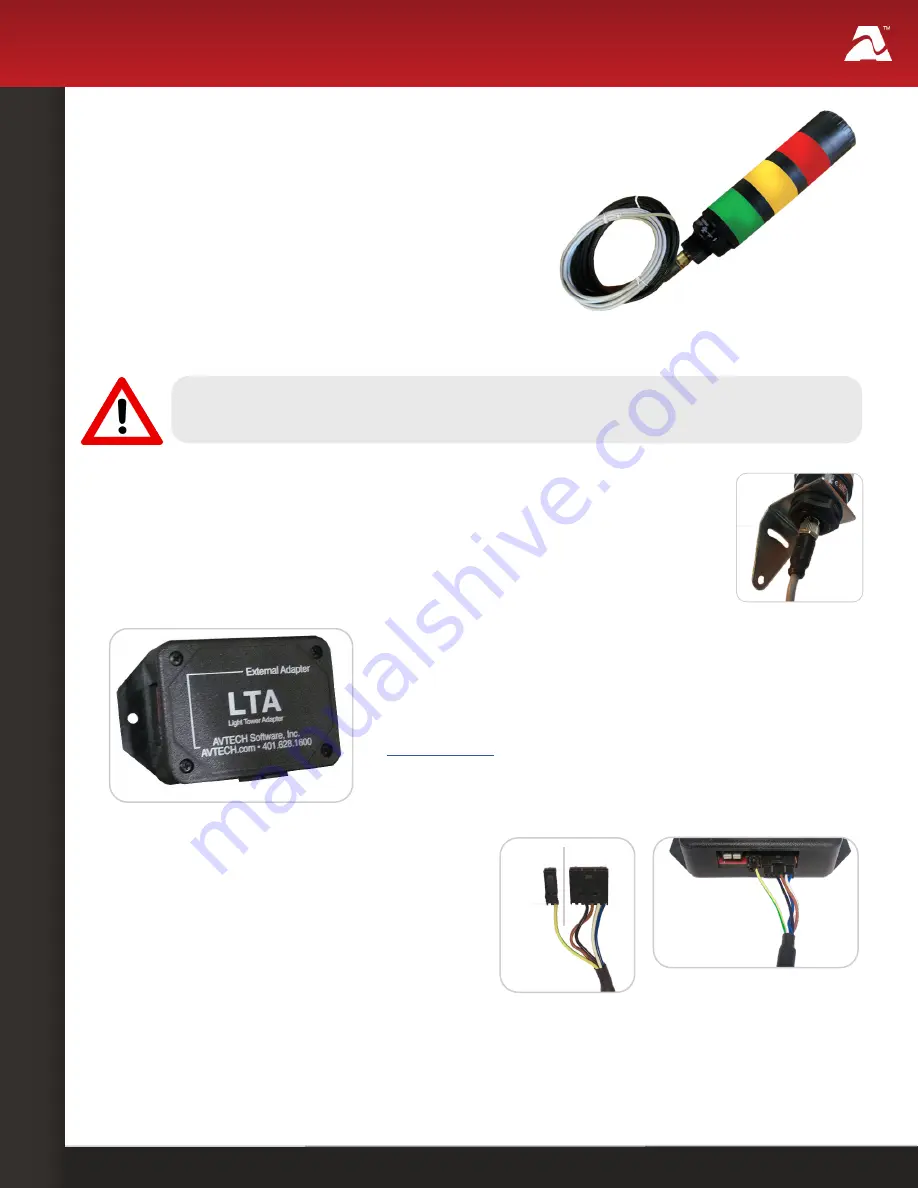
Light Tower w/Audio
AVTECH
AVTECH’s Light Tower w/Audio
enhances the alerting
capabilities of Room Alert with visual and audible alarms.
The Light Tower w/Audio has three independently-
selectable LEDs (red, yellow and green) and one audio
signal adjustable up to 92 dB at 3.3' (1 m).
Light Tower w/Audio Package Contents
• One (1) Light Tower w/Audio
• One (1) mounting bracket
• Three (3) mounting screws
Install Your Light Tower w/Audio
Do not use this sensor in hazardous (classified) locations or life safety applications.
Step 1: Mount your Light Tower.
Mount your Light Tower w/Audio with the attached right-angle mounting
bracket and included mounting screws.
Step 2: Connect your Light Tower to AVTECH’s Light Tower &
Relay Adapter.
To use your Light Tower with Room Alert 32S and 12S or
Room Alert 32E, 12E and 3E, you need AVTECH’s
Light
Tower & Relay Adapter
(LT-32-ADP), shown here.
For more information about AVTECH’s Light Tower &
Relay Adapter, please see its Installation Note, visit
or contact your Product Specialist.
To use your Light Tower w/Audio with the Room Alert 4E
model, connect it directly to the Room Alert 4E’s custom
port.
Attach both connectors on the Light Tower’s
custom cable to the custom port on the Light
Tower & Relay Adapter.
The larger connector is for the Light Tower’s
LEDs, while the smaller one is for its audio,
as shown here.
Audio LEDs


