Avtech AVC796 Quick Start Manual Download Page 6


-6- 

Note: 

There must be at least 8192 images of recorded data for playback to work properly. If not, the 

device will stop playback. For example, if the IPS is set to 30, the recording time should be at least 
273 seconds (8192 images / 30 IPS) for the playback to work properly. 

 
Note: 

The playback at the local site might not be so smooth if there’s any remote surveillance 

simultaneously going on.


1)  Fast Forward / Fast Rewind 

You can increase the speed for fast forward and rewind on this device. In the playback mode: 
Press “FF” once to get 4X speed forward and press twice to get 8X speed, etc. And the maximum speed is 32X. 
Press “REW” once to get 4X speed rewind and press twice to get 8X speed, etc. And the maximum speed is 32X. 

Note:

 During playback, the image size of the recording (FRAME, FIELD or CIF) will be shown on the 

screen.


2)  Pause / Image Jog 

Press “

PAUSE

” to pause the playback. 

In the Pause mode: 
Press “FF” once to get one frame forward. 
Press “REW” once to get one frame rewind. 

3) Stop 

Press “STOP” under playback mode, and the screen will return to live monitoring mode. 

4) Slow 

Playback 

Press “SLOW” to get 1/4X speed playback and press twice to get 1/8X speed playback. 

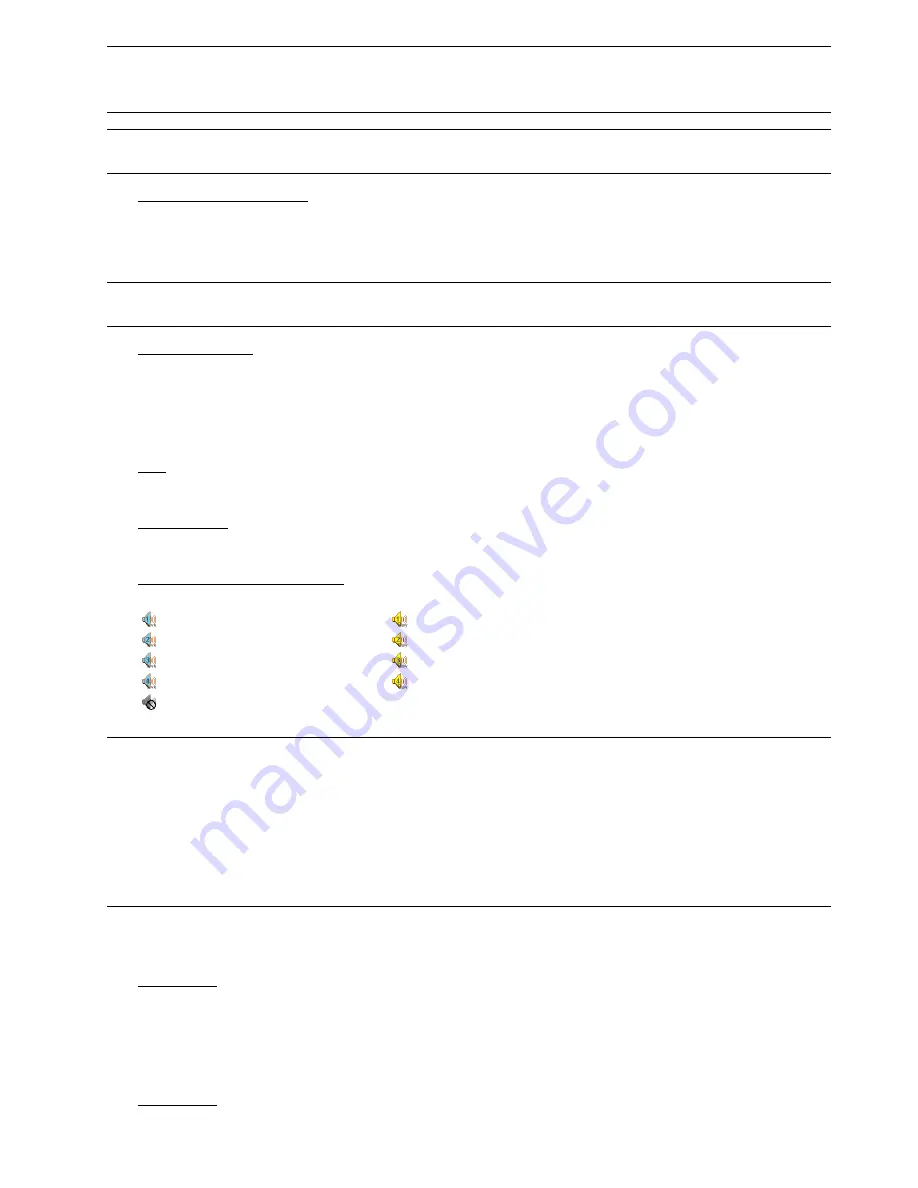
5)  Audio Playback (SLOW + ZOOM) 

Use “SLOW” + “ZOOM” to select the live or playback sound of the audio channels. 


Live audio of the 1st audio channel 


Playback audio of the 1st audio channel


Live audio of the 2nd audio channel


Playback audio of the 2nd audio channel


Live audio of the 3rd audio channel


Playback audio of the 3rd audio channel


Live audio of the 4th audio channel


Playback audio of the 4th audio channel


The audio channel is not selected.


Note:

 To make a video backup with audio, make sure the camera which supports the audio function is 

connected to the correct video channel (INPUT) which supports audio recording. Depending on 
the model you have, up to four channels for audio recording are supported.   
Take Model 1 as an example, 
Audio IN 1 audio data will be recorded with CH1 video. 
Audio IN 2 audio data will be recorded with CH2 video. 
Audio IN 3 audio data will be recorded with CH3 video. 
Audio IN 4 audio data will be recorded with CH4 video.


2.4 Key Lock and Unlock 

1)  Key Lock On 

Set the time-out after which the key lock function is activated (NEVER / 10 SEC / 30 SEC / 60 SEC). Please refer 
to “7.2 System Info” in your user manual. 

OR 

Press “F2” on the IR remote controller to immediately lock the keys. 

2)  Key Lock Off 

Enter the DVR password to exit “Key Lock” mode. 

Summary of Contents for AVC796

Page 1: ...7_796 D _795_792_CD541_Quick_V1 2 H 264 Network DVR Quick Start Please read instructions thoroughly before operation and retain it for future reference For the actual display operation please refer to your DVR in hand ...

Page 2: ...Press to show the 4 channel display mode 7 SEQ Press SEQ to activate the call monitor function and press SEQ again to escape the call monitor mode 8 POWER Press to turn on off the DVR Under the recording mode please stop recording before turning off the DVR 9 CH1 16 CH1 8 CH1 4 Press the channel number buttons to select the channel to display 10 PLAY Press to playback the recorded data 11 PAUSE ST...

Page 3: ... PTZ control mode In the PTZ control mode Zoom in Press SEQ Zoom out Press Adjust PTZ angle Press 14 LIST Event List Search To quick search the recorded files by event press to show all types of the event lists 15 SNAP Press SNAP to take a snapshot Note Before taking a snapshot insert a compatible USB flash drive into the DVR USB port for snapshot saving For the compatible USB flash drive list ple...

Page 4: ...eo channel INPUT which supports audio recording Depending on the model you have up to four channels for audio recording are supported Take Model 1 as an example Audio IN 1 audio data will be recorded with CH1 video Audio IN 2 audio data will be recorded with CH2 video Audio IN 3 audio data will be recorded with CH3 video Audio IN 4 audio data will be recorded with CH4 video 6 Audio OUT Connect to ...

Page 5: ...GB data from the oldest for continuous recording without notice 1 Continuous Recording Icon When the DVR is properly connected with camera you can see the icon recording on the screen 2 Event Recording Icon When the motion alarm detection is activated once motion or external alarm happens you will see the icon motion or external alarm on the screen 3 Timer Recording Icon When the timer record is a...

Page 6: ...ack and press twice to get 1 8X speed playback 5 Audio Playback SLOW ZOOM Use SLOW ZOOM to select the live or playback sound of the audio channels Live audio of the 1st audio channel Playback audio of the 1st audio channel Live audio of the 2nd audio channel Playback audio of the 2nd audio channel Live audio of the 3rd audio channel Playback audio of the 3rd audio channel Live audio of the 4th aud...

Page 7: ...SB flash drive Step 4 Press MENU and move to ADVANCE l SYSTEM INFO Select UPGRADE l START and press ENTER Step 5 Select YES and press ENTER to confirm the upgrade 2 6 Search 1 Search by List Press LIST on the DVR control panel to show the list for all types of the recorded files Choose the item you want to view and press ENTER to start playback 2 Search by Time In the EVENT INFO menu list move to ...

Reviews: