197Z
AVI201, 202, 212 manual_V0.81
AVI201 / 202 / 212
Network Cameras
User’s Manual
Please read instructions thoroughly before operation and retain it for future reference.
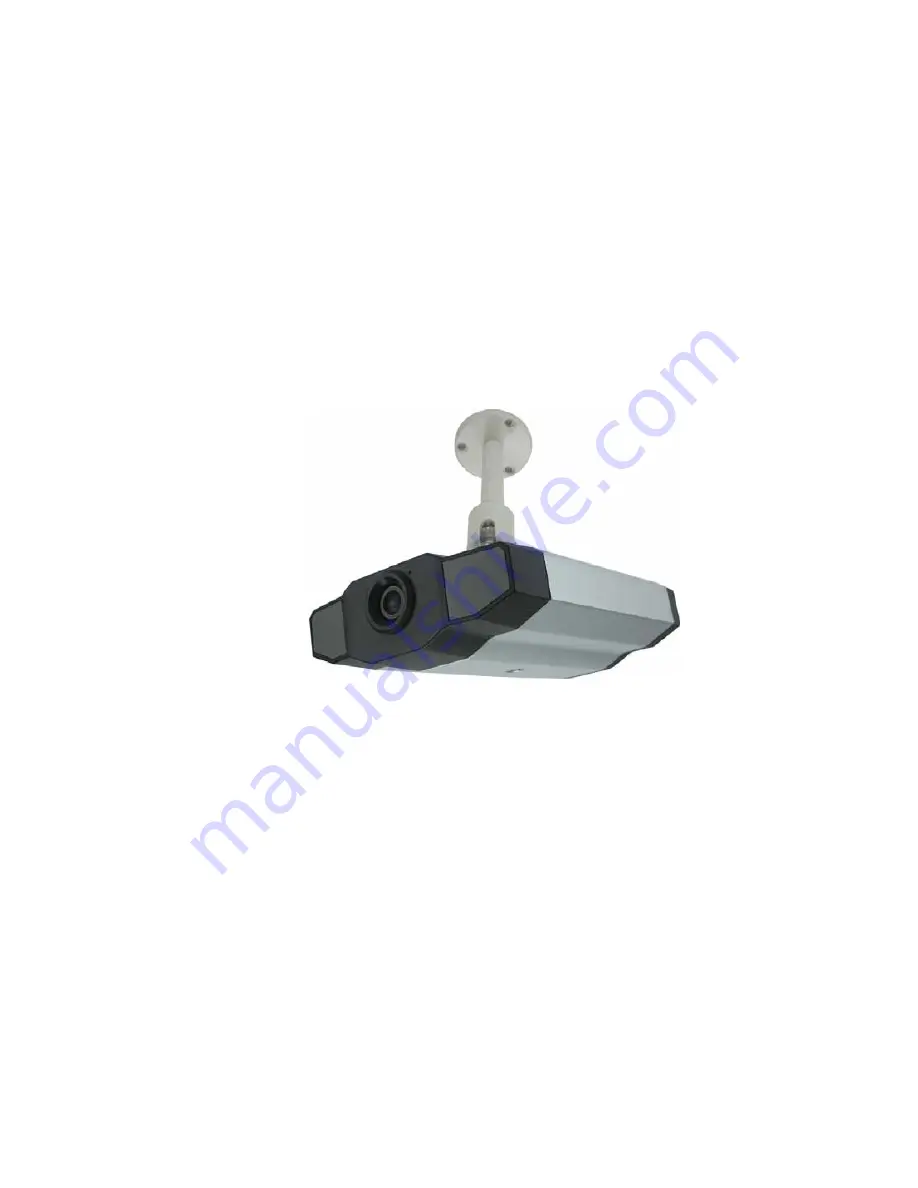
The image shown above may differ from the actual product appearance.
Page 1: ...12 manual_V0 81 AVI201 202 212 Network Cameras User s Manual Please read instructions thoroughly before operation and retain it for future reference The image shown above may differ from the actual pr...
Page 2: ...mark symbolizes that within the European Union the product must be collected separately at the product end of life This applies to your product and any peripherals marked with this symbol Do not disp...
Page 3: ...Snapshot 11 4 6 Information 11 5 VIDEO VIEWER MISCELLANEOUS CONTROL PANEL 12 5 1 Color Setting 13 5 2 Backup For DVR only 13 5 3 Record Setting 14 5 4 Server Setting 16 General 16 Log 17 Account 17 O...
Page 4: ...easy from anywhere at anytime 1 2 Features Low latency video streaming for sharp and clear images Hybrid digital analog video output Motion detection and alarm notification functions High quality ima...
Page 5: ...Angle 80 55 6 80 Shutter Speed 1 60 1 50 to 1 100 000 sec IR LED NO YES Min Illumination 1 Lux F2 0 1 Lux F2 0 0 Lux 10m IR ON Video Output 1 0 Vp p 75 BLC AUTO White Balance ATW Others Remote Contro...
Page 6: ...a is power supplied this indicator will be on as red Audio Output AVI202 AVI212 only Support the connection to an audio device such as a speaker for voice transmission of the remote side Audio Input A...
Page 7: ...e connection please refer to the section 2 1 Rear Panel at page 3 Tool needed Power drill x 1 not supplied within the sales package 1 Prepare all the parts needed for camera installation Find the netw...
Page 8: ...o secure as shown in Figure 4 Desktop With the upper side of the camera facing up align the mounting screw hole on the underside with the screw thread of the joint lock and rotate the camera to secure...
Page 9: ...t page 9 c Select the IP address you just added into the address book and click Edit to edit the settings d Double click the IP address in the address book to log in Note For detailed network settings...
Page 10: ...Scale Click to view the images in the 1 cut 4 cut 9 cut and 16 cut mode Full Screen Click to view the images in the full screen mode To exit the full screen mode press Esc key on the keyboard of the...
Page 11: ...n also create new IP address information or modify or remove the current IP address information NO Button Function Description 1 Add Click to directly add one IP address for login Key in all the netwo...
Page 12: ...sign the record location Click Miscellaneous Control Record Setting to go to the Record Setting page Check the record type Manual and assign the location to save the recordings by double clicking the...
Page 13: ...out the logs you want to speed up the search time For details please see 5 6 Status List at page 27 To immediately play a recording file select a log from the list and click Play button or double cli...
Page 14: ...of the image display view The snapshot will be saved in the path you specified in Record Setting For snapshot path setting please refer to 5 3 Record Setting at page 14 4 6 Information Click this but...
Page 15: ...e slider 2 Color Setting Click this button to adjust the brightness contrast hue saturation for the selected network camera For details please see 5 1 Color Setting at page 13 3 Backup For DVR only Th...
Page 16: ...otely backup the video data saved in the DVR Click Miscellaneous Control Backup to go into the Backup page and you can select a specific time range or event to make a video backup of the recorded file...
Page 17: ...book To simply backup images without previewing deselect the checkbox Display You will only see a message box indicating the total time needed the current status and the saving location 7 Download Can...
Page 18: ...ting 3 different recording types When you select the time box es you may see the color orange pink or blue orange the 1st line schedule record pink the 2nd line alarm record blue the 3rd line motion r...
Page 19: ...4 Server Setting Click Miscellaneous Control Server Setting to go into the Server Setting page and you can view set or modify all the network camera setting All the changes you make here will be appli...
Page 20: ...modify the existing account setting To add an account click New and set the User Name Password User Level and Life Time Then click Apply to save your setting and create a new account To modify an exis...
Page 21: ...X Tools X X X Status List Record Snapshot Information Life Time Select how long this account is allowed to stay online 1 MIN 5 MIN 10 MIN 1 HOUR 1 DAY INFINITE Max User s Allow maximum 10 online user...
Page 22: ...ing happened Video Type Display the video type of the notification files The video type will vary according to the setting of Stream Format in the Address Book page Total Set the record time of the no...
Page 23: ...ervice Choose the DHCP IP type and select Network DDNS to set DDNS settings For detailed DDNS settings please refer to DDNS section DDNS You need to apply a DDNS account before setting PPPOE or DHCP c...
Page 24: ...cified E mail address for enabling your account You must complete the procedure according to the instructions in the mail That is to must visit the confirmation address within 48 hours of the time tha...
Page 25: ...th your account information and click My Service Click Add Host Services Click Add Dynamic DNS Host Fill in and choose the desired host name The host name is created You will be connected to the corre...
Page 26: ...djust the local area time of the system automatically Server Name Users can simply use the default SNTP server For example time stdtime gov tw Sync Server Time The network camera will synchronize the...
Page 27: ...assword Please enter the user name and password Email Address Add the E mail address s of the assigned recipient s Note Users can assign up to 4 mail accounts for E mail notification Video Click Misce...
Page 28: ...el and click Edit to enter the setting page of the motion detection area Function Description Motion Detection Setting Area Set the motion detection area by selecting the area grids with your mouse Pi...
Page 29: ...by one Update Firmware To start upgrading the firmware of the network camera click Update Firmware to start the upgrade process After upgraded you will see a message shown on the screen Update Firmwar...
Page 30: ...he log list Delete Delete All Click Delete to remove the selected log s or click Delete All to clear the current log list Tip To select more logs all at once press and hold the Ctrl key on your keyboa...
Page 31: ...r the current log list Tip To select more logs all at once press and hold the Ctrl key on your keyboard and click to select the logs you want to remove Play Click to play the selected record log The p...
Page 32: ...AP MISCELLANEOUS CONTROL PANEL 29 Login Logout Event List Select All to show all event logs Login Logout or Condition to search for the specific event log s by date All Condition...
Page 33: ...leted when somebody accidentally or intentionally chooses it and click Delete or Delete All Close Click Close to quit this window Condition Button Function Description Date Selection From To Choose th...
Page 34: ...playback download information such as the file name record date and time and the speed etc 2 Playback Progress Bar This area shows the playback progress and the progress percentage 3 Playback Operatio...
Page 35: ...2 Toolbar Display on the IE Web Browser NO Function Description 1 Main ActiveX Quick Time According to the type of web browser on your operating system choose the ActiveX or QuickTime controls TCP UD...
Page 36: ...lor Setting section of the Video Viewer at page 13 5 General Language Support English Chinese language for the web interface Mac Address Display the MAC address of the network camera For details pleas...
Page 37: ...s completed execute the Q Qu ui ic ck kT Ti im me eI In ns st ta al ll le er r e ex xe e file and follow the on screen instructions to finish the installation procedure Step 2 Open your QuickTime play...
Page 38: ...APPENDIX 1 DEFAULT VALUE 35 APPENDIX 1 DEFAULT VALUE Default Value Items Default Value Default Network Settings User Name admin Password admin Port 80 IP Address 192 168 1 1...