Chapter 1: Installation
9
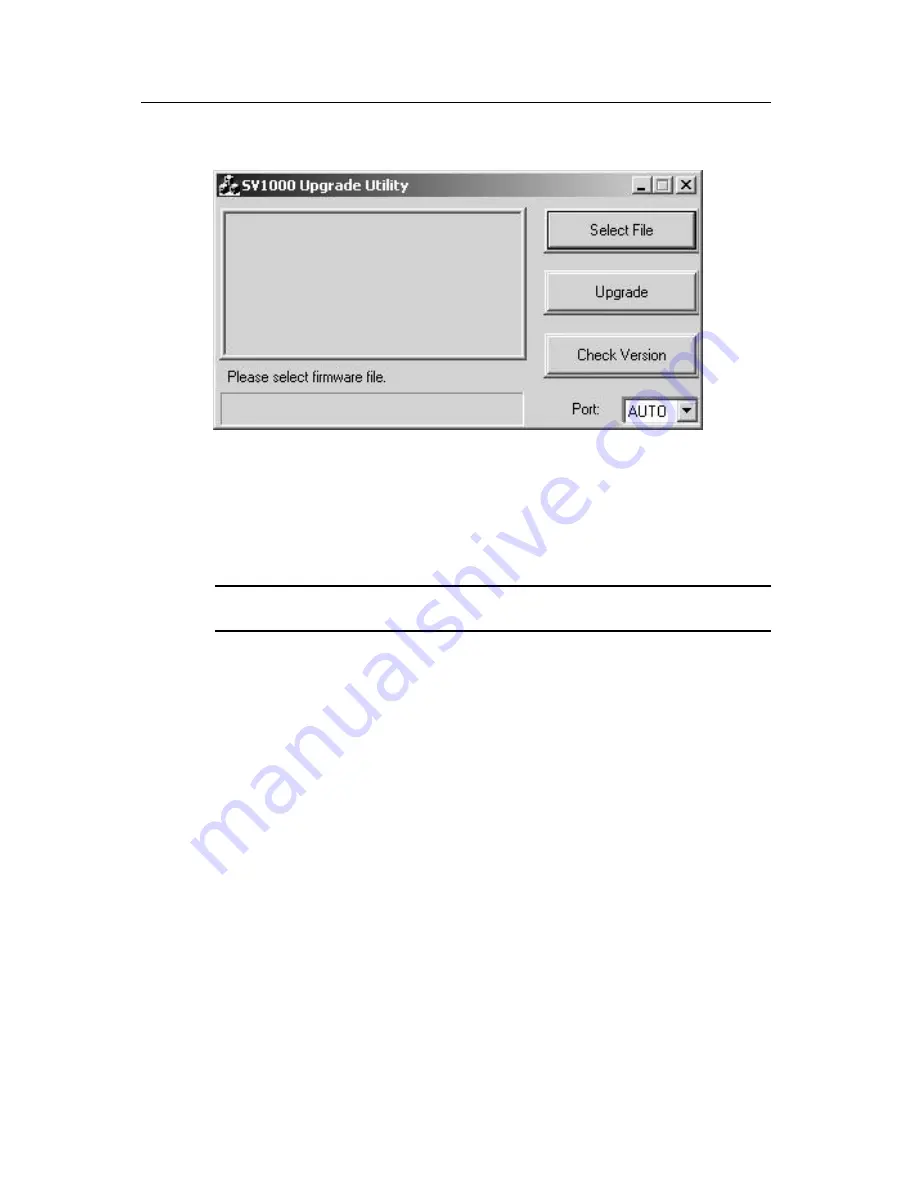
Figure 1.6: Main Upgrade Utility Window
6.
Click
Select File
to locate the firmware upgrade file.
7.
Click
Check Version
to see the current firmware version of your
Integrated LCD KVM Switch. If the selected firmware file is a
newer version, click
Upgrade
to start the upgrade process.
NOTE:
During the upgrade process, do not remove the upgrade cable or
Integrated LCD KVM Switch power adaptor.
8.
An
Upgrade complete!
message appears above the progress bar
after a successful firmware upgrade. You may now exit the utility.
Daisy-chaining your Integrated LCD KVM Switch
The Integrated LCD KVM Switch features up to 16 levels of attached
switches via the daisy-chain cable. The 16-port KVM switch has a 256
server daisy-chain limit, while the 8-port unit allows daisy-chaining of
248 servers. Contact Avocent to purchase additional KVM switches and
cables.
To cascade multiple switches:
1.
Plug one end of the daisy-chain cable into the Daisy Chain Out
port
on the rear of your primary Integrated LCD KVM Switch.
2.
Connect the other end of the daisy-chain cable to the Daisy Chain
In port on the secondary KVM switch.
3.
Repeat steps 1 and 2 for all subsequent switches.
4.
Plug the ground terminator into the Daisy Chain Out port on the
rear of the last daisy-chained Integrated LCD KVM Switch.
Summary of Contents for Integrated LCD KVM Switch
Page 1: ...Installer User Guide Integrated LCD KVM Switch...
Page 2: ......
Page 6: ...iv Integrated LCD KVM Switch Installer User Guide...
Page 16: ...10 Integrated LCD KVM Switch Installer User Guide Figure 1 7 Basic Daisy Chain Example...
Page 19: ......
Page 20: ......
Page 24: ...iv Guide d installation et d utilisation du commutateur KVM cran LCD int gr...
Page 36: ...12 Guide d installation et d utilisation du commutateur KVM cran LCD int gr...
Page 40: ...16 Guide d installation et d utilisation du commutateur KVM cran LCD int gr...
Page 41: ......
Page 42: ...590 698 616B For Technical Support www avocent com support...


