


40
y0 07 7D 01 04 3F FF
Camera _Memery
y0 07 7D 01 06 01 FF
Pan_titleDriver
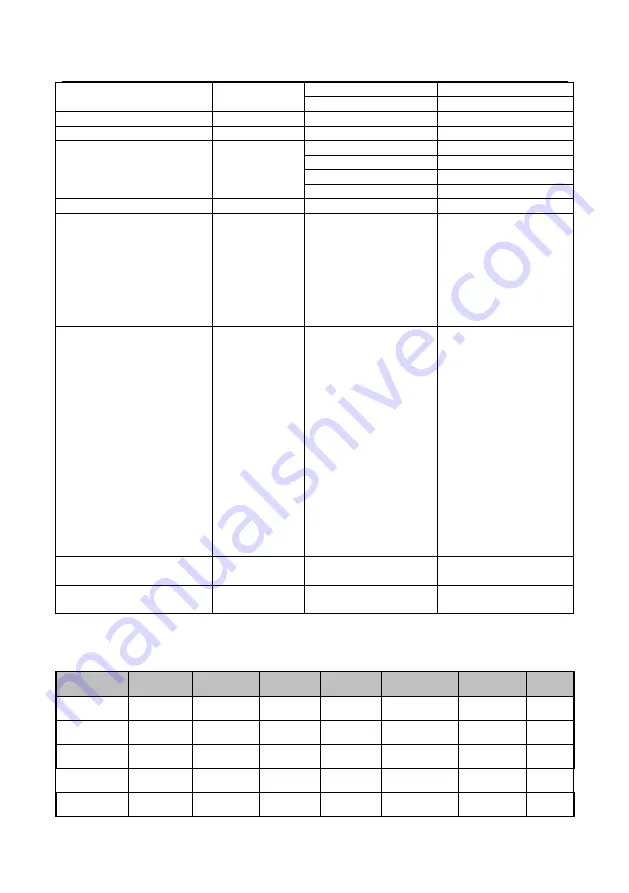
CAM_BrightnessInq
8x 09 04 A1 FF
y0 50 00 00 0p 0q FF
pq: Brightness Position
CAM_ContrastInq
8x 09 04 A2 FF
y0 50 00 00 0p 0q FF
pq: Contrast Position
CAM_FlipInq
8x 09 04 A4 FF
y0 50 00 FF
Off
y0 50 01 FF
Flip-H
y0 50 02 FF
Flip-V
y0 50 03 FF
Flip-HV
CAM_GammaInq
8x 09 04 5B FF
y0 50 0p FF
p: Gamma setting
CAM_VersionInq
8x 09 00 02 FF
y0 50 ab cd
mn pq rs tu vw FF
ab cd : vender ID
( 0220 )
mn pq : model ID ST
( 0950 )
U3
(
3950
)
rs tu : ARM Version
vw : reserve
VideoSystemInq
8x 09 06 23 FF
y0 50 0p FF
P: 0~E Video format
0:1080P60
8:720P30
1:1080P50
9:720P25
2:1080i60
A
:
1080P59.94
3:1080i50
B
:
1080i59.94
4:720P60
C
:
720P59.94
5:720P50
D
:
1080P29.97
6:1080P30
E
:
720P29.97
7:1080P25
Pan-tiltMaxSpeedInq
8x 09 06 11 FF
y0 50 ww zz FF
ww: Pan Max Speed
zz: Tilt Max Speed
Pan-tiltPosInq
8x 09 06 12 FF
y0 50 0w 0w 0w 0w
0z 0z 0z 0z FF
wwww: Pan Position
zzzz: Tilt Position
Note:
【
x
】
in the above table indicates the camera address to be operated,
【
y
】
=
【
x + 8
】
.
1)
Pelco-D protocol command list
Function
Byte1
Byte2
Byte3
Byte4
Byte5
Byte6
Byte7
Up
0xFF
Address
0x00
0x08
Pan Speed
Tilt Speed
SUM
Down
0xFF
Address
0x00
0x10
Pan Speed
Tilt Speed
SUM
Left
0xFF
Address
0x00
0x04
Pan Speed
Tilt Speed
SUM
Right
0xFF
Address
0x00
0x02
Pan Speed
Tilt Speed
SUM
Upleft
0xFF
Address
0x00
0x0C
Pan Speed
Tilt Speed
SUM
Summary of Contents for AV-1082G
Page 6: ...6 2 Ceiling mount...
Page 7: ...7...


