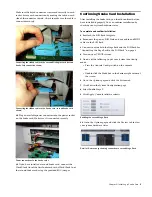
Chapter 2: Installing a Snake Card
5
Make sure the keyed connector is oriented correctly in each
socket. Secure each connection by moving the tabs on each
side of the connector inward. Check to make sure the cable is
connected securely.
10
Plug an available power connector into the power socket
on the Snake card. Make sure it is connected securely.
11
If you have installed a second Snake card, connect the
Word Clock Out of the first Snake card to the Word Clock In of
the second Snake card using the provided BNC jumper.
Confirming Snake Card Installation
After installing the Snake card, you should confirm that you
have installed it properly. You can confirm installation by
checking your system hardware status.
To complete and confirm installation:
1
Reattach the FOH Rack faceplate.
2
Reconnect the power, FOH Link, and any audio and MIDI
cables to the FOH Rack.
3
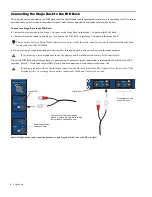
Connect your snake to the Stage Rack and the FOH Rack. See
“Connecting the Stage Rack to the FOH Rack” on page 6.
4
Turn on your VENUE system.
5
Do one of the following to put your system into Config
mode:
• Press the Console Config switch on the console
– or –
• Double-click the Mode box in the bottom-right corner of
the screen.
6
Go to the Options page and click the System tab.
7
Click Edit in the System Configuration page.
8
Select Enable Stage 2.
9
Click Apply. Console software restarts.
10
Go to the Options page and click the Devices tab to view
your system hardware status.
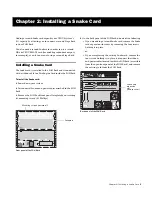
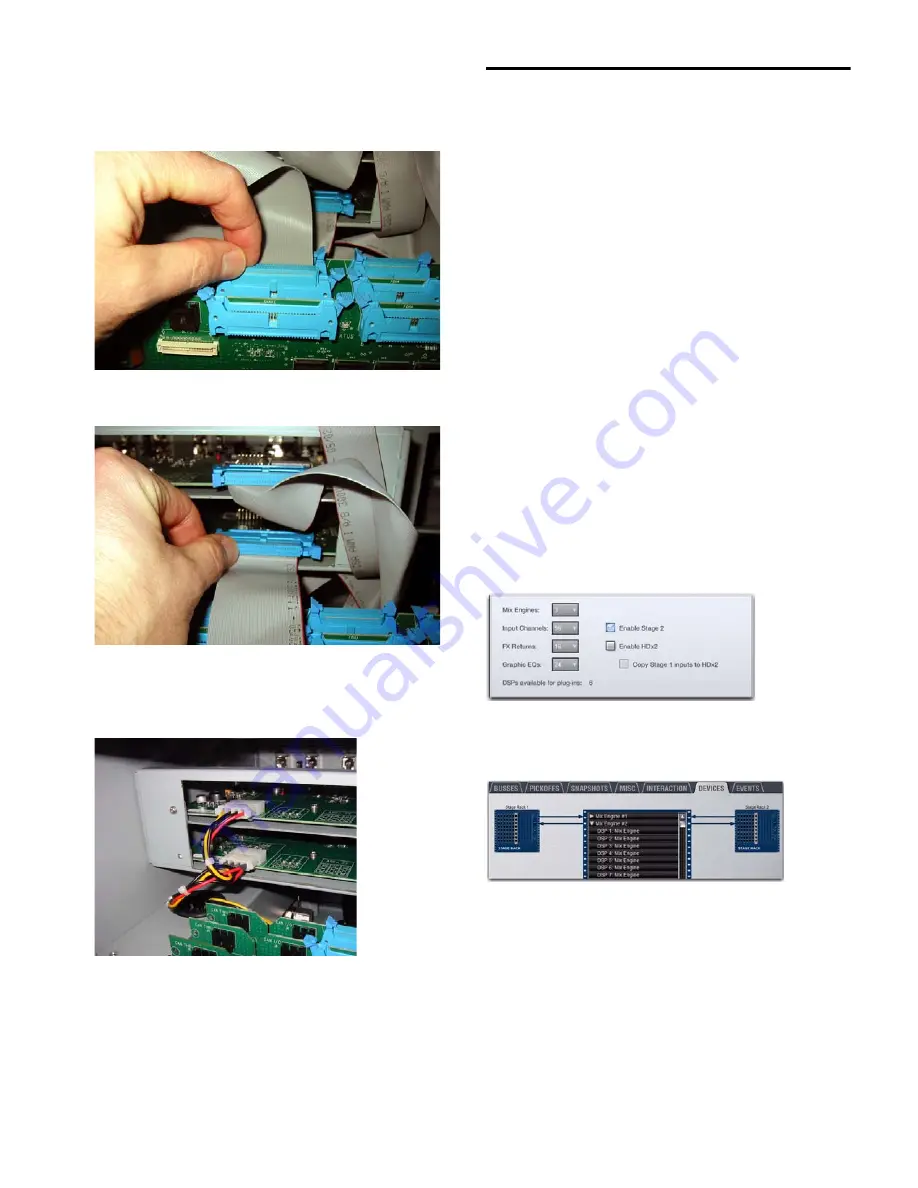
Connecting the ribbon cable to the second Mix Engine card (second
Snake Card connection shown)
Connecting the ribbon cable to the Snake card (second Snake card
shown)
Power connections to the Snake cards
Enabling the second Stage Rack
Detail of Devices page showing connection to second Stage Rack
Summary of Contents for Snake Card
Page 1: ...PN 9321 62795 00 REV A 08 10 Snake Card for VENUE Systems...
Page 4: ...Snake Card iv...
Page 12: ...Snake Card 8...
Page 14: ...Snake Card 10...


