


WP-234 Printer User’s Manual
11
Connecting and
Powering Up
Your Printer
Maintenance
Operation
1. Attach the appropriate cable between the
printer and your instrument. The connector on
the printer side is “keyed” so that you cannot
plug the cable in the wrong way. This means
that the pins should be positioned so that a
slight pressure will seat the cable properly. Do
not force the pins in. Doing so could damage
the cable.
2.
Plug the power cord into the back of the
printer. Plug the transformer into an appropri-
ate AC outlet. The unit will power up automati-
cally and print
Ready. . .
. This means the
printer is ready to print.
The Paper Feed switch on the printer is a rocker
type switch. Push the left side of the rocker switch
to toggle the printer on and offline. Push the right
side of the switch to advance the paper.
Your printer is now ready for printing.
The printer stores characters for printing until one
of two things happens:
1.
The line buffer is filled.
2.
It receives a line feed (hexadecimal 0A) or a
carriage return (hexadecimal 0D) code.
When (1) or (2) occurs, the printer prints out the
contents of its line buffer. If the buffer is empty
when the carriage return is received, the printer
simply advances the paper one line, leaving a
blank line in the printout.
When printing becomes faint or difficult to see,
replace the ribbon in your printer with an Epson
ERC-09 cartridge ribbon.
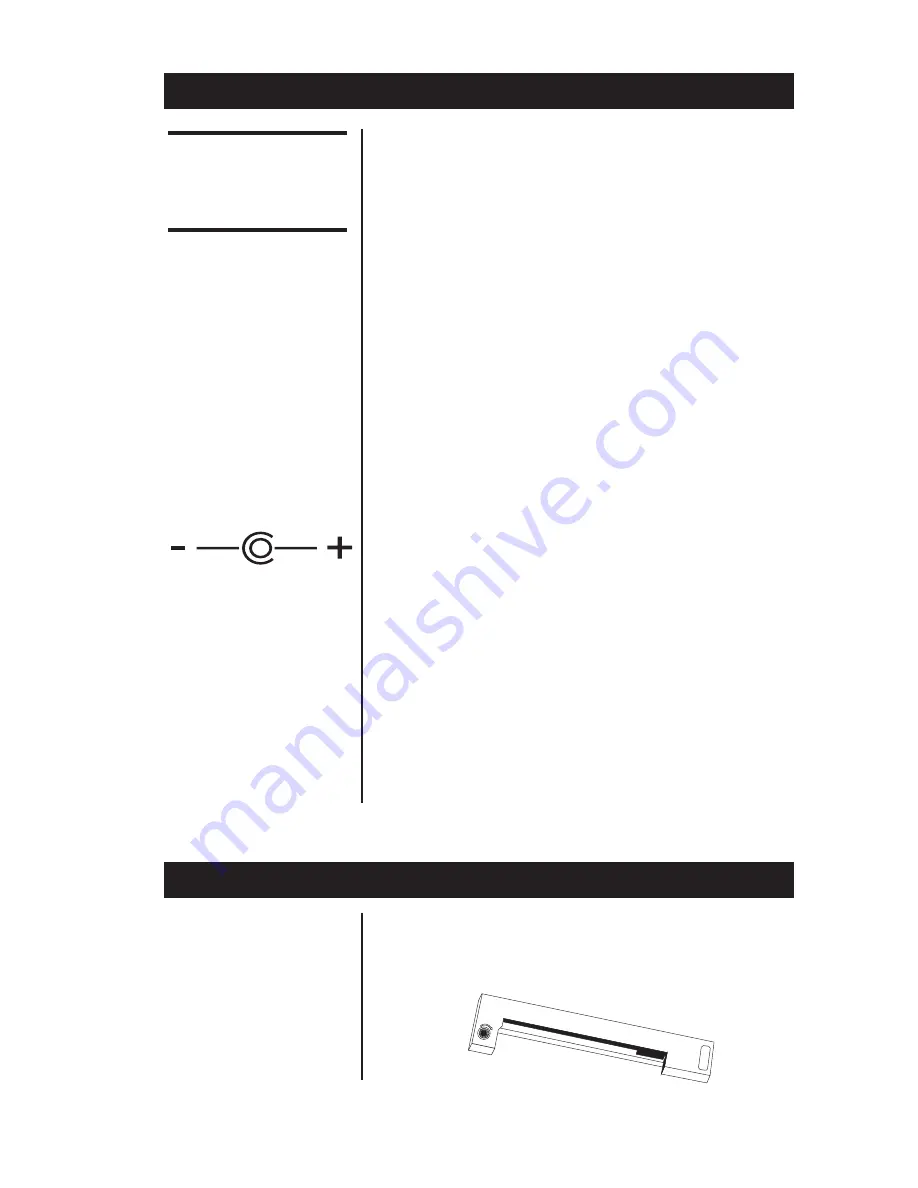
EJECT
PUSH
NCI Part Numbers:
Black ribbon:
22332-0029
Purple:
22332-0011
Long-lasting Black:
22332-0045
Wall mount power:
114815534
Paper spindle:
109316536
Paper roll 1.25” dia:
22335-0018
Paper roll 2.75” dia:
22335-0026
Almond paper cutter
23019-0019
Grey paper cutter
23019-0043
Clear plastic paper
roll cover
115513184
For DC modified
units supplied with
cable, connect
positive voltage to
striped wire.
See the DC power
connection illustra-
tion below:
Summary of Contents for WP-234
Page 1: ...WP 234 Printer User s Manual...
Page 6: ...WP 234 Printer User s Manual 6...
Page 34: ...Notes...


