


Loading Supplies
2
-
7
6.
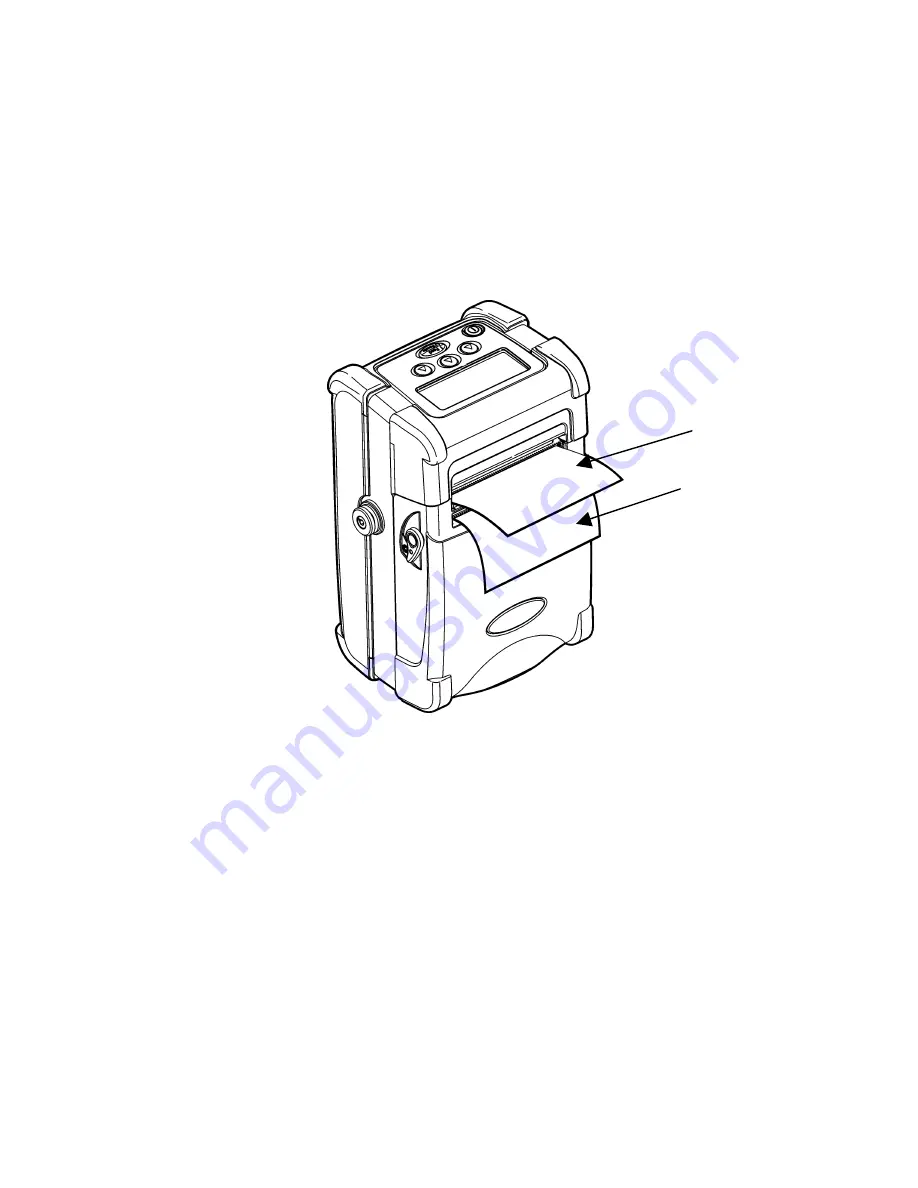
Close the supply door until the release levers click
into place.
7.
Lightly tug on the liner to remove the slack.
8.
Press
F
to advance the supply. If you receive a
supply error, see Chapter 4, "Troubleshooting," for
more information.
The liner separates from the label.
Label
Liner
Summary of Contents for Monarch 9433 Sierra Sport3
Page 16: ...1 12 Operator s Handbook...
Page 32: ...3 6 Operator s Handbook...
Page 40: ...A 4 Operator s Handbook...
Page 44: ...C 2 Operator s Handbook...
Page 45: ......
Page 46: ......


