Chapter 1 Introduction
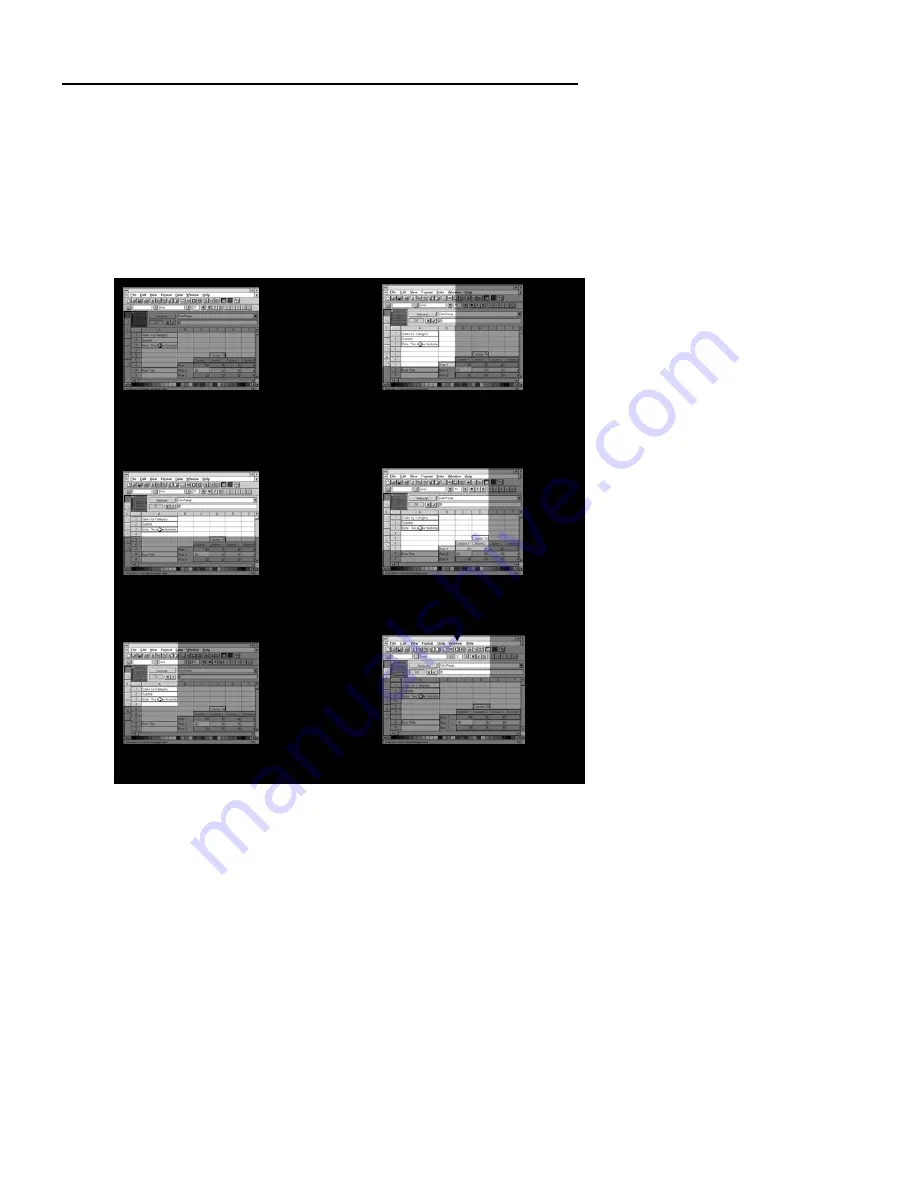
Highlighting Areas Horizontally and Vertically
You can use the
POSITIONING & ADJUSTMENT CONTROL
buttons to slowly "expose" the rest of your presentation screen to your
audience. Press the Left, Right, Up, and Down Arrows to highlight more
areas to the left, right, top, and bottom. Press the same buttons to "cover
up" more parts of the screen and reduce the highlighted area.
Example 1 :
Example 2 :
The entire top area is highlighted.
Most of the left part of the screen
is
highlighted
.
To extend the highlight downwards,
To extend the highlight to the right,
press the DOWN Arrow.
press the RIGHT Arrow.
To reduce the highlight to the
To reduce the highlight upwards,
left, press the LEFT Arrow.
press the UP Arrow.
25
Summary of Contents for AVerVision DL
Page 28: ...AVerMedia AVerVision DL User s Manual 28 ...
Page 33: ...Chapter 1 Introduction 33 ...
Page 34: ...AVerMedia AVerVision DL User s Manual 34 ...
Page 35: ...Chapter 1 Introduction 35 ...
Page 36: ...AVerMedia AVerVision DL User s Manual 36 ...
Page 37: ...Chapter 1 Introduction 37 ...
Page 38: ...AVerMedia AVerVision DL User s Manual 38 ...
Page 39: ...Chapter 1 Introduction 39 ...
Page 40: ...AVerMedia AVerVision DL User s Manual 40 ...
Page 41: ...Chapter 1 Introduction 41 ...
Page 42: ...AVerMedia AVerVision DL User s Manual 42 ...
Page 43: ...Chapter 1 Introduction 43 ...


