114
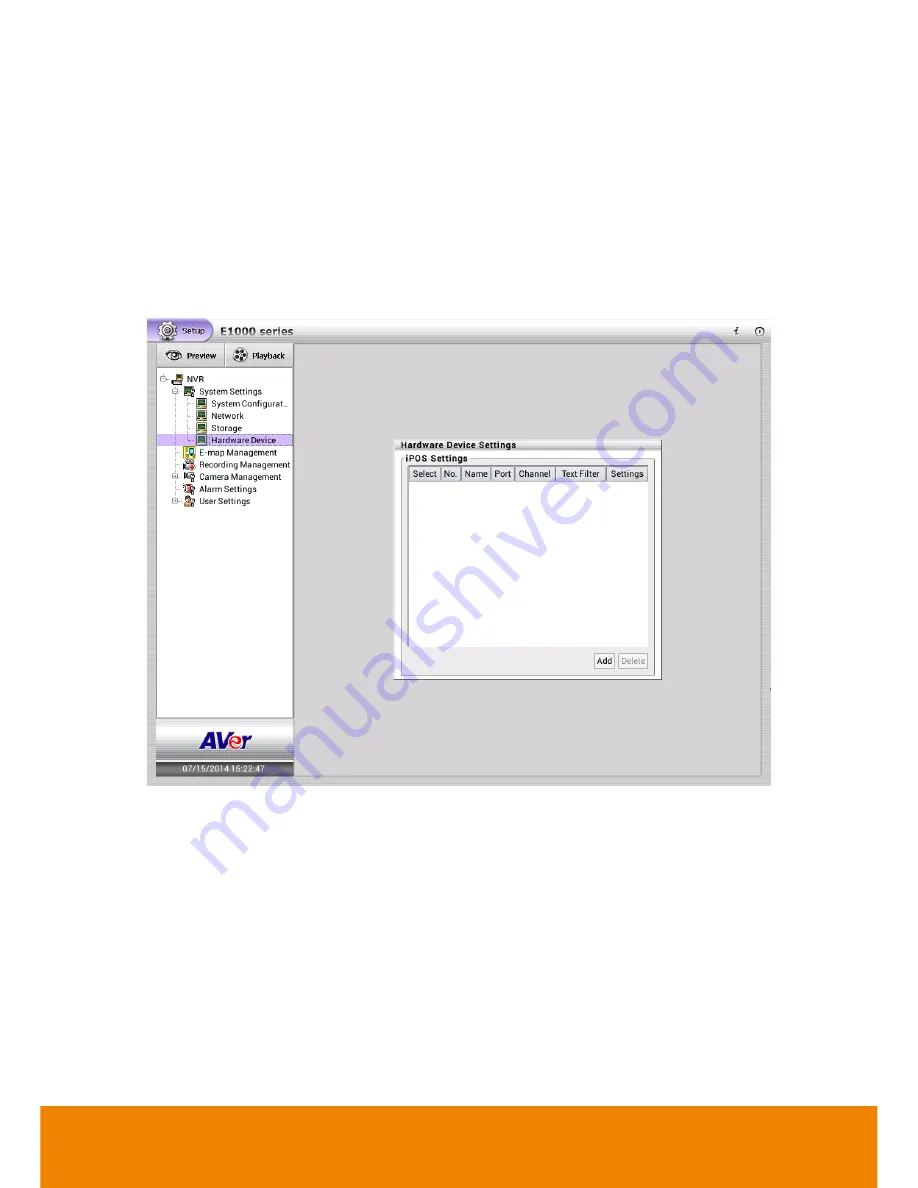
2.16 iPOS Setting
Set from which camera screen to display the data from the POS equipment. Click
Setting
, to
set the POS Console Setting.
[Note]
Please using USB to RS232 converter (ex: MOXA) to connect with your POS device.
1. Click
Setup
tab. Click
+
to expand the System Setting list and select
Hardware Device
.
2. User should see the Hardware Device Setting dialog box is displayed.
3. In the Hardware Device Setting dialog box, click
Add
to set a new POS setting.
4. In the POS Mapping dialog box, fill and select the following settings. Click
OK
to save the
settings and
Cancel
to exit without saving the new setting.
Name:
Enter a name to identify the POS.
Protocol:
Select the protocol.
Skip first:
Set the number of lines you want to be removed.
Font Color:
Select the text color of the POS data.
Port Settings:
Local
: Select the
COM port
which is connected and
Baud Rate
.
Remote:
Use the TCP or UDP protocol for remote connection if POS system can
broadcast to Internet. Enter the IP address of the remote station.
Map to Camera:
Select to which camera number to display the transaction text.


