www.avenview.com
10
10.
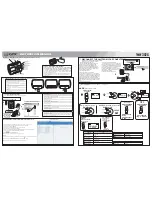
Plug in power adapter cable into 5V DC power jack.
11.
Switch on all devices connected and then switch on the video processor and then press “menu” to
display OSD menu.
12.
Press down arrow key dropping down sub-menu to select the first channel (Main Channel)
video/graphic source.
13.
Once the Main Channel has a video selected, press “exit” key to exit the sub-menu, and then move
right to the next item of OSD menu, which allows you to select the second channel (Sub Channel).
14.
For detailed IR remote control operation, please refer to the On Screen Display menu and IR Remote
Control section.
2.1
IR Remote Control
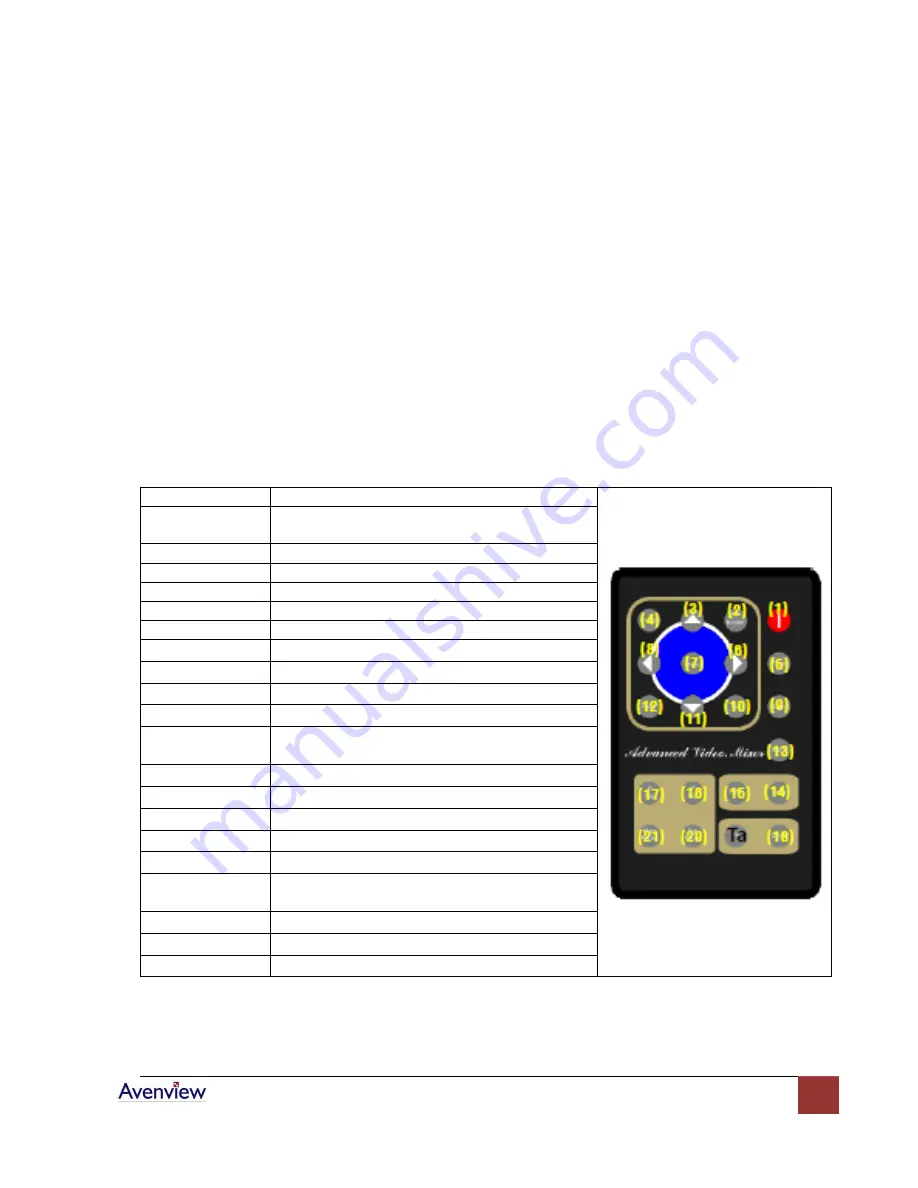
DVI-SPLITPRO-2B ships with a compact remote control that allows for direct access to most commands used to
control the video processor.
1.
Power
Power ON/OFF the device
2.
PIP Border
Display the border of small image (under PIP
mode)
3.
UP Button
Move to the upper titles
4.
Source
Press to select a source for main channel
5.
Reset
Factory Reset
6.
Right Button
Move to the right titles
7.
Menu
Display OSD Menu
8.
Left Button
Move to the left titles
9.
Logo
Display Logo
10.
Exit
Move back to previous option or exit OSD Menu
11.
Down Button
Move to the lower titles
12.
Enter
Press to drop down sub-menus or confirm the
selection
13.
Blank
Blank out the screen
14.
Color
Automatically configure the main channel color
15.
Auto
Automatically configure the man channel position
16.
V Flip
Flip vertically
17.
H Flip
Flip Horizontally
18.
SWAP
Swap between main channel and sub-channel
(only works in PIP or PAP mode)
19.
PIP
Changes mode: Full Screen, PIP and PAP
20.
Sub Pause
Freeze sub-channel
21.
Main Pause
Freeze main channel


