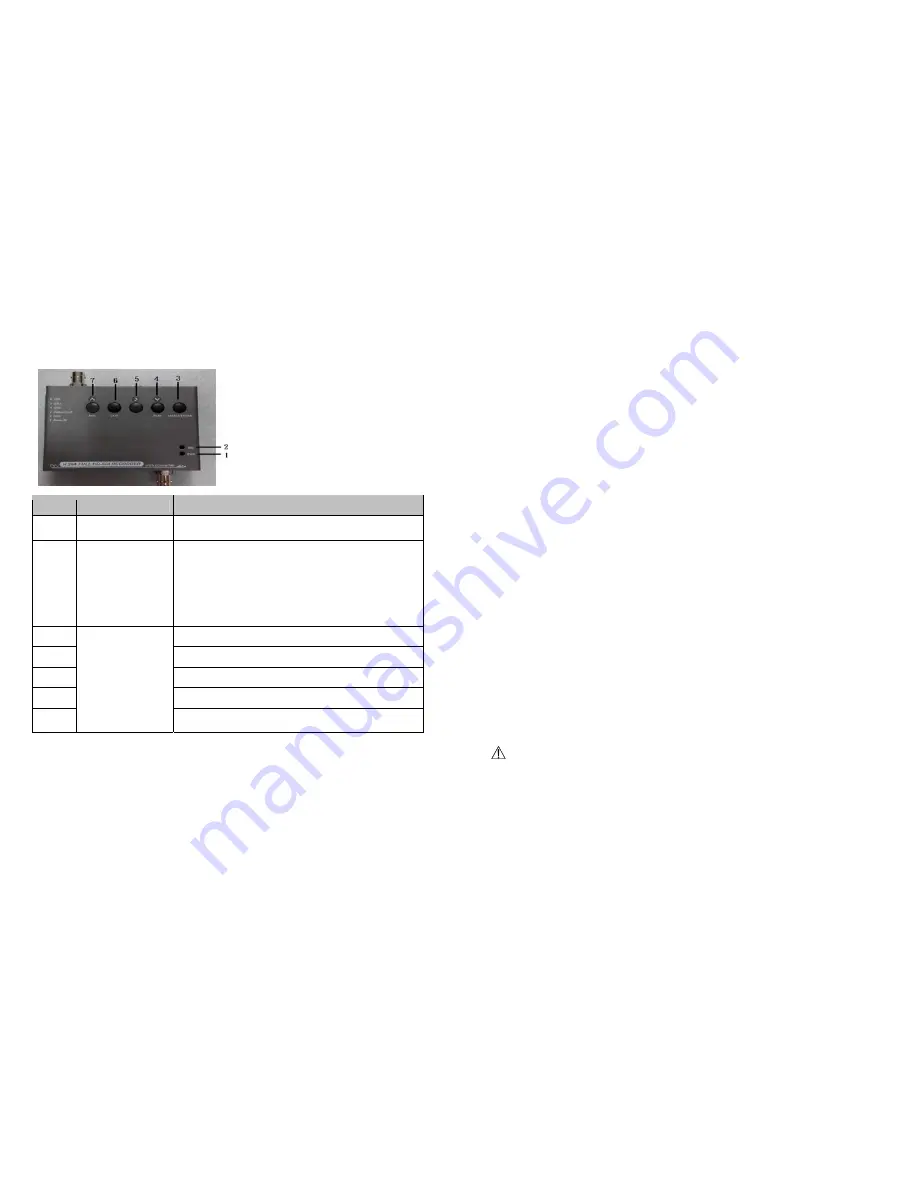
11
-Top
No.
Name
Function
1
Power LED
Show power on status
2
REC LED
Show SD card running status :
*LED flashing : No insert SD card or SD card
accessing fail
*LED lighting : SD card is recording
*No light : SD card is inserted SD slot but no
record.
3
5 keys setting
Menu/Enter button
4
Play/Navigate down button
5
Navigate right button
6
Stop/Exit button
7
Record/Navigate up button
●
Initial Start Up
12
1. To turn the device ON/OFF:
▪
Make sure if recorder is power switch is at OFF state
▪
Plug DC12V adaptor in DC Jack for power on
▪
Insert SD card in SD slot
▪
Switch power switch ON for starting running system
NOTE: Each time after power-on, the system auto-detects its peripherals. When
the REC LED flashing indicates the SD is proceeding testing (complete boot time is
several seconds) When an image file error has been detected, the system will
display error message on OSD
2. The default menu language is Japanese. To change the languages:
▪
Select [POWER ON SETUP] in the main menu. Here you can change the
language of the menu. System support languages : English and Japanese.
3. After successful start-up the recorder shows the live view.
▪
If schedule recording has been programmed, the device will automatically
resume this schedule.
▪
During recording, The REC LED indicator will be lighting
4. If the symbol [ SD NOT READY] is shown, the SD-Card has not been
recognized, or the SD-Card is inserted improperly.
▪
If the SD-Card cannot be recognized the REC LED flashes red. In this case,
inserted SD card, erase the SD-Card contents, or re-format the card.
5. If the write-protection on the side of the SD-Card is activated, It is only possible
to read recorded data
6. When SD-Card is writing data during recording, record indicator will light on.
7. After power-loss the system auto returns to previous recording mode.
Attention
-Never remove the SD-Card during the boot process, This can lead to permanent
damage of recorded data.
●
Live View


