Chapter 3
User Guide
192
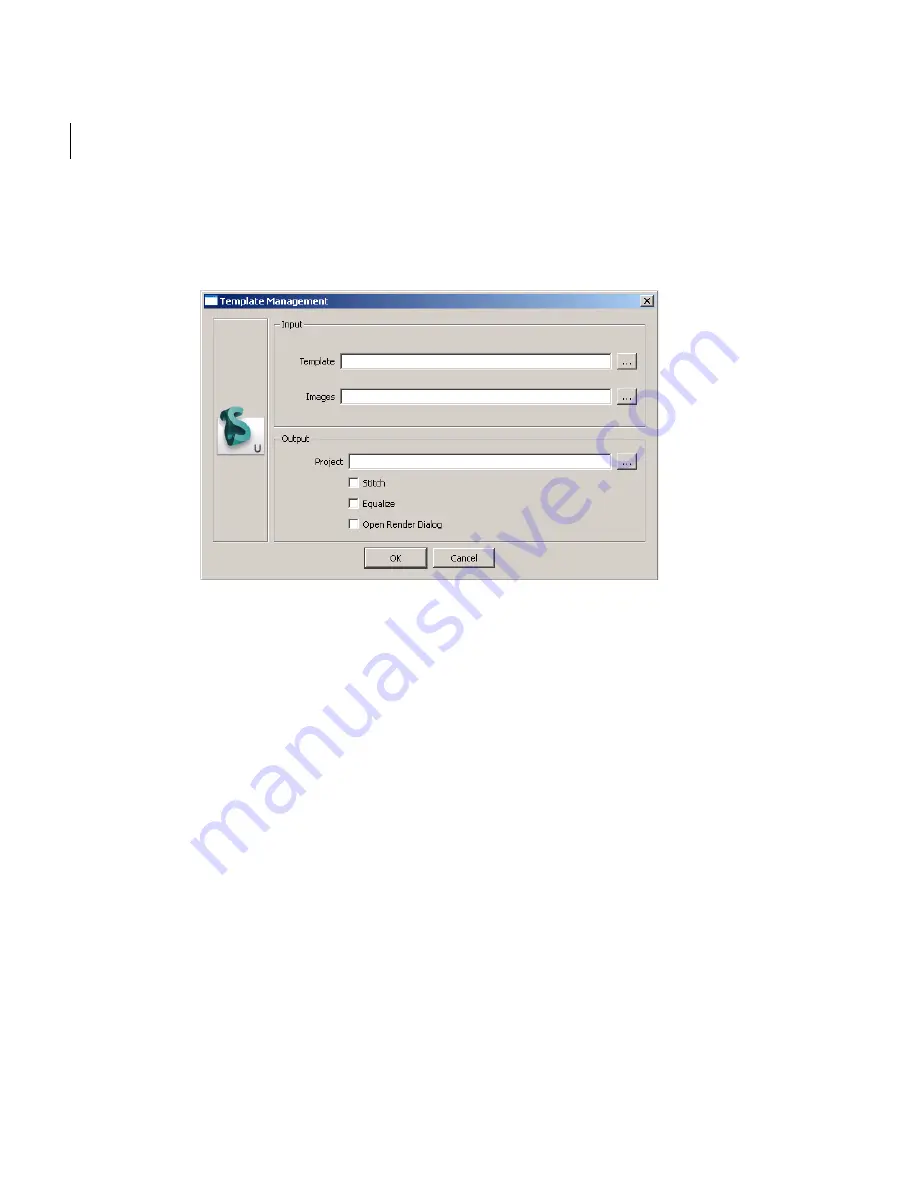
To open a template:
1
Click
File
>
Open Template
.
The
Template
dialog appears:
2
Click ... beside the
Template
field to browse to the template file, then click
Open
.
3
Click ... beside the
Image
field to browse to the first image in the incremental list of
images, then click
Open
.
4
Click ... beside the
Project
field to browse to where you want to place the project
that will be created, then click
Save
.
5
If you are sure of the placement of your images, you can uncheck the
Stitch
box to
render images as is.
6
If you want to balance the level of brightness between all the images, check the
equalize box.
7
If you want to render the file as soon as the images are stitched, check the
Open
Render Dialog
box.
Summary of Contents for 551A1-05B111-1001 - Stitcher Unlimited 2009
Page 1: ...User Guide Autodesk Stitcher Unlimited 2009 ...
Page 11: ...1 Introduction ...
Page 12: ......
Page 23: ...2 Quick Start to Stitcher Projects ...
Page 24: ......
Page 52: ...Chapter 2 Quick Start to Stitcher Projects 42 ...
Page 53: ...3 User Guide ...
Page 54: ......
Page 135: ...StitcherTM User Guide 125 Cylindrical preview Spherical preview Cubical preview ...
Page 147: ...StitcherTM User Guide 137 TIP Press G Windows or Command G Mac to toggle the grid ...
Page 162: ...Chapter 3 User Guide 152 snapshot cylindrical spherical cubical ...
Page 210: ...Chapter 3 User Guide 200 ...


