26
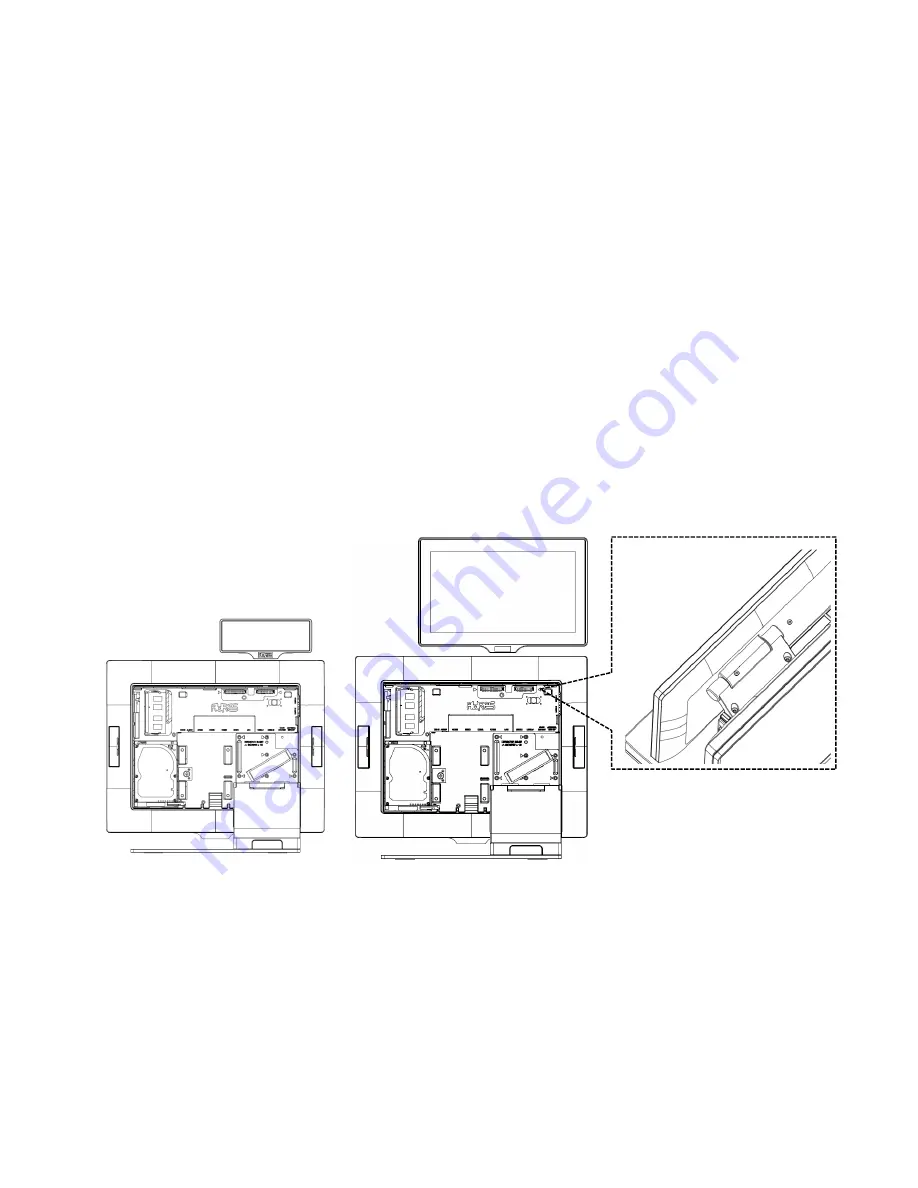
4.2 Install the Attachment-type Customer Display (YUNO-VFD)
and
Second Display (YUNO-2NDLCD10.1)
The Attachment-type Customer Display (YUNO-VFD)
and Second Display
(YUNO-2NDLCD10.1)
can be installed from the rear top side of the system. Make sure the
unit is powered off before starting.
Please follow the below steps to finish the installation :
1. Unscrew the two pcs of screws from the rear top service door and remove it.
2. Connect the Customer Display cable with the connector of the system. Locate this
connection properly.
3. Insert the Customer Display in place and fasten the two pcs of screws to make it
secure.
Installed with YUNO-VFD
Installed with
YUNO-2NDLCD10.1
*Apply the above procedures when installing the Attachment-type Customer
Display (YUNO-VFD) and Second Display (YUNO-2NDLCD10.1) on Touch Monitor
series.
**Please get Prolific USB-to-COM driver from AURES Technical Support Website
when connecting Touch Monitor with YUNO-VFD (which is RS-232 interface).
Summary of Contents for Yuno Series
Page 12: ...7 2 4 Dimension For YUNO 151 YUNO 151TM...
Page 13: ...8 For YUNO 156 YUNO 156 50KH YUNO 156TM...
Page 14: ...9 For YUNO 151K...
Page 16: ...11 2 5 2 Touch Monitor series j i h g a b c d e f Bottom up View Right side View...
Page 43: ...38 6 Configuration 6 1 POS series X72 Motherboard 6 1 1 Motherboard Layout...
Page 46: ...41 6 2 POS series X7D Motherboard 6 2 1 Motherboard Layout...
Page 49: ...44 6 3 Touch Monitor series Touch Screen Board 6 3 1 Touch Screen Board Layout...


