Remote Controller
Use your thumb to press the lid of the battery compartment and pull it out.
Install a CR2025 type 3V battery into the battery compartment, taking
care to insert it with the positive (+) side up.
Caution:
Risk of explosion of battery is replaced by an incorrect type.
Dispose of used bat
Getting Started
The items enclosed in the packaging box are as follows:
• Unit
• Power adaptor
• Audio cable with 3.5mm jack at both ends
• User manual
Connect the power adaptor to the back of the unit and plug it into power socket.
Get the networkenvironmentready
• For wired Ethernet
Use an Ethernet cable (RJ45 jack) to connect the LAN ports on the unit and
your network device.Check if the light indicators on the network device are
in appropriatestatus.
• For wirelessWiFi
Make sureyou have setup the wireless network and you have the WEP, WPA or WPA2 security password
to activate the connection.
You may also use the WPS(WiFi Protected Setup)functionfor easy pairing between the network device
and the unit. Check if the light indicators on the network device are in appropriatestatus.
Switch it on from unit.
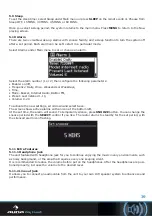
At the first time operation, system asks if you want to start the Setup Wizard. Select
YES
to continue the
setup. Details of the Setup Wizard can be referred to Section 5.2.1 below.After choosing
NO
, the next
screen asks if you would like to run the wizard next time unit is started.
Unit will automatically connect to the network that was set before when power on to Internet Radio
again. In case you desire to change the network, enter
System Setting
to configure the corresponding
connection.Refer to Section 5.2.1 and 5.2.3.
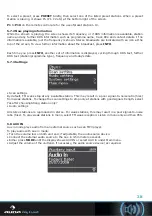
Press or on the remote control to enter standby mode. The time, date and any active alarm times display
on the screen.
Rotate the volume reel or press/on the remote control to
adjust the volume. Rotate the volume reel or pressuntil volume
level becomes 0, or direct pressto mute the sound.
Music Sharing from PC
• To share the music files from PC, the following steps are done
on the PC:
• Connect the PC to the network.
• Ensure that unit is powered on and connected to the same
network.
25


