


-9-
English
-10-
3. Unit Operation
To set the HDMI resolution:
1) Select settings from the home screen.
2) Select HDMI from the settings menu.
3) Select the correct resolution for your TV.
4) Select OK to confirm.
Note:
The setting changes are automatically cancelled after 15 seconds
unless confirmed.
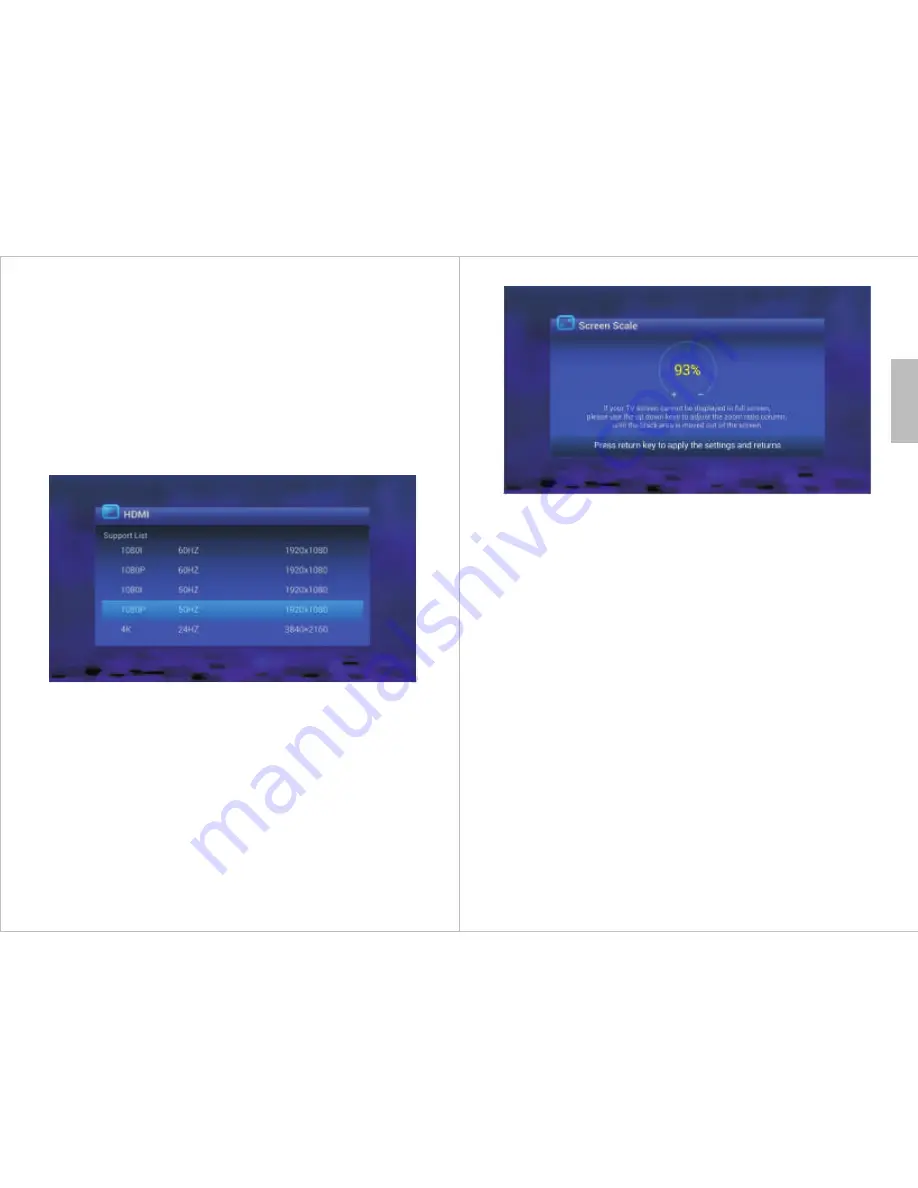
3.1 HDMI Settings
3.2 Screen Scale Settings
If the edges of your screen are clipped or there are black borders around the
image, you can adjust the screen size by:
1) Select settings from the home screen.
2) Select Scale from the settings menu.
3) Use <
▲
>
and <
▼
>to set the screen scale.
4) Press Return to confirm.
3.3 Time and Date Settings
If you are connected to the internet, the time and date will be set
automatically. To set the time and date manually:
1) Press Setup.
2) Select “date & time” from the setup menu.
3) Uncheck Automatic “date & time”.
4) Select “Set date” and set the correct date.
5) Select “Set time” and set the correct time.
6) Select “Select time zone” and set the correct time zone.
7) Select "Done" or press "Return" on the remote to confirm.
8) Press RETURN to exit the setup menu.