-10-
English
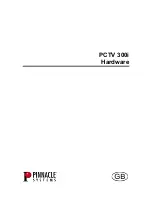
6.2.9 Timeshift
Timeshift allows you to control a live
TV program by pausing it and
resuming it later.
To enable or disable Timeshift:
Path
: MENU > Media Player >
PVR Settings >Timeshift
1.Press
MENU
, select
Media
Player
and press
OK
.
2.Select and enter PVR Settings.
3.Select Timeshift, then use
◄ and ► to change between
Off,
Auto
and
Pause
.
Off
disables the Timeshift function.
Auto
enables the Timeshift function
all the time.
Pause
allows you to use Timeshift by
pressing while watching live TV.
Select
Timeshift to Record,
then use
◄ and ► to change between
On
and
Off
.
Note
: If Timeshift to Record is set to
On
, the program will be recorded
while time shifting.
When Timeshift is set to
Auto
, the
Timeshift function is enabled all the
time.
When Timeshift is set to
Pause
, you
can press while watching live
TV to begin using the Timeshift
function.
Note
: When programming a
recording, we recommend that you
check the After Recording option in
the PVR Settings menu to determine
what will happen after the recording
concludes. Please refer to section
7.6.2.
6.2.8 Live Recording
Insert a USB storage device with
sufficient free space into the USB
port.
1.Press
REC
to start a live recording.
Whilst recording will flash on
the top right hand corner of the
screen.
2.While recording, press
REC
to
show detailed recording information.
3.Whilst the detailed recording
information is displayed, press
REC
to set the duration. Use
◄ or ► to navigate and use the
keypad numbers to input the time.
4.To stop a live recording, press ,
then select
Yes
to finish or
No
to
return.
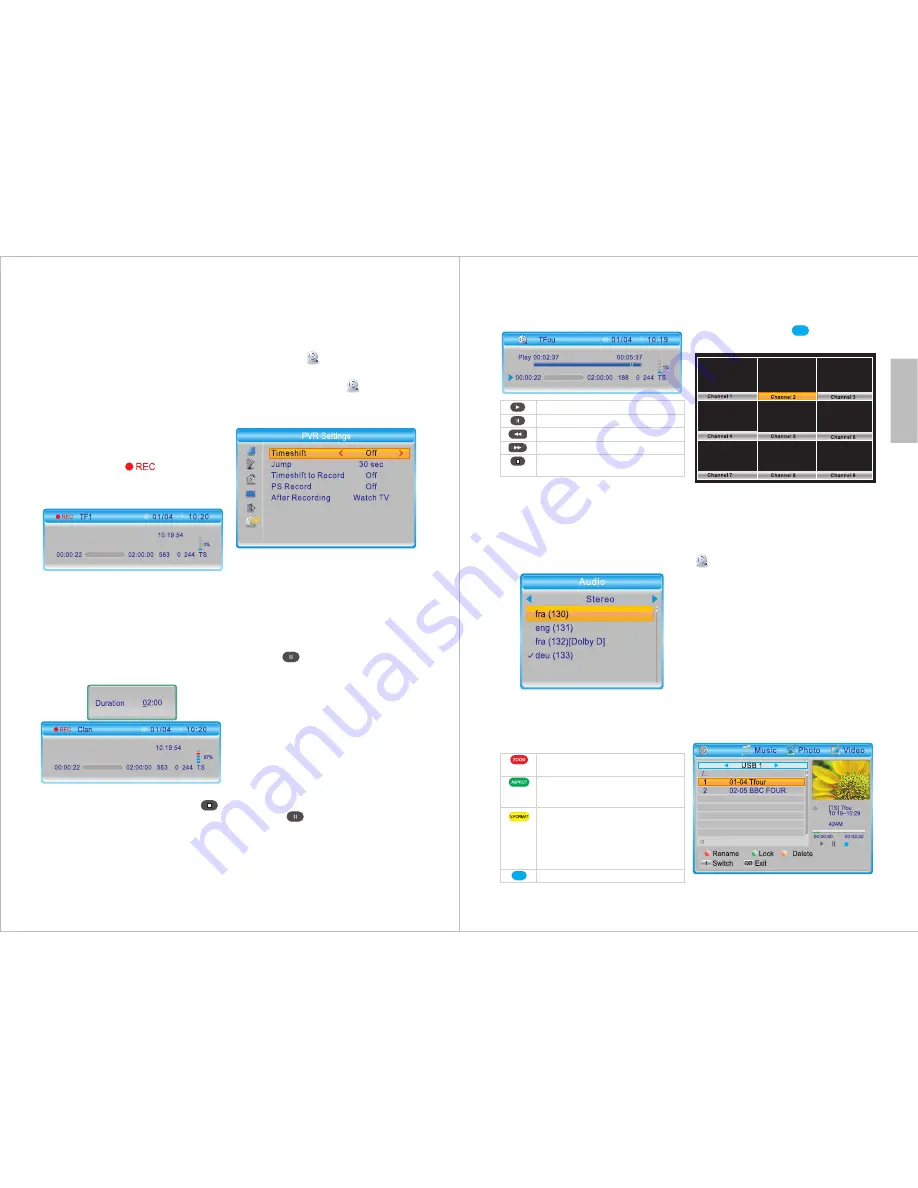
-11-
Multi-view mode allows you to view
multiple channels at once. Use the
arrow keys to select and preview a
channel. Press
OK
,
or
EXIT
to
return to the live broadcast.
6.2.12 Media Player from USB
Storage
In TV or Radio mode, press
USB
to
enter the media player or select
Media Player
from the menu
window.
Note:
A USB storage device such as
a USB stick or hard drive must be
inserted in the USB port.
For detailed information about media
player options, please refer to section
6.4.
6.2.13 Recorded Programs
To watch recorded programs, press
LIST
to enter the recorded program
list (
PVR
).
Record
When Timeshift is active, use the
following buttons to control the live
broadcasting:
6.2.10 Audio
1.Press the
AUDIO
button.
2.Use
▲
and
▼
to select an available
audio language.
3.Press
OK
to confirm or press
EXIT
to cancel.
6.2.11 Colour buttons
In TV mode, the coloured buttons
perform the following functions:
MP
Resume
Pause
Rewind
Fast forward
Exit time shift and return
to the live broadcast
MP
Zoom in. Once zoomed in, use
▲
/
▼
/◄/► to select the display area
Cycle through the following
Aspect Ratio settings:
Auto,
4:3PS,
4:3LB
and
16:9
Cycle through the following
Resolution settings:
480i, 480p,
576i, 576p, 720p (50Hz), 720p
(60Hz), 1080i (50Hz), 1080i
(60Hz), 1080p (50Hz)
and
1080p
(60Hz)
Multi-view window