background image

7; !Pqfsbujpo!.!2

Page 6

Switching On and Off

Connect power to all system units, switch the mains on. Switch on all 
the source units, and then switch on the power amplifier including 
M-ONE. 

When switching on:

 The power LED illuminates. 

When switching off: 

Switch off M-ONE, unless it’s trigger enabled, 

and then the source units. 

Standby Mode


Audiolab M-ONE will be in standby mode when powered on. Press 
the 

 button to bring M-ONE out of standby, the power indicator 

LED becomes brighter and the display shows the welcome screen. 
You can activate the “auto standby” function by holding the 


button for 3 seconds. Using this “auto standby” function, M-ONE 
will automatically go into standby mode when there is no signal input 
or operation for 20 minutes, when the power indicator LED becomes 
dim. 


Source Select  

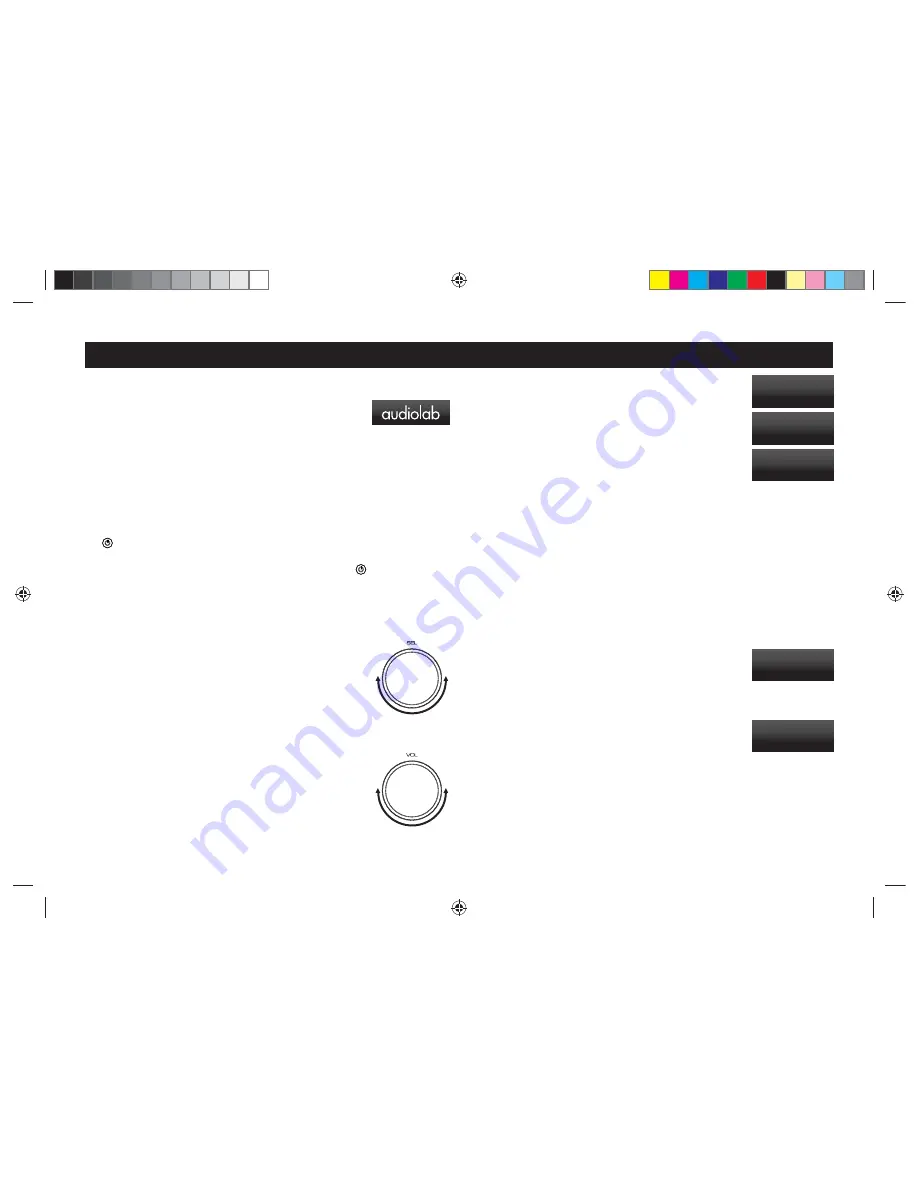
Rotate the SEL knob on the front panel to select different source 
inputs. M-ONE has COAX, OPT, PC USB, USB A, BT, AUX1 and 
AUX2 - in total 7 signal inputs available.

Altering the Volume Level

Rotate the VOL knob on front panel to alter the volume level. 

The range is -80dB to +3dB, the factory default volume is -20dB. 
If the volume is set to lower than -20dB when unit is shut down, the 
default volume will be the last used value when the unit next starts 
up. If the volume is set to higher than -20dB, the default volume will 
be -20dB when the unit next starts up. 

Pressing the VOL knob on the front panel or the MUTE button on the 
remote control can toggle the sound on/off. 

Switching the display on and off

Press the DISPLAY button on the remote control to cycle through 
the display levels.

When the display is set to OFF: Pressing any key will bring the 
display on. After a few moments the display will again switch off.  

Footnotes on the Display

The M-ONE provides a true reading of the digital input frequency. For example when 
a stable 44.1kHz input is present you may see the display vary between 44.100k and 
44.1001k. This indicates an error of 1Hz in 44.100kHz and is insignificant. A less stable 
source may vary more. This option may be disabled in the menu if you prefer.

When the digital input is off, M-ONE display always shows the nominal value.

Playing a USB input

Install the Audiolab Audio Driver from the CD-ROM provided as an accessory.  The 
installation instructions are burnt on the CD-ROM, please refer to the file when installing 
the software.  Connect your computer to M-ONE via USB cable (type A to Type B), 
change the Play mode to USB input using the handset or the button on the front panel.

“Unlocked” will be displayed if there is no input signal to the USB 
input.  When you play a file the digital inputs will lock onto the 
input data as soon as there is an input signal for USB.  The display 
screen will then indicate the presence of a digital signal and show 
the output sampling frequency of the music file in your computer.

If the input sampling frequency is 384kHz, the display shows 
PCM384 kHz. 

If the format of the music file is DSD64, the display shows 
DSD2.8MHz.

If the format of the music file is DSD128, the display shows 
DSD5.6MHz.

If the format of the music file is DSD256, the display shows DSD11.2MHz.

Display High

Display Low

USB

-28dB

Unlocked

USB

-20dB

DSD 11.2MHz

Display Off

$+021(LQGG

Summary of Contents for M-ONE

Page 1: ...Vtfs Jotusvdujpot N POF 0 21 LQGG ...

Page 2: ...l of the enclosure for electrical and safety information before installing or operating the apparatus WARNING For the terminals marked with symbol of may be of sufficient magnitude to constitute a risk of electric shock The external wiring connected to the terminals requires installation by an instructed person or the used of ready made leads or cords Mains Supply The mains operating voltage of M ...

Page 3: ... for iPhone iPad iPod Signal Output Loudspeaker output Operating Features Bluetooth aptX wireless high fidelity Lossless transmission Automatic detection decoding of external digital input source Selectable digital fillers setting 3 Hfuujoh Tubsufe Page 2 Mute and balance remote controls Automatic trigger post equipments via 12V trigger output Three display brightness available with on off options...

Page 4: ...4 Dpouspmt boe Dpoofdupst Page 3 0 21 LQGG ...

Page 5: ... replay the current track of CD USB Press again to move to the previous track of CD USB 11 STANDBY Press to bring the unit in out of Standby Battery Caution There is a risk of fire and burns if the battery is handled improperly Do not disassemble crush puncture short external contacts or dispose in fire or water Do not attempt to open or service the battery Replace only with a CR2025 battery Disca...

Page 6: ...ia player to stereo 6 Dpoofdujpot Page 5 SPDIF Inputs one coaxial and one optical inputs are provided for connect the M ONE to an external SPDIF source Connect a suitable video or optical cable from the SPDIF output of the source component to the appropriate input of the M ONE 12V Trigger Input If you have a Audiolab system we advise connecting the triggers This will enable all Audiolab units to b...

Page 7: ...the DISPLAY button on the remote control to cycle through the display levels When the display is set to OFF Pressing any key will bring the display on After a few moments the display will again switch off Footnotes on the Display The M ONE provides a true reading of the digital input frequency For example when a stable 44 1kHz input is present you may see the display vary between 44 100k and 44 10...

Page 8: ...filters and 4 DSD filters available Press the remote control MENU key to enter menu mode press or to access the Digital Filter or DSD Bandwidth menu page press to enter the filter page press or again to select a different filters press again to confirm the chosen filter Pressing the SEL knob on the front panel can also enter the menu mode rotating this knob turns the menu page to Digital Filter or...

Page 9: ...ault settings are at the top DSD Bandwidth Normal DSD Bandwidth 50k DSD Bandwidth 60k DSD Bandwidth 70k Track Time Show If Available Track Time Do Not Show Sampling Rate Nominal Frequency Sampling Rate Actual Frequency Jitter Rejection Automatic Jitter Rejection Low Bandwidth Jitter Rejection Medium Bandwidth Jitter Rejection High Bandwidth Default Input Recall Last Input Default Input COAX Defaul...

Page 10: ...carried out by parties other than Audiolab or its authorized agents or distributors 2 Products not purchased from an Audiolab authorized dealer 3 Products that were not new at the time of original purchase 4 Products sold as is as seen or with all faults Repairs or replacements as provided under this warranty are the exclusive remedy of the consumer Audiolab shall not be liable for any incidental ...

Page 11: ...utput 2 x 36W RMS 8 ohm Frequency response 3dB 10Hz 30kHz Ref 1kHz 1dB 20Hz 20kHz Ref 1kHz Total harmonic distortion THD 0 01 1kHz 1W 20Hz 20kHz Signal to noise ratio S N 81 1W 1kHz Standby Power Consumption 0 5W Dimensions W x H x D 246 5 x 114 x 295 mm Carton size W x H x D 411 x 227 x 415 mm Net weight 5 5kg Gross weight 6 5kg Power Requirements depending on region 220 240V 50 60Hz 100 120V 50 ...

Page 12: ...e PE29 7DL UK Tel 44 0 1480 452561 Fax 44 0 1480 413403 http www audiolab co uk IAG reserves the right to alter the design and sepcifications without notice All rights reserved IAG Group Ltd Audiolab is a member of the International Audio Group 0 21 LQGG ...

Reviews: