7300 Industry Drive, North Little Rock, AR 72117
Phone: 501-955-2929 Fax: 501-955-2988
www.audiointl.com
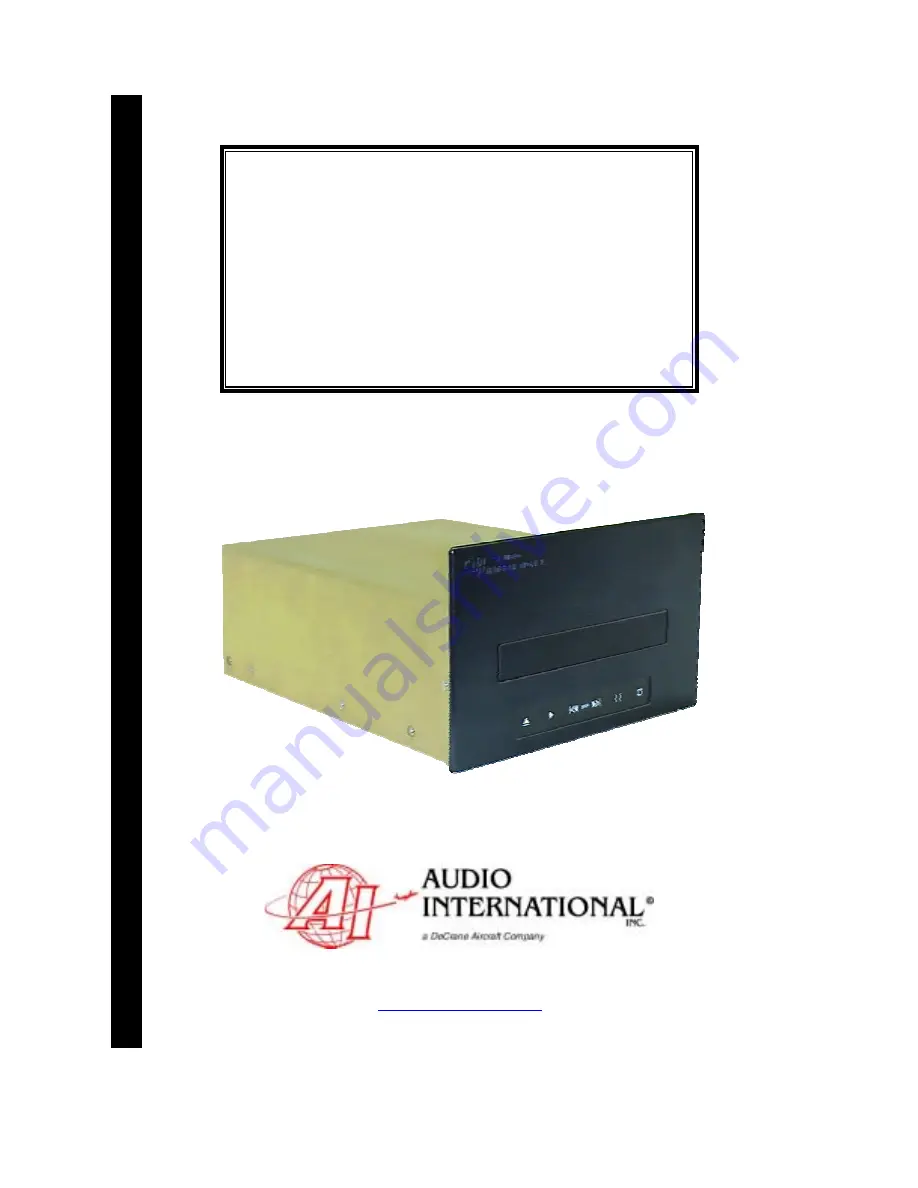
Installation & Operation
Manual
DVD-021-0x-x
Digital Video Disc Player
Document # 540125
Page 1: ...7300 Industry Drive North Little Rock AR 72117 Phone 501 955 2929 Fax 501 955 2988 www audiointl com Installation Operation Manual DVD 021 0x x Digital Video Disc Player Document 540125...
Page 2: ...N NOTICE Despite any other copyright notice this document and information disclosed herein contains confidential proprietary designs owned by Audio International Inc Neither this document nor the data...
Page 3: ...echnical Specifications 5 6 0 Application 5 7 0 Video Audio Disc and Unit Care 6 II INSTALLATION 7 1 0 Prior to Installation 7 2 0 Unpacking and Inspection 7 3 0 Cautions Warnings 8 4 0 Wiring Require...
Page 4: ...Audio International Inc DVD 021 0x x Installation Operation Manual Document 540125 Rev B 12 2000 Page 3 of 31 DVD 021 0x x Digital Video Disc Player...
Page 5: ...the DVD unit plays standard 5 audio CD s The DVD 021 0x x can be mounted in a cabinet or bulkhead A unique strapping feature allows up to four 4 similar devices to be used in the same system at the sa...
Page 6: ...style of any aircraft This option includes plating or painting to match aircraft d cor Contact your AI representative for details 5 0 Technical Specifications Physical Specifications Housing Aluminum...
Page 7: ...rol panels The panels are on AI s proprietary RS 485 digital data bus system and configured to control the operational features of the DVD 021 0x x 7 0 Video Audio Disc and Unit Care 7 1 When playing...
Page 8: ...in careful consideration of the location of this and all other audio visual modules is necessary Some of the items to be considered include Space Available power supply Environmental conditions temper...
Page 9: ...is applied to the wrong points 3 2 DO NOT connect or disconnect the unit while power is applied 3 3 DO NOT remove any factory installed screws Damage to the unit may result and void any warranties 3 4...
Page 10: ...bles Maintain a minimum clearance of three 3 inches from any control cable If wiring is run parallel to combustible fluid or oxygen lines maintain a separation of six 6 inches between the lines 4 2 Po...
Page 11: ...AI s proprietary RS 485 data bus specification is available upon request 5 0 Physical Characteristics 5 1 Refer to Section I Unit 5 0 for unit dimensions 5 2 Refer to Section II Unit 9 0 for attachmen...
Page 12: ...never connect more than one strap pin to the strap common Three 3 strap pins are available to allow the infrared codes to be configured 6 4 The video output connector BNC1 allows for proper video out...
Page 13: ...e DVD with DVD disc Use the DVD 021 0x x front panel controls or the handheld remote control unit to select PLAY Verify that a picture can be viewed on the appropriate monitor and that the audio can b...
Page 14: ...not in the disc tray Disc upside down or not aligned in guide Incompatible disc in tray Dirty Disc Parental lock activated Menu on the monitor Insert a disc in the tray Reposition disc Replace disc wi...
Page 15: ...DVD 021 0x x Installation Operation Manual Document 540125 Rev B 12 2000 Page 14 of 31 9 0 Reference Drawings The following diagrams show the unit dimensions mounting locations and connector location...
Page 16: ...Audio International Inc DVD 021 0x x Installation Operation Manual Document 540125 Rev B 12 2000 Page 15 of 31...
Page 17: ...te or touch screen include play skip pause and stop 1 3 Before setup or playing a disc ensure that aircraft power is applied to the player There are no non off controls on the unit 1 4 Activate monito...
Page 18: ...to skip to a previous track Skip forward button Press to advance to the next track Pause button To pause a disc or CD playback Stop button To stop the disc or CD playback 3 0 Basic Playback 3 1 To ope...
Page 19: ...h the markings inside the remote control unit Service life of the batteries is approximately six 6 months depending on the frequency of use 4 1 3 Program codes are not lost when batteries are removed...
Page 20: ...ss the OPEN CLOSE button on the front panel Remove the disc after the tray opens completely Be sure to press the button a second time to close the tray after the disc has been removed 4 2 1 5 Discs ma...
Page 21: ...ific title using the tile menu function press TITLE The title menu appears on the monitor screen Press one of the arrows on the menu select keypad to locate the desired title If the titles in the titl...
Page 22: ...will start playback from the selected chapter or track When Is pressed the DVD starts playback from the beginning of the current chapter or track When is pressed twice the DVD starts playback from the...
Page 23: ...n the order in which they were programmed Insert a disc into the unit and press MEMORY while the unit is in the stop mode The following menu will appear on the monitor screen 4 2 4 2 Select the items...
Page 24: ...e DVD will magnify in the center of the picture By pressing one of the arrow buttons during zoom playback the zoom point shifts If the zoom point reaches the limit the color of the ZOOM changes If CLE...
Page 25: ...reviations Abbreviation Language Abbreviation Language Abbreviation Language None GD Scot Gaelic OM Afan Oromo CHI Chinese GL Galician OR Oriya DUT Dutch GN Guarani PL Polish ENG English GU Gujarati P...
Page 26: ...itial default setting When a sound that is not included on the disc is selected the DVD unit plays a prior sound programmed on the disc 4 2 7 4 To turn OFF the audio setting indication press CLEAR 4 2...
Page 27: ...9 1 The current title number track number and total playing time of the disc can be viewed on the monitor screen Press DISPLAY during the stop mode The current title number first chapter number in the...
Page 28: ...the category Press ENTER The SET UP MENU screen disappears if the SET UP button is pressed while it is displayed 4 3 2 To Specify Audio Settings 4 3 2 1 After selecting AUDIO SETTING on the SET UP MEN...
Page 29: ...ars on the screen the screen will return to the previous menu screen displayed 4 3 3 To Specify Function Settings 4 3 3 1 After selecting FUNCTION on the SET UP MENU screen press or to select the item...
Page 30: ...een either or both sides of the picture are cut off or LB Letter Box displays theatrical images with masking bars above and below the picture by pressing or and then pressing ENTER 4 3 4 4 When ANGLE...
Page 31: ...with the parental lock function are rated according to their content The contents allowed by a parental lock level and the way a DVD can be controlled may vary from disc to disc For example if the di...
Page 32: ...to enter the 4 digit security code Return to step 3 If a mistake is made press CLEAR and enter the correct 4 digit security code To change the 4 digit security code follow step 1 Press STOP four time...