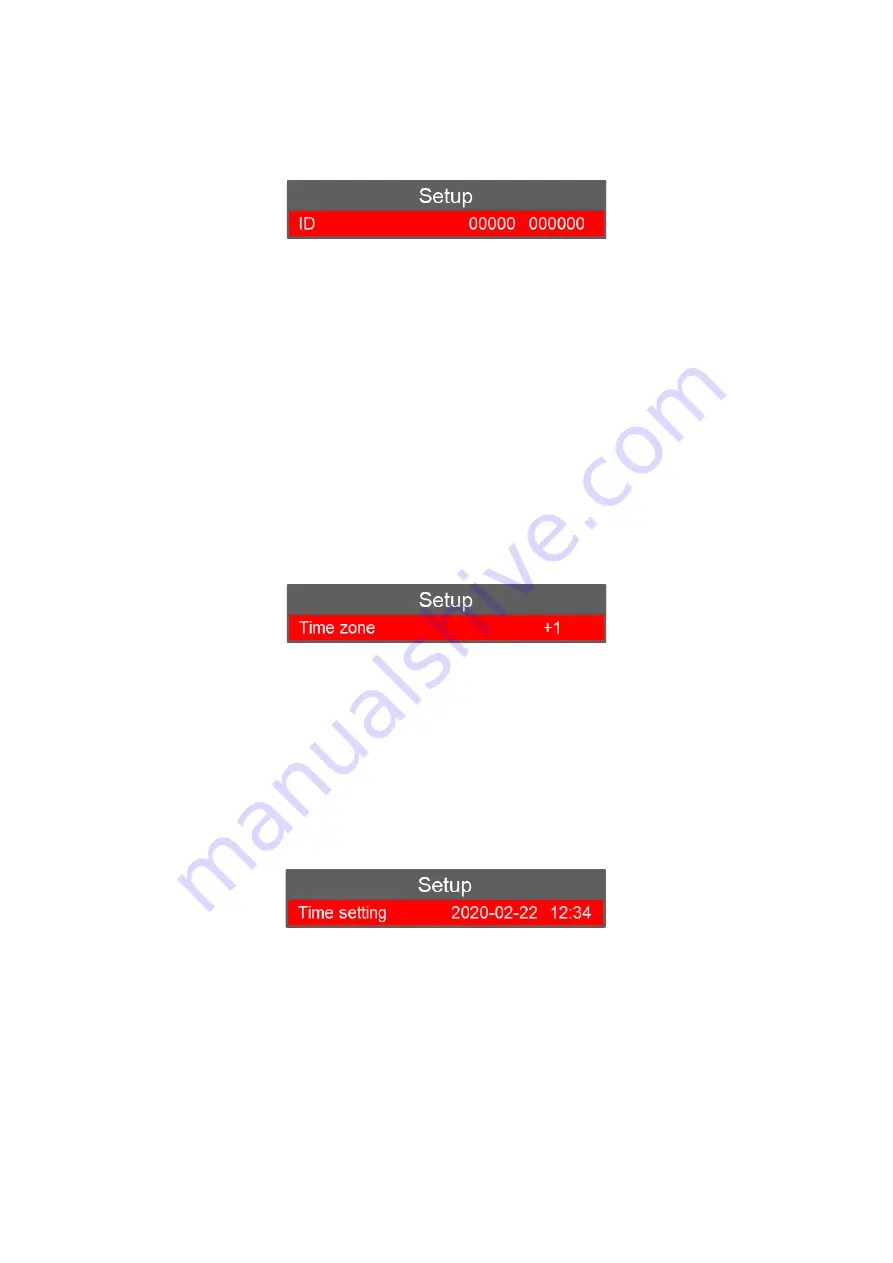
an. ID
Select ID (will be highlighted in RED) and select OK. This gives you the option to set the
ID number of the device and/or user.
The
“Up” or “Down” buttons can now be used to select 0 to 9 or A to Z. Press “OK” to
select and confirm each setting.
The first 00000 are for the User ID if used (the H2 cannot be changed)
The second 000000 are for the Unit ID if used
Once the final Letter / Number has been selected, you will automatically be returned to the
settings menu.
ao. Time zone
Select TIME ZONE (will be highlighted in RED) and select OK. This gives you the option
to set the date and time.
Press the
“Up or “Down” arrow buttons to decrease or increase the time zone to select the
required position (e.g. 0 = Greenwich Mean Time), a
nd press “enter” to confirm.
ap. Time setting
Select TIME SETTING (will be highlighted in RED) and select OK. This gives you the
option to set the date and time.
Press “Left” or “Right” to select the required position (year, month, day) and press “OK”.
Press the
“Up” or “Down” buttons select the correct Year and press “enter” to confirm.
Follow the same process for the Month, Day, Hour and Minute.
Press “OK” to confirm
each setting.
Once the Minute has been confirmed, you will automatically be returned to the settings
menu.


