7. Computer Connection Instructions
NOTES:
a. Only ever use the supplied USB cable when connecting the device to a Computer.
b. No additional Drivers or Software are supplied for this device. The camera will work on
Operating Systems such as Windows XP / 7 / 8 / 10 and any drivers needed should
automatically be installed by Windows.
1. Connect the supplied USB Cable to the device and Computer
2. Turn on the device
3. Enter the correct Password (the computer will not detect the device until the password
has been entered).
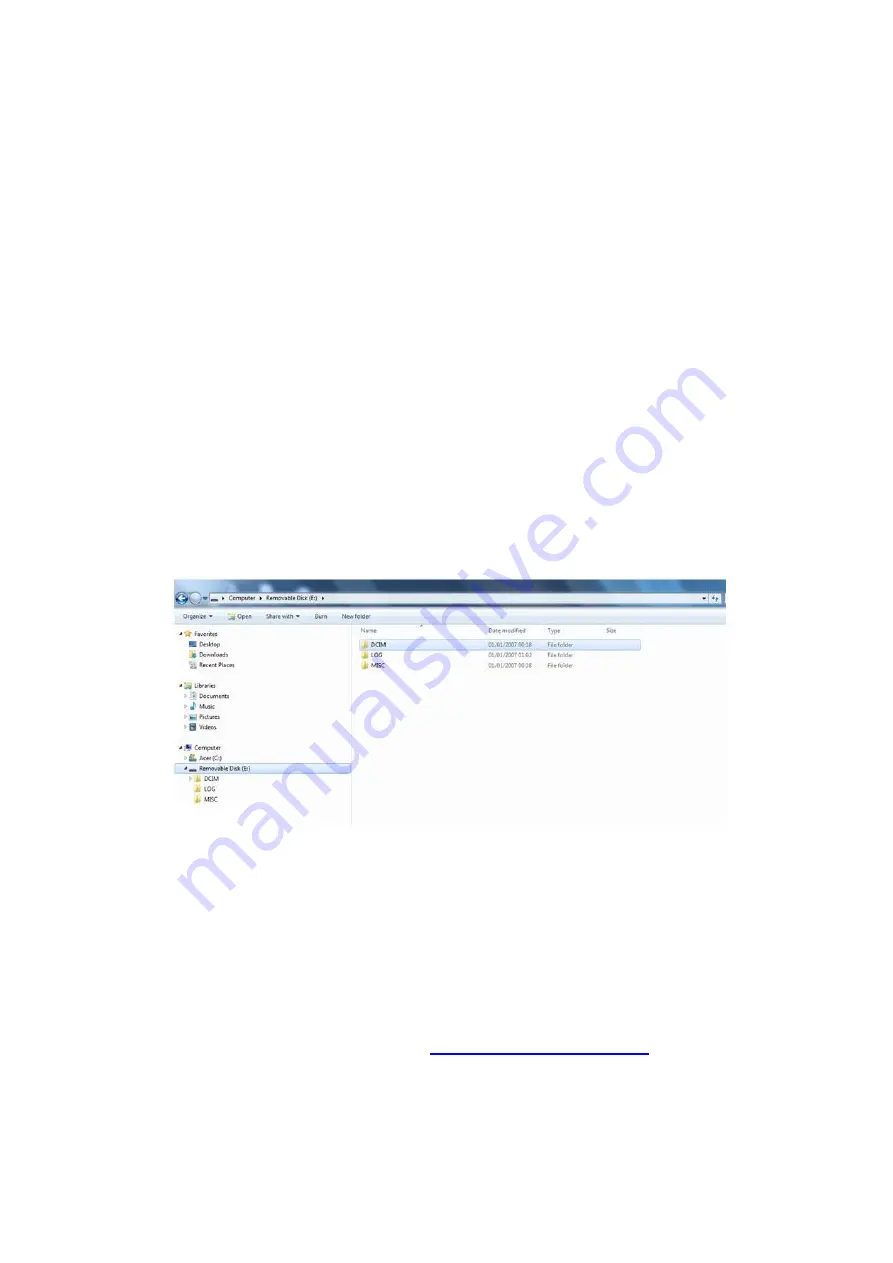
4. The device will show “Connected to PC” on the rear screen, and the device will appear
as an external “Removable Disk” as per the diagram below:
5
. All video, still images and audio files will appear in the DCIM folder. The LOG folder
contains a ba
sic “admin trail” of the device use. The MISC folder is not used and may not
show.
6.
Click to open one of the recordings and this will immediately start playing the recording in
a movie application (e.g. VLC Media Player / Windows Media Player).
VLC Media Player is recommended for video files recorded on the Camera
– a free
download for this player can be found at:
). Still images are
stored as JPEG files and can be opened using media such as Windows Photo Viewer etc.
7. Removing the USB cable from the device, when connected to a PC, will automatically
turn the device off.


