


6
66
6
| «
WHAT’S IN THE BOX »
WHAT’S IN THE BOX
WHAT’S IN THE BOX
WHAT’S IN THE BOX
WHAT’S IN THE BOX
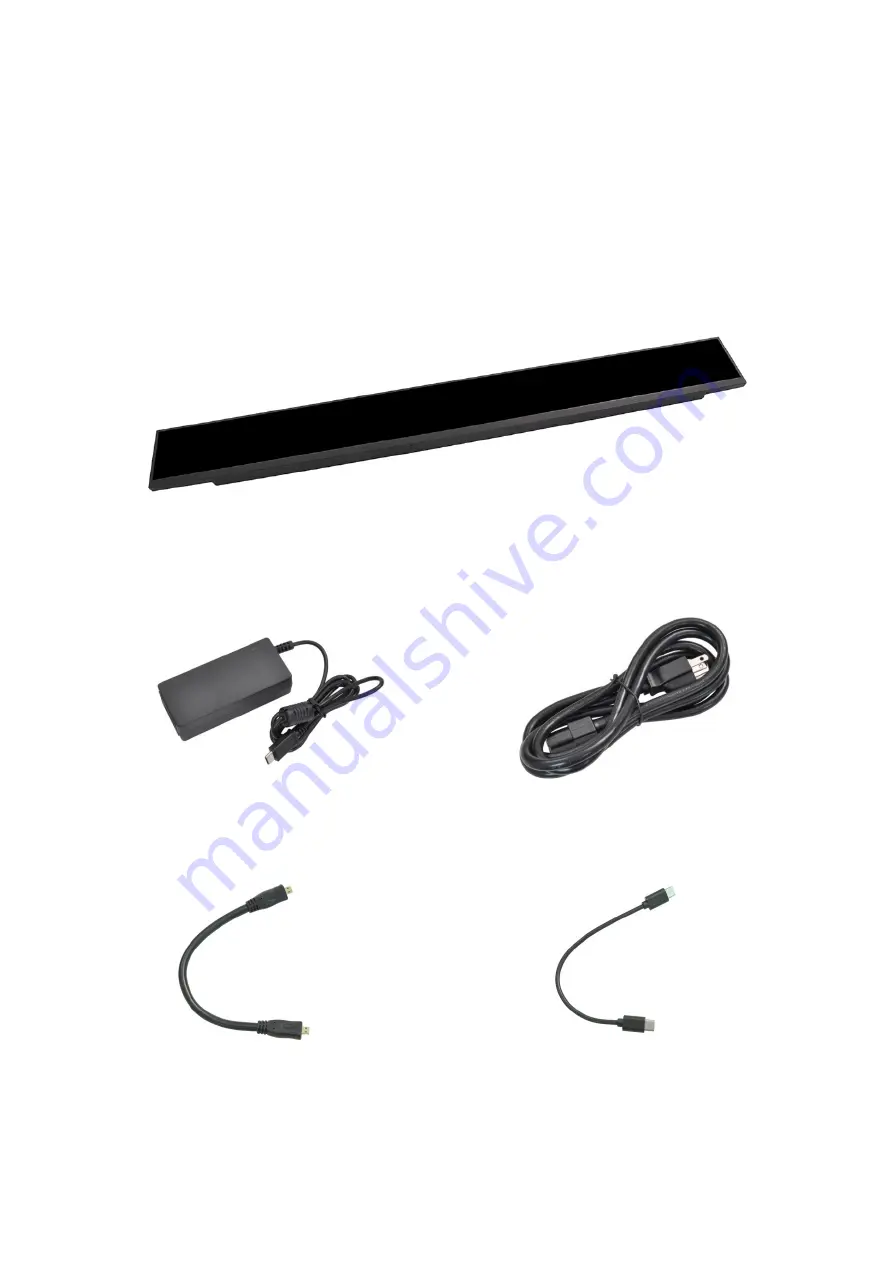
Package Contents
Package Contents
Package Contents
Package Contents
Check your product box for the following items. If there are any missing accessories, contact the
local dealer where you purchased your display. The illustrations in this manual may differ from the
actual product and items.
Display x 6
Adapter x 6
Power Cord x 6
Micro-HDMI Cable x 6
Type-C USB Cable x 6


