16
3.2 Access from the internet
Once connected, the network camera is accessible on your local network (LAN). To access the
network camera from the Internet you must configure your broadband router to allow incoming data
traffic to the network camera. To do this, enable the NAT traversal feature, which will attempt to
automatically configure the router to allow access to the network camera. This is enabled from
Setup > System > Network > NAT. For more information, please see “3.5.7 System > Network >
NAT” of User's Manual.
3.3 Setting the admin password over a secure connection
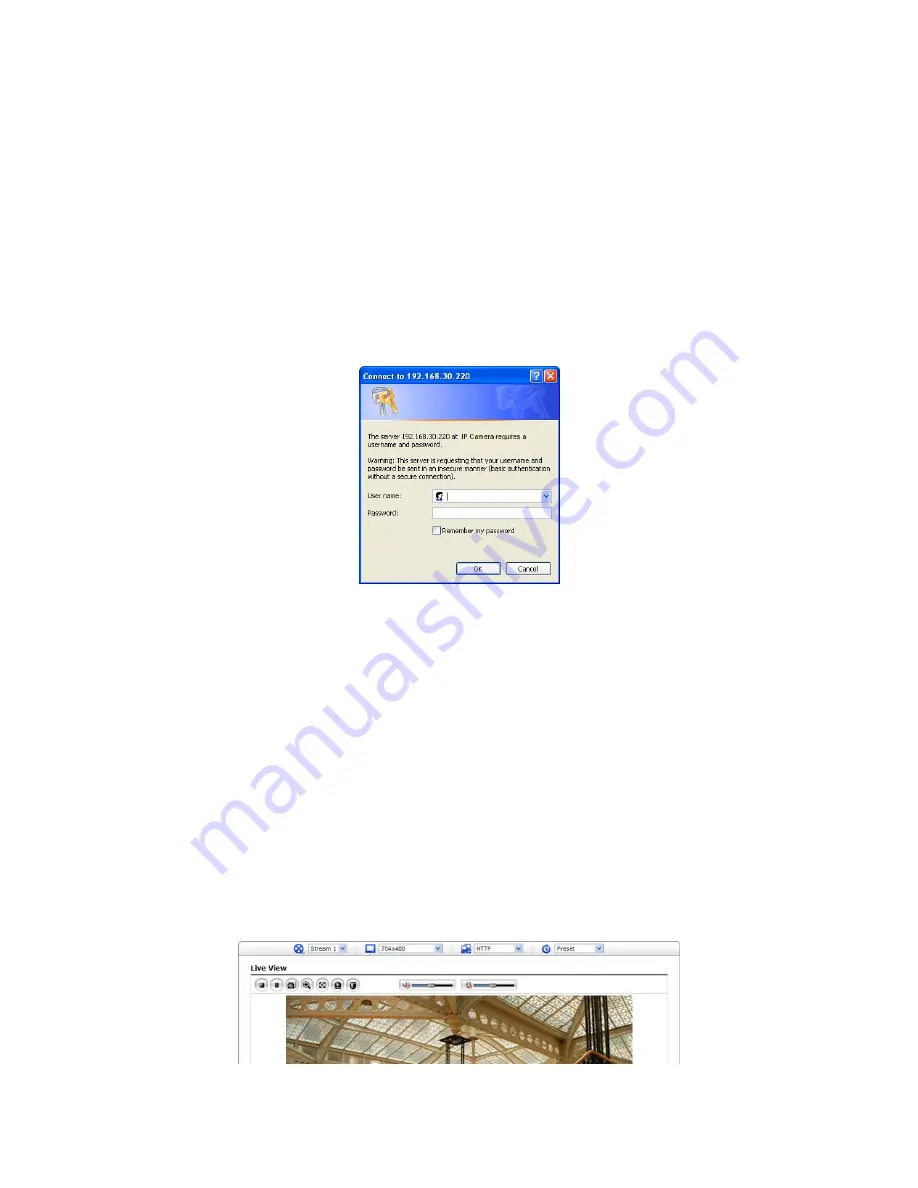
To gain access to the product, the password for the default administrator user must be set. This is
done in the “Admin Password” dialog, which is displayed when the network camera is accessed for
the setup at the first time. Enter your admin name and password, set by the administrator.
NOTE:
The default administrator user name and password is “admin”. If the password is lost, the
network camera must be reset to the factory default settings. Please see “Resetting to the
factory default settings”.
To prevent network eavesdropping when setting the admin password, this can be done via an
encrypted HTTPS connection, which requires an HTTPS certificate (see
NOTE
below).
To set the password via a standard HTTP connection, enter it directly in the first dialog shown
below. To set the password via an encrypted HTTPS connection, please see “3.5.7 System >
Security > HTTPS” of User's Manual.
NOTE:
HTTPS (Hypertext Transfer Protocol over SSL) is a protocol used to encrypt the traffic
between web browsers and servers. The HTTPS certificate controls the encrypted
exchange of information.
3.4 Live View Page
The Live View page comes in several screen modes: 1920x1080, 1280x1024, 1280x720, 704x576,
704x480, 640x480 and 320x240. Users are allowed to select the most suitable one out of those
modes. Adjust the mode in accordance with your PC specifications and monitoring purposes.


