


14
If you do not have a DHCP server, get an IP
address and subnet mask from your network
administrator, type it into the area provided, and
click on
Next
.
5
Click on
Launch Browser
Your browser points to the ATTO ExpressNAV
splash screen. If you use Internet Explorer as a
browser, continue on to
Internet Explorer setup
below. If not, continue on to
Begin initial
configuration
.
Internet Explorer setup
1
Open your browser
2
Select
Internet Options
.
3
In the
Internet Options
screen, select the
Security
tab.
4
Click on the
Trusted Sites
icon.
5
Click on the
Sites
button.
6
In the text box
Add this Web site to the zone
,
add the IP address of the appliance. You may
use wild cards.
7
Click on
Add
8
Uncheck the
Require server verification
check box.
9
Click
OK.
10 At the bottom of the
Internet Options
box, click
on
OK
and close the box.
Begin initial configuration
1
The ExpressNAV interface welcome screen
appears. Click on
Enter Here
2
Type in the user name and password.
Note
The default values are user name
root
and
password
Password
. The user name is case
insensitive and the password is case
sensitive.It is best practice to change the
default user name and password. Refer to
Interface options
on page 25.
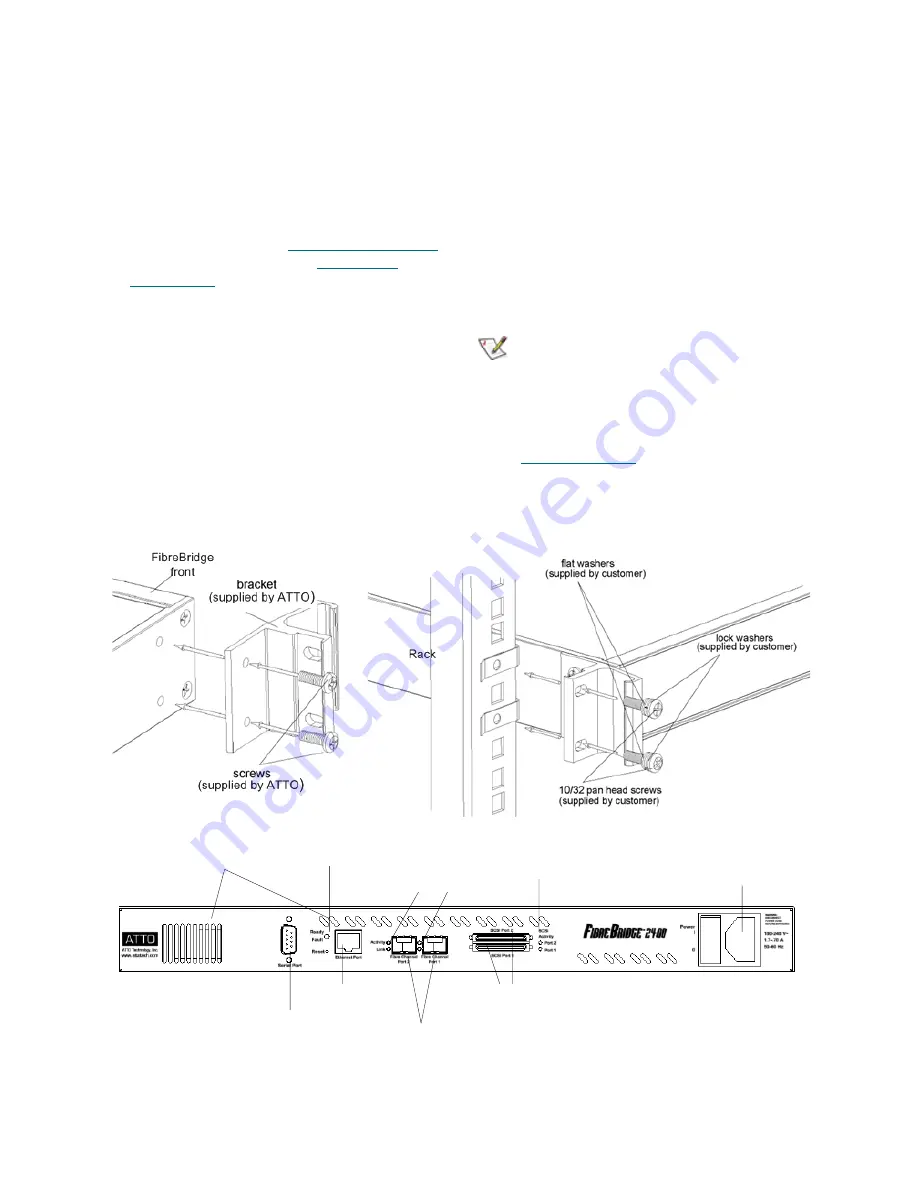
Exhibit 2.0-1 Brackets to install the FibreBridge 2390R/D or 2400R/D into a rack.
Exhibit 2.0-2 Typical FibreBridge connectors, LEDs and power receptacle
Ready/Fault LED
Ethernet port
Fibre Channel ports
SCSI ports
SCSI activity LEDs
FC activity & link LEDs
Serial port
Power receptacle
air vents


