background image

Desktop  Installation

1. If you desire, you can attach the

   desk wall mount to the base to

   elevate the angle of view to better

    see the display and keys.

2. Connect the telephone lines as

   shown in the section “Connection

    your telephone lines.”

3. Plug one end of the handset coiled

   cord into the handset. Plug the

   other ends of the cord into the

   handset port on the left side of the

  phone 

base.

4. Place the handset in the handset

  cradle.

Wall Mounting

The telephone may be installed on the 

studs of a standard wall phone plate or 

onto two screws (not included) fastened 

into the wall (see page 21 for template). 

When installing screws into drywall, use 

wall anchors (not included) to ensure 

that the screws are secure. To install 

screws properly, remove the template 

(included) and use it to mark the screw 

locations on the wall. Insert the screws 

into the wall leaving 5mm of each screw 

extending out form the wall.

1. Connect the telephone lines as

   shown in the section “Connecting

    your telephone lines.”

2.  Pull out and turn the handset catch

   180 degrees to the wall mount

  position.

3. Attach the desk/wall mount to the

    base of the telephone bracket insert 

  hook 

fi

 rst, then lock in the others.  

   Make sure the cables run through 

   the cable grooves in the mount so 

   they do not impede wall mounting. 

4. Slip the phone onto the wall, lining

    up the wall mounting holes over the 

   all plate posts or screws and then 

   slide the telephone down so its


fi

 rmly in place.

5. Plug one end of the handset coiled

   cord into the handset. Plug the

   other end into the handset port

   located on the left side of the

  phonebase.

6. Place the handset in the handset
  cradle.

12

Programming the Telephone 
Settings


Any time during telephone
programming, press [

DIAL/ENTER

to advance to the next setting, press 
[

DELETE

] to go back to the

previous setting, or press [

PROG

to move to the next setting group.
Setup will time out if idle for 30 seconds.
 
1. Press  [

PROG

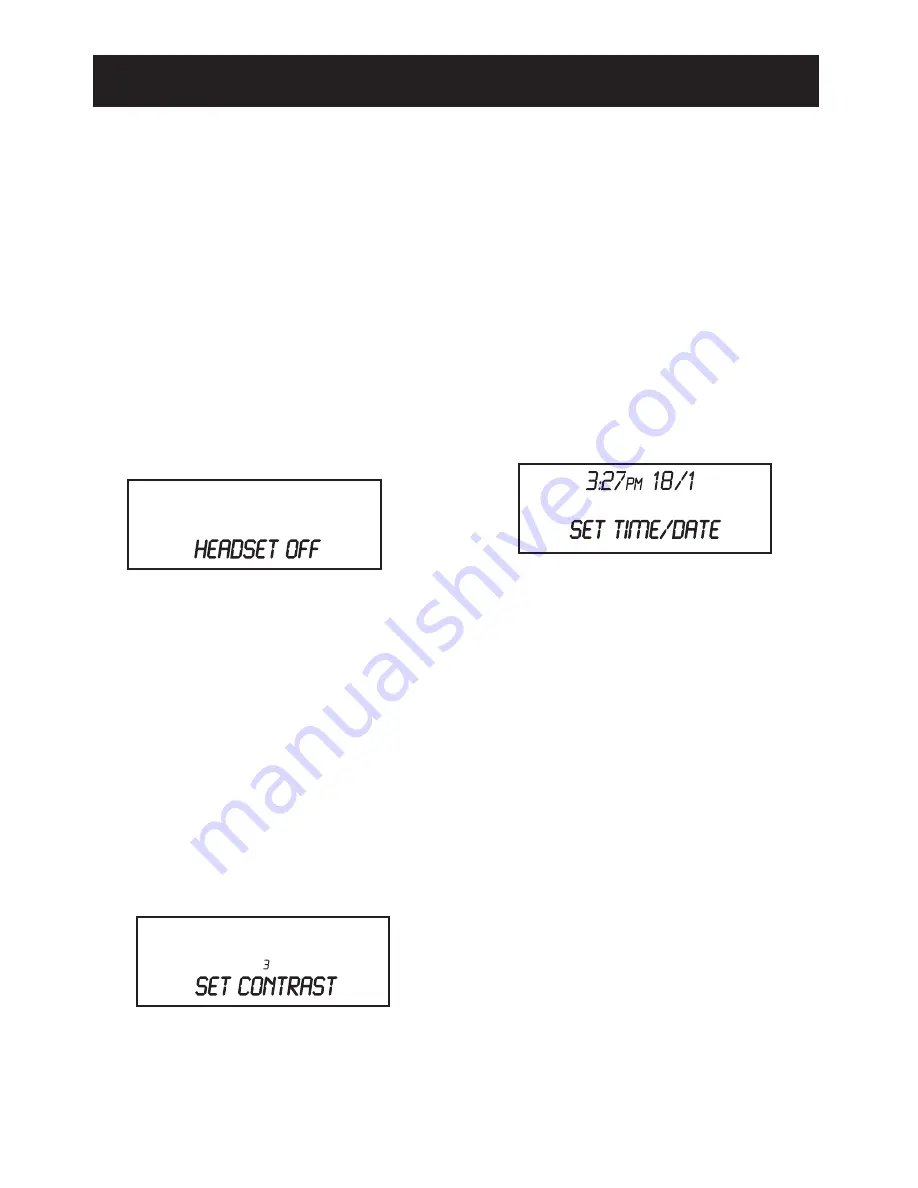
]. The display will

   say “HEADSET OFF. ” The current
  setting 

will 

fl

 ash. 

2. Press [

] or [

] to switch between

   Headset On and Headset Off, or
   use the dial pad to select (1 = On,
  2 

=Off). 

Note

: If the headset is enabled (On), 

the handsfree will be disabled.

3. Press [

DIAL/ENTER

] or [

PROG

] to

  advance to next setting. “SET
   CONTRAST” will display with the
  current 

priority 

fl

 ashing. 


4. Press [

] to decrease the setting,

    [

] to increase the setting, or use

    the dial pad to key in the value. The
   default setting is 3. The range of
    contrast settings is 1-5.
 
5. Press [

DIAL/ENTER

] or [

PROG

] to

    advance to next setting. The display
   will show “SET TIME/DATE.” The
   current time and date setting will 
    display with the hour 

fl

 ashing. Press

    [

PROG

] to skip setting the time and

  date.

6. Press [

] to decrease the setting,

    [

] to increase the setting, or use

    the dial pad to key in the value (press
   [1] for AM and [2] for PM). Press
    [

DIAL/ENTER

] to move between the

   different settings. The default time
   date setting is 12:00 am 1/01. The
   local clock will also be updated
   automatically when a caller ID is
  received.

13

TELEPHONE SETUP

INSTALLATION

Summary of Contents for Delta 700

Page 1: ...during the period of the guarantee the complete telephone should be re turned to your supplier adequately and safely packed together with the proof of purchase The liability of ATL telecom Limited wi...

Page 2: ......

Page 3: ...22...

Page 4: ...one touch speed dial memories Desk or wall mountable Call Line Identity Handsfree Up to 32 two touch speed dial memories Last number redial Line Status indication Hold Conference calling Pause Time Br...

Page 5: ...s clock and calendar number dialed low battery indicator Caller ID information and call timer Flash A signal sent by the phone to the local telephone company supporting services such as call waiting H...

Page 6: ...6 Front View LOCATIONS OF CONTROLS AND FEATURES PROG...

Page 7: ...er ID entries for line 1 2 Press DELETE The display will ask ERASE LINE 1 3 Press DELETE to confirm Deleting all records 1 To erase all caller ID go to the first screen of caller ID review which displ...

Page 8: ...uch memory or the speed dial directory 17 Speaker 18 Transfer Key Transfer The Transfer key is used to access telephone company services like call waiting 19 Delete Key DELETE Used to erase a caller I...

Page 9: ...phone the display shows the line number and its status When the telephone is not in use if a line is ringing the display shows the line number and its status When a line on this phone is in use the LC...

Page 10: ...rtment cover 4 Insert 4 AA batteries into the compartment paying close attention to the labelled polarities 5 Close the battery compartment cover and secure with the screw Low battery If the batteries...

Page 11: ...have your local telephone company install as many telephone lines and wall sockets as necessary to enable you to connect it 11 Connecting the phone with a single line Connecting the phone using two l...

Page 12: ...crews properly remove the template included and use it to mark the screw locations on the wall Insert the screws into the wall leaving 5mm of each screw extending out form the wall 1 Connect the telep...

Page 13: ...SET CONTRAST will display with the current priority flashing 4 Press to decrease the setting to increase the setting or use the dial pad to key in the value The default setting is 3 The range of cont...

Page 14: ...ce the handset Answer a call during a conversation 1 Caller ID information if any will be displayed after one ring 2 To answer the new call press the ringing line The telephone will switch to that lin...

Page 15: ...ations of important speed dial numbers on the memo log Note A maximum of 3 one touch and 32 speed dial entries can be stored in the directory Using the Speed Dial Directory Dialing out with directory...

Page 16: ...DIAL ENTER when you are satisfied with the number you are editing 4 The LCD will say EDIT NAME and then the current name is displayed 5 Press or DELETE to remove an incorrect letter Press to move the...

Page 17: ...rd 1 During caller ID review press DELETE The display will ask ERASE THIS ITEM 2 Press DELETE to confirm 17 Reviewing Caller ID Records 1 Press or The LCD displays CALLERS LIST and the number of Calle...

Page 18: ...er ID entries for line 1 2 Press DELETE The display will ask ERASE LINE 1 3 Press DELETE to confirm Deleting all records 1 To erase all caller ID go to the first screen of caller ID review which displ...

Page 19: ...next to the handset port Note Headsets used with this telephone must comply with the Standard EN60950 1 Pause You may use this feature to create a dialing pause between digits during a call Typically...

Page 20: ...s clock and calendar number dialed low battery indicator Caller ID information and call timer Flash A signal sent by the phone to the local telephone company supporting services such as call waiting H...

Page 21: ...21 WALL BRACKET FITTING TEMPLATE...

Page 22: ...22...

Page 23: ...service may not work when the phone is connected to a Private Branch Exchange PBX The call is coming from an area not supplying Caller ID data Unknown Caller will appear on the display The caller has...

Page 24: ...during the period of the guarantee the complete telephone should be re turned to your supplier adequately and safely packed together with the proof of purchase The liability of ATL telecom Limited wi...

Reviews: