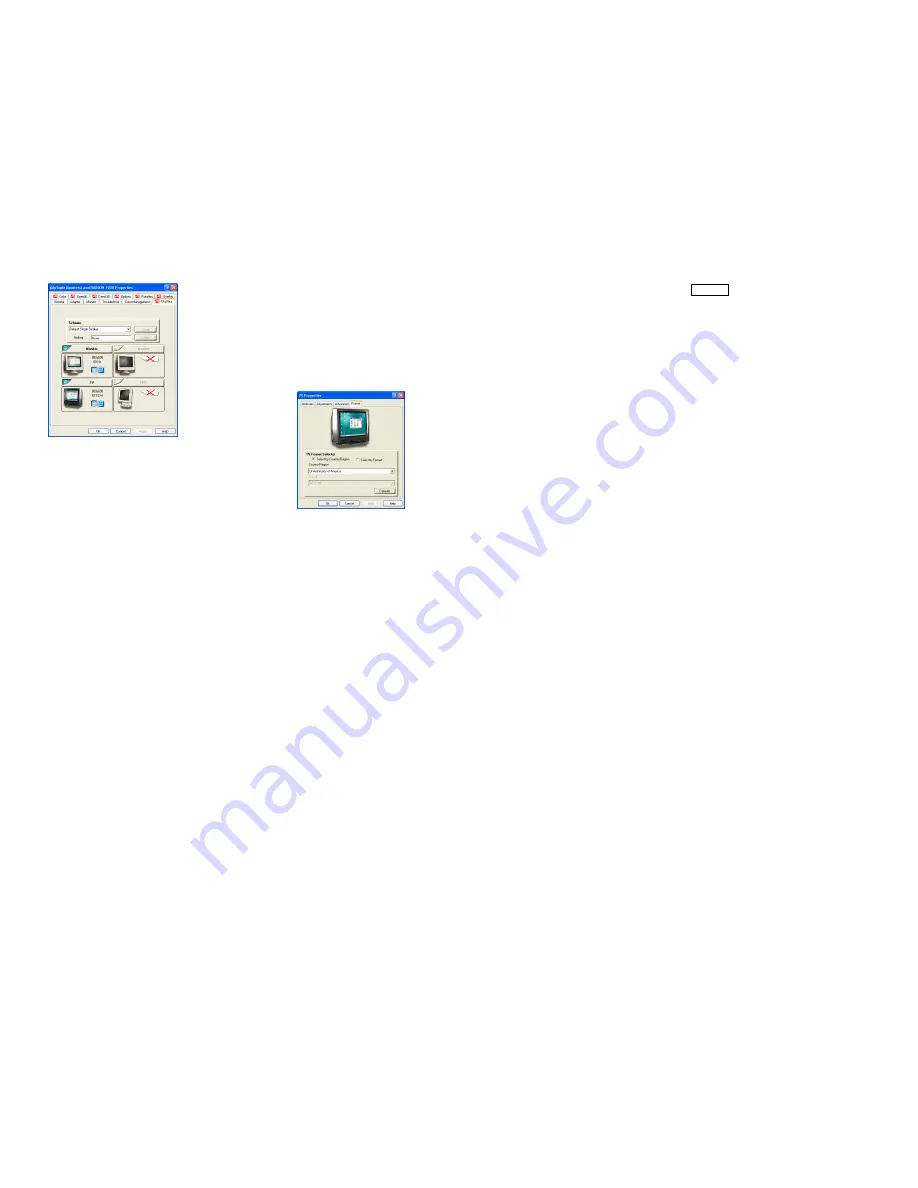
To change the display mode of a display device
Click the Primary/Secondary button for the display device whose display
mode you want to change. The button label switches between "Primary"
and "Secondary" to indicate the current display mode. Your display
device must be enabled before you can change its display mode.
Notes:
•
At least one of your display devices must be enabled.
•
At least one of your display devices must be set to the primary
display mode.
To select your TV broadcast format by country
1.
Click the Settings tab to view the Display Properties.
2.
Click the Advanced button.
3.
Click the Displays tab.
If you are running an extended desktop, you must first select the video
adapter whose display properties you want to change.
4.
Click the TV button.
Your TV must be enabled before you can change its display properties.
5.
Click the Format tab.
6.
In the Country box, select a country from the list.
7.
Click OK or Apply to save the changes you have made.
Note: In general, there is only one broadcast format supported by a
given country.
To select your TV broadcast format directly
1.
Click the Settings tab to view the Display Properties.
2.
Click the Advanced button.
3.
Click the Displays tab.
If you are running an extended desktop, you must first select the video
adapter whose display properties you want to change.
4.
Click the TV button.
Your TV must be enabled before you can change its display properties.
5.
Click the Format tab.
6.
In the Format box, select a broadcast format from the list.
7.
Click OK or Apply to save the changes you have made and exit to the
Displays page.
8.
Click Close.
9.
Click Yes to restart your computer.
Multiple Display Support in Windows 98
Windows 98 provides support for using more than one display device at a
time – you simply install a separate AGP graphics card for each
additional display you intend to use. With multiple displays, you can
expand your desktop, run different programs on separate displays, even
play some newer games with multiple views. And each display can have
a different resolution and color depth.
Note that, under Windows 98, one graphics card is automatically
designated by the system as the primary graphics card. Each additional
graphics card is designated by the system as a secondary graphics card.
Certain 3D and multimedia features are only available on the primary
graphics card.
If you are installing more than one graphics card, you need to consider the
following:
• If you install both a PCI and an AGP graphics card in the same system,
the AGP graphics card will become the secondary graphics card.
• If you install two or more PCI graphics cards in the same system, the
primary graphics card is typically the one installed in the PCI slot with
the lowest number. This is typically the PCI slot furthest from the
computer’s ISA slots. Consult your computer system manual for help in
selecting a slot.
Deutsch
So installieren Sie die erweiterten ATI Treiber für Windows®
95/98 oder Windows® Me
1.
Legen Sie die ATI INSTALLATIONS-CD-ROM in Ihr CD-ROM-
Laufwerk.
2.
Klicken Sie auf Start.
3.
Wählen Sie Ausführen.
4.
Geben Sie die folgende Zeile ein:
D:\ATISETUP.EXE
(Falls Ihr CD-ROM-Laufwerk nicht denn Buchstaben „D“ trägt,
ersetzen Sie „D“ durch den richtigen Laufwerksbuchstaben.)
5.
Folgen Sie den Instruktionen des Installationsassistenten um die
Installation zu beenden.
So installieren Sie den erweiterten ATI-Treiber für
Windows® 2000 oder Windows® XP
1.
Starten Sie Windows.
2.
Sobald Windows 2000 Ihre Grafikkarte gefunden hat, erscheint eine
Dialogbox mit dem Hinweis Neue Hardware gefunden.
3.
Clicken Sie auf Abbrechen um die Windows Arbeitsoberfläche
Aufzurufen.
4.
Legen Sie die CD-Installations-CD-ROM in Ihr CD-ROM-Laufwerk
ein.
5.
Klicken Sie auf Start.
6.
Wählen Sie “Ausführen”.
7.
Geben Sie die folgende Befehlzeile ein:
D:\ATISETUP.EXE
(Falls D nicht ihr CD-ROM Laufwerk ist, ersetzten Sie D durch den
korrekten Laufwerk-Buchstaben.)
8.
Klicken Sie auf “ATI Einfache Installation” um den
Installationsassistenten aufzurufen.
9.
Daraufhin erscheint die Dialogbox der Lizenzvereinbarung. Wählen
Sie den “Ja” Schalter.
10.
Die Dialogbox “Digitale Signatur nicht gefunden” erscheint. Klicken
Sie auf den “Ja” Button.
11.
Folgen Sie den Anweisungen auf Ihrem Bildschirm um die
Installation abzuschließen.


