background image

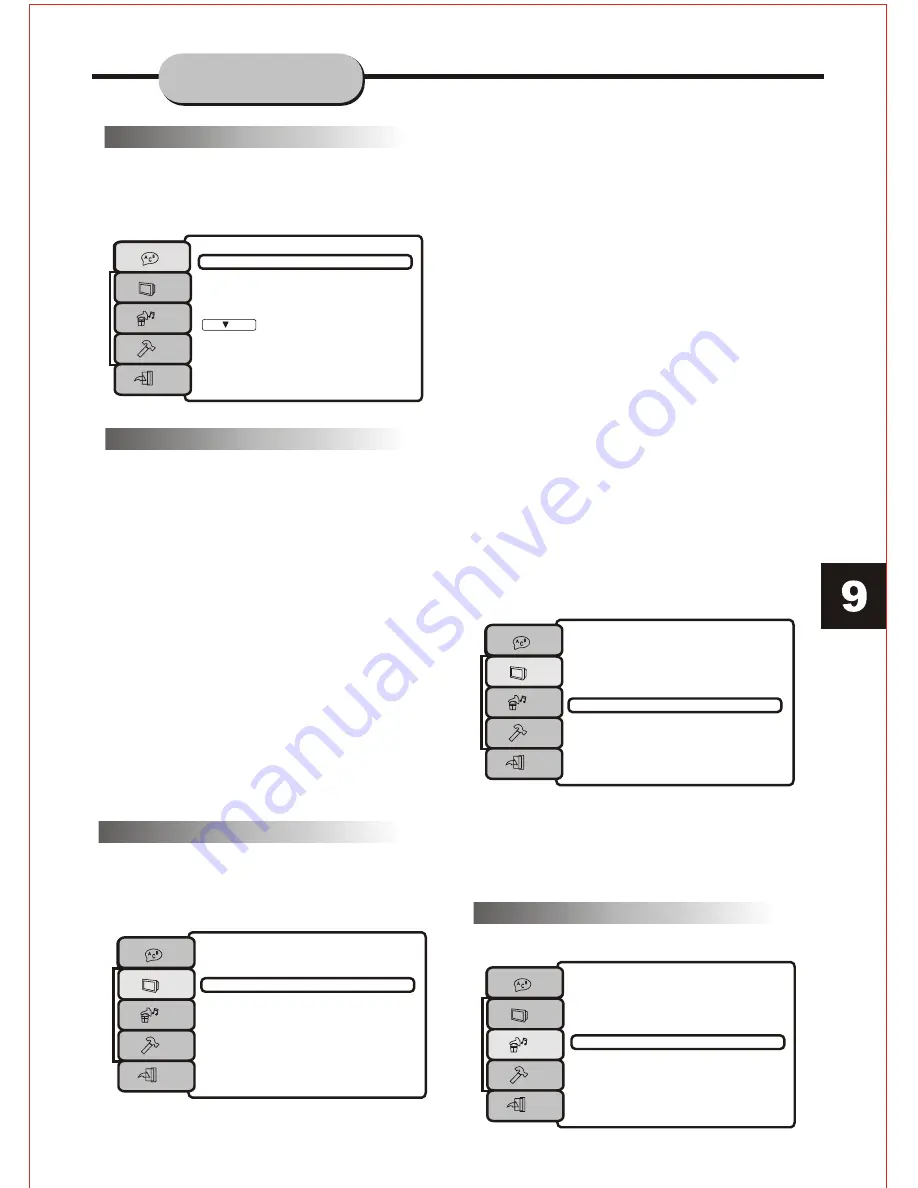
Language Setup

OSD

Menu

Audio

Subtitle

:English

: English

: English

:English

Screen Setup

TV Type

Screen Saver

Video Output

:4:3 PS

Brightness

Contrast

Screen Setup

TV Type

Screen Saver

Video Output

:S-Video

Brightness

Contrast

Includes the setup of speakers.

Audio Setup

General Setup

This option is used to setup the following 
format and functions: Language Setup, 
Screen Setup, Audio setup, Custom Setup, 
and Exit Setup.

Language Setup

OSD Language:

There are three languages to select from 
English, French and Spanish.

DVD MENU: 

When playing DVD discs, the player 
can support English, Chinese, Japanese, 
French, German, Italian, Spanish, Portuguese, 
Hindi, Thai and Russia. Korean and others

AUDIO:

When playing DVD discs, the player 
can support English, Chinese, Japanese, 
French, German, Italian, Spanish, Portuguese, 
Hindi, Thai and Russia. Korean and others

SUBTITLES:

When playing DVD discs, the player 
can support English, Chinese, Japanese, 
French, German, Italian, Spanish, Portuguese, 
Hindi, Thai and Russia. Korean and others


Screen Setup

Follow the directions displayed in "Setup" 
and press the remote control buttons based 
on the TV Screen display and SCREEN will 
be setup.

TV TYPE

There are three kinds of TV type, 4:3 PS (Pan 
& Scan), 4:3 LB (Letterbox) & 16:9 (Wide 
Screen) which can be selected based on the 
disc format & TV screen.

SCREEN SAVER

When the player has stopped for more than 
15 seconds, a SCREEN SAVER of the DVD 
logo will appear on the screen automatically.

VIDEO OUTPUT
S-VIDEO:

When selecting the S-Video output, please 
connect an S-Video cable (not included) 
from S-Video output on the rear panel to the 
corresponding jack on the TV set. 

COMPONENT OUTPUT:

When selecting the Component Output
 (CVBS + YUV) please connect the AV cable 
from video jacks on the rear panel to the 
corresponding jacks on the TV Set.

PROGRESSIVE SCAN:

When selecting the P-Scan/output, please 
connect the AV cable from the Y, Pr/Cr, and 
Pb/Cb outputs on the rear panel to the 
corresponding jacks on the TV set.

BRIGHTNESS & SHARPNESS


When selected, press the UP & DOWN 
directive buttons on the remote control to 
adjust the brightness and sharpness of the 
screen image.

Audio Setup

Digital Out

Downmix

:SPDIF/RAW

:OFF 

:SPDIF/PCM

SYSTEM SETUP

Summary of Contents for DVA200

Page 1: ...INSTRUCTION MANUAL 1 11 DVA200 2 1 Channel Home Theater System ...

Page 2: ... blades and a third groundingprong The wide blade and the third prong are provided for your safety If the provided plug does not fitinto your outlet consult an electrician for replacement ofthe obsolete outlet 10 Protect the power cord from being walkedon or pinched 11 USE only attachments or accessoriesspecified by the manufacturer 13 Unplug this apparatus during lightning storms orwhen unused fo...

Page 3: ...d Back Panels 1 Front Panel 1 Back Panel 1 Remote Control 2 Operating the Remote Control 3 4 Functions 5 8 System Setup 9 10 MP3 Function 10 JPEG Files 11 Troubleshooting 11 Connecting Devices TABLE OFCONTENTS ...

Page 4: ...EO OUTPUT 3 YUV OUTPUT 4 AUDIO VIDEO OUTPUT 5 EARPHONE OUTPUT 1 POWER 2 PLAY PAUSE 3 STOP 4 PREV 5 NEXT 5 Back Panel Functions L R L R PUSH PUSH DVA200 STOP POWER PREV NEXT PLAY PAUSE S VIDEO YUV A VOUT EARPHONE AC IN 4 5 ...

Page 5: ...DIO R DVA200 NUMBER BUTTONS 13 CONTROL FWD Forward 11 REV Reverse 12 MENU 8 26 PREV Previous PROG Program 15 31 A B Repeat A B VOL Volume Down 6 23 VOL Volume Up POWER 1 ANGLE 2 SUBTITLE 3 TITLE 4 PBC Playback Control 5 ENTER 7 PLAY PAUSE 9 STOP 10 CLEAR 14 SLOW 17 REPEAT 16 18 DISPLAY 19 LANGUAGE 20 RESET 21 RESUME 22 MUTE 24 SETUP 25 STEP 27 NEXT 38 TIME 29 ZOOM 32 AUDIO R Right 30 AUDIO L Left ...

Page 6: ...or strong fluorescent lightas it may cause the unit not tooperate correctly When other remote controlsare nearby or when the remote isused near equipment using infrared rays interferencemay occur Placing an object onthe remote control may cause it accidentlydepress a remote button changing a functionand shortening battery life Do not cover thefront of the DVDreceiver with tinted glass asit may cau...

Page 7: ... CSA STD C22 2 NO 60065 C US 3127509 1 Plug the power plug into an AC source 2 Follow above connection diagram and connect speakers to your source 3 Check that the volume control is turned low or to the minimum position 4 Turn power volume switch on check that the power indicator light comes on 5 Start your DVD or music source Make sure your DVD or music is playing so you have sound coming from so...

Page 8: ...the player hasread the disc theunit automatically will begin playback Note It is possible todamage a disc ifit is not placed correctly on theguides in the disc tray Thismay also cause theDVD player to malfunction Do notforce or place anything other than a5 DVD or CDonto the disc tray Never move the DVDplayer during playback as this maycause damage to the disc as well asthe player To openand close ...

Page 9: ...ill slow to1 2 speed to 1 4 to 1 8 to 1 16 to 1 32 and back to normal In reverse the speed willalso slow from 1 2 speed to 1 4 to 1 8 to 1 16 to 1 32 and back to normal To resume normal playback at anytime press the PLAY PAUSE button Screen Display While a disc is playing the status of various functions may be checked such as the title track number and several time categories 1 Press the DISPLAYbu...

Page 10: ...pear Select the desired language by pressingthe LANGUAGE button Note The disc being playedmust be multi language Encoded Locating a Title DVD discs are normallydivided into titles which are then sub dividedinto chapters A Specific titleor chapter can easilybe located Specific titles canbe found using the title menu functionif the disc contains a title menu orthrough its unique title number Title F...

Page 11: ...ntrol by pressing the VOL button to raise thevolume or the VOL button to lower it By pressing the MUTE button no audiowill be heard To returnthe audio press theMUTE button again Program This function allows youto program the desired order of playfor specific tracks Press the PROG button and the Program menu will appear onthe screen Set the programs play order usingthe number buttons Then scrollto ...

Page 12: ...Korean and others Screen Setup Follow the directions displayedin Setup and press the remotecontrol buttons based on the TVScreen display and SCREENwill be setup TV TYPE There are three kindsof TV type 4 3 PS Pan Scan 4 3 LB Letterbox 16 9 Wide Screen which can beselected based on the disc format TV screen SCREEN SAVER When the player hasstopped for more than 15 seconds a SCREENSAVERof the DVD logo...

Page 13: ...p When you finish thesetup please select the Exit Setup the playerwill be back tothe TV screen MP3 FUNCTION OPERATION OFMP3 FUNCTION MP3 is an audiocompression mode using Level 3 of theinternational standard MPEG The audio signal iscompressed in a rateof 12 1 An MP3disc can contain over600 minutes of music thatrivals Compact Discs in sound quality Files Menu of Mp3Players When playing a MP3disc tw...

Page 14: ...customer support department Possible Problems Solutions No power 1 Check to ensurethat the power plugis securely connected to the poweroutlet and that theoutlet is in working condition test outlet by CAREFULL Y plugging another electrical itemin to it No sound 1 Check the connectionbetween the DVD player and the TVset amplifier orany other unit theDVD player is connected to 2 Check to ensurethe TV...

Page 15: ...oblem Failure to encloserequired information will result in delay ofyour shipment Please allow4 6 weeks for productservice or replacement This warranty doesnot cover any product which has been subjectto damage due to an act ofNature misuse neglect accident abuse commercial use or modification of or to any part of theproduct including the antenna Damage to external devices such asspeakers and other...

Page 16: ...d toalert the user tothe presence of uninsulated dangerous voltage within theproduct s enclosure that maybe of sufficient magnitude toconstitute a risk ofelectric shock to persons The exclamation point withinan equilateral triangle isintended to alert the user tothe presence of importantoperating and maintenance servicing instructions inthe literature accompanying the product ...

Reviews: