


1 6
1 6
1 6
1 6
1 6
A S U S A T I s e r i e s g r a p h i c s c a r d
A S U S A T I s e r i e s g r a p h i c s c a r d
A S U S A T I s e r i e s g r a p h i c s c a r d
A S U S A T I s e r i e s g r a p h i c s c a r d
A S U S A T I s e r i e s g r a p h i c s c a r d
Method 2: Custom installation
Method 2: Custom installation
Method 2: Custom installation
Method 2: Custom installation
Method 2: Custom installation
The Custom installation method allows you to select the features you want
to install. We recommend this method to advanced users.
1.
Insert the support CD into your
CD-ROM drive.
2.
If autorun is enabled, the 2D/3D
Graphics & Video Accelerator
appears automatically.
If autorun is disabled, run
S e t u p . e x e
S e t u p . e x e
S e t u p . e x e
S e t u p . e x e
S e t u p . e x e from the root
directory of your support CD.
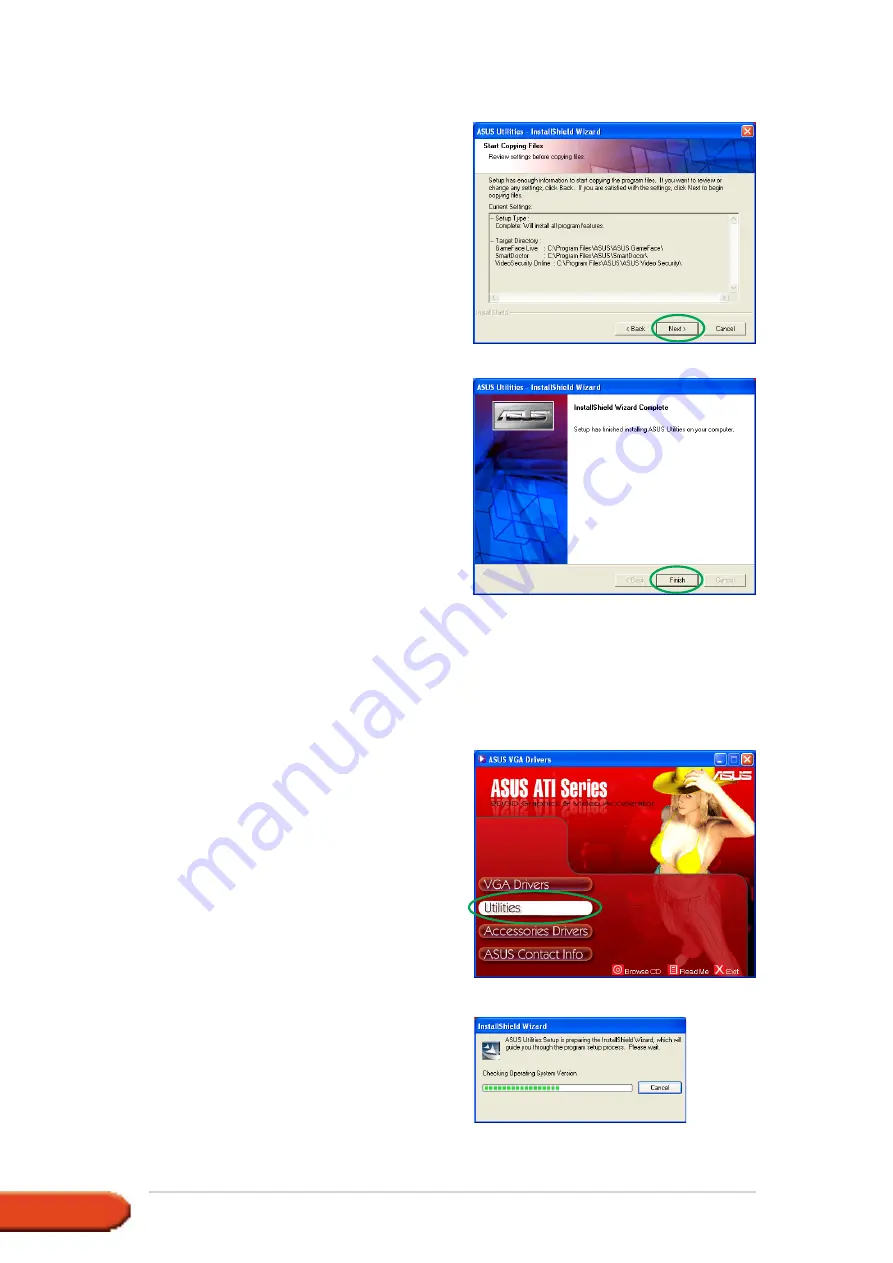
3.
From the 2D/3D Graphics &
Video Accelerator main menu,
click U t i l i t i e s
U t i l i t i e s
U t i l i t i e s
U t i l i t i e s
U t i l i t i e s.
The Setup prepares the Install
Shield Wizard which will guide
you through the program setup
process.
6.
The setup displays the target
directory for the utilities, click
N e x t
N e x t
N e x t
N e x t
N e x t.
7.
After the installation is
complete, click F i n i s h
F i n i s h
F i n i s h
F i n i s h
F i n i s h.


