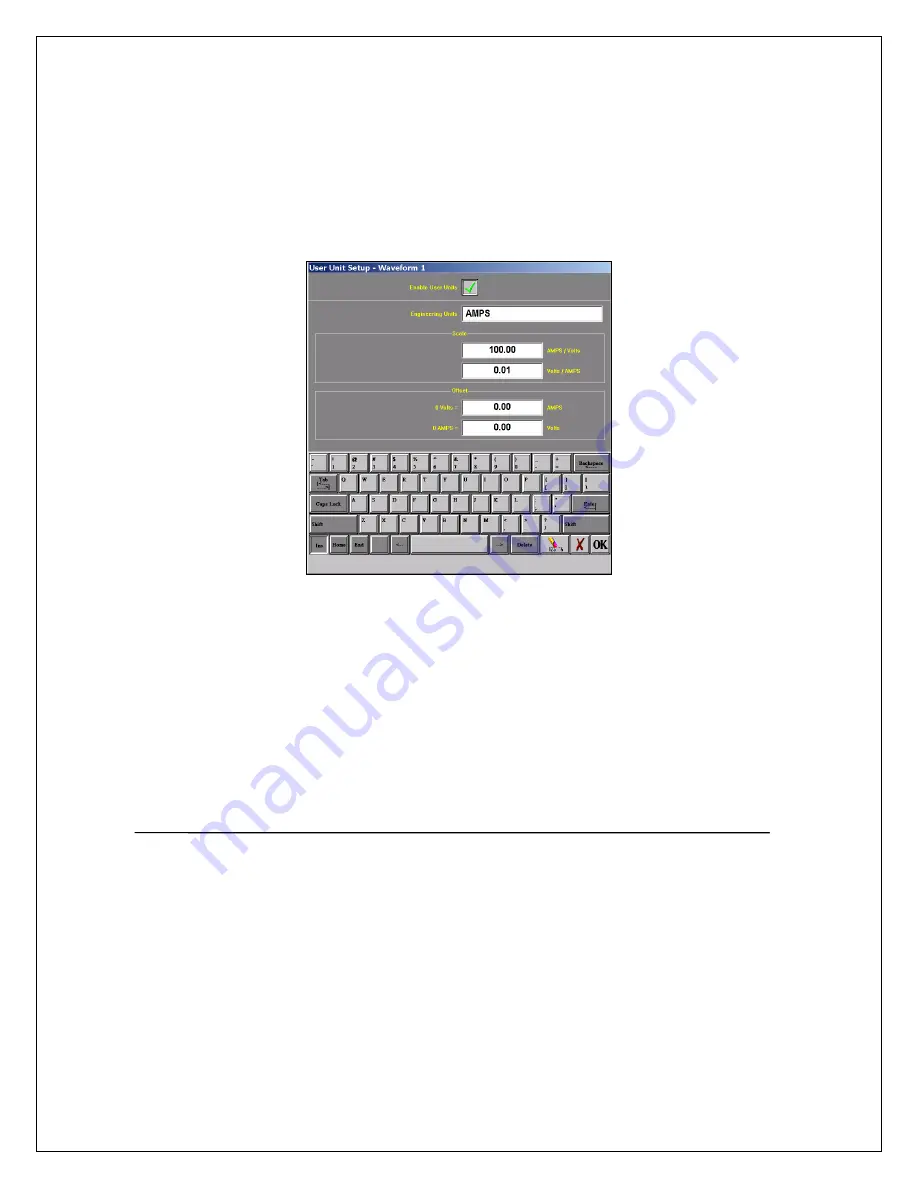
Enter Scale
Under the
Engineering Units
box on the
User Unit Setup – Waveform 1
window there is a
section named
Scale
. Now that you have entered
AMPS
, you can now enter either
AMPS/Volts
or
Volts/AMPS
.
Since our probe has a
10mV/A
output, we will enter
0.01
into the
Volts / AMPS
box.
Press the
Volts / AMPS
box and enter
0.01
into the
Scale
keypad.
Press
OK
on the
Scale
keypad.
Press
OK
on the
User Unit Setup – Waveform 1
screen.
Press
OK
on the
Amplifier Channel Settings (Analog Channel Setup)
window.
Waveform (Channel) 1 is now set to measure current using a 10mV/A current probe.
User Unit Setup – Waveform 1
This concludes the engineering units example.
15
1
1
1
1
.
.
P
P
O
O
W
W
E
E
R
R
I
I
N
N
G
G
D
D
O
O
W
W
N
N
When the power switch is set to the off position or if AC power is lost or removed, the Dash 8Xe / Dash 8X begins the
power down sequence. This is indicated by the green LED next to the power switch that will be on while the power down
sequence occurs. Note that the LED will either be a solid green or it may flicker. It is
very important
not to turn the power
switch back to the on position during the power down stage. The Dash 8Xe / Dash 8X must be allowed to complete the
power down sequence to insure proper operation.
This completes the
Dash 8Xe / Dash 8X
Quick Start Guide. Please note that the
Dash 8Xe / Dash 8X
has much more
capability than presented in this guide. Please see the Operations Manual for details. Should you require additional
assistance, you can contact our Technical Support Department toll-free at 877-867-9783 or by e-mail:


