background image

A “Removable Disk” window will automatically pop up on your  PC.

To  add  more  files  and  songs  to  your  player  simply  drag  and  drop 

MP3,  WMA,  WAV  or  data  files  anywhere  on  your  computer  into 

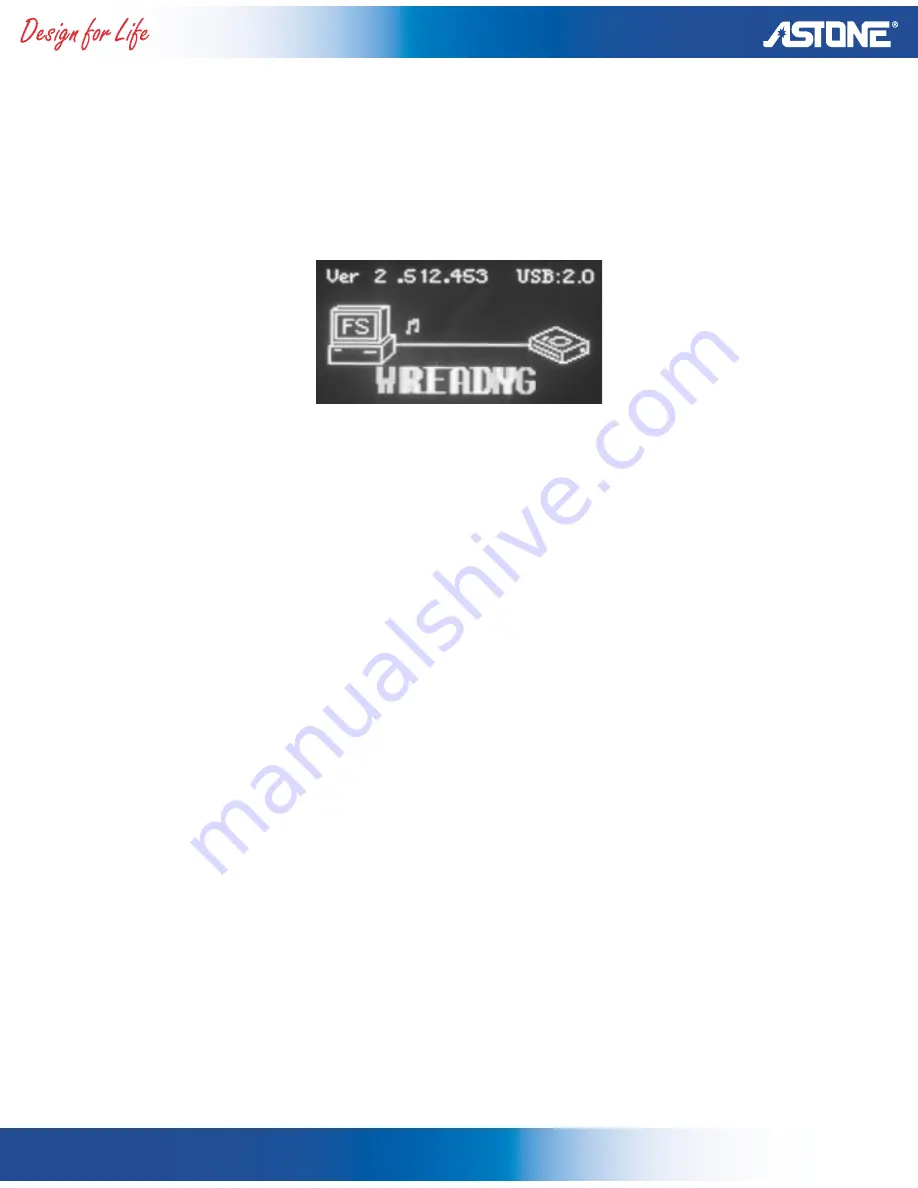
the  “Removable  Disk”  window.  During  files  transferring,  “Reading” 

message appears and it will disappear after data transfer or stop.


When you are finished the process, read the Safely Remove Hardware 

procedure before disconnecting the player.

Safely Remove Hardware procedure from the computer:

Note: To avoid damage to your player or data loss, always follow the 

procedure listed below before disconnecting the USB cable from your 

computer or disconnecting the player from the USB cable.

Using your mouse, double click the “Safety Remove Hardware” icon 

on the task bar.

From  the  “Safety  Remove  Hardware”  window,  select  “USB  Mass 

Storage Device” and click the “Stop” Button.  The “Stop a Hardware 

Device” window will pop up, Click “OK” when the “Safe to Remove 

Hardware” window is displayed. You may remove the player from the 

USB cable or remove the USB cable from the computer.

Note:  If  the  “Safety  Remove  Hardware”  icon  is  not  displayed  on 

the  task  bar,  please  double  click  on  My  Computer.  Right  click  on 

“Removable Disk” and lift clock on “eject”. Then it is safe to remove 

the player from the computer.

ALLURE Series ASE 2

Page 22

Summary of Contents for ALLURE 2

Page 1: ...operation Menu operation Navigate menu Music menu Voice menu FM tuning menu Record menu Setting menu EQ mode Play mode Screen saver mode Power set mode Record set mode Languages set mode Delete mode...

Page 2: ...t the responsibility or fault of Astone 4 Astone holds the right to modify this user manual software product packaging or hardware without any advance notice 2 Important notices Astone is a registered...

Page 3: ...ar installation If this equipment does cause harmful interference to radio or television reception which can be determined by turning the equipment off and on the user is encouraged to try to correct...

Page 4: ...g a heavy object on the player may result in damage or sound distortion Avoid spilling any liquid onto or into the player immediately switch off the power and or disconnect from computer then contact...

Page 5: ...r line in mic recording and recording FM features equipped with OLED display A B repeat 9 types of EQ too ALLURE Series ASE 2 Page 5 The following items are included 1 x digital audio player 1 x stere...

Page 6: ...for Window 2000 or later version Mac OS 10X and Linux Kernel 2 4 2 or later version Driver is required for Window 98SE Audio Frequency range 20Hz 20KHz Headphone output 5mW 5mW S N ratio 90dB MP3 and...

Page 7: ...6 Location of controls Earphone FM jack Mini USB jack OLED display Hold Earphone Line in jack Menu Play Stop Vol down Vol up ALLURE Series ASE 2 Page 7...

Page 8: ...ur computer for recharging the battery 3 The preset recharge cycle is around 2 hours and it will cease when the charge cycle is complete 4 The battery indicator will stop flash when the recharge cycle...

Page 9: ...e HOLD function 9 Press and hold the Play Stop button for turn on or off the player 10 Menu operation Long press for entering Menu Turn the Menu button left or right for selecting the mode between Nav...

Page 10: ...ing back songs from the player The order of song total songs Playback mode Play time Battery indicator Visualization of audio signal Equalizer File format Volume Artist song title information Playing...

Page 11: ...ck fast forward Vol key Press long Press Increase volume Increase volume Vol Key Press long Press Reduce volume Reduce volume Hold Push toward left Lock Lock Push toward right Unlock Unlock A B repeat...

Page 12: ...layer Switch the Menu key forward or backward to select voice message FM radio recordings Line in recordings Press Play Stop button to play and stop by pressing the button again The recorded file will...

Page 13: ...Press long Press Increase volume Increase volume Vol Key Press long Press Reduce volume Reduce volume Hold Push toward left Lock Lock Push toward right Unlock Unlock A B repeating To repeat a section...

Page 14: ...ode Auto scan and memory the strongest stations up to 27 stations can be memorized Store mode Confirm to store the scanned stations from scan mode then resume to Radio mode Record mode Record FM radio...

Page 15: ...scanned station Record mode recording FM radio press again for pause recording Exit mode return to playback music Long Press Turn off Menu Key Press Enter mode Radio Scan Store Record Exit Turn forwa...

Page 16: ...ve record and into voice mode Long Press Back to Main Menu Back to Main Menu 16 Setting Menu Setting menu is a function of EQ Play mode Screen saver Power set Record set Languages setup EQ mode Press...

Page 17: ...backward or forward for selecting Normal Repeat One or Repeat All Exit the setting press the Play Stop button Screen Saver mode Press Menu key to enter switch backward or forward to Screen saver mode...

Page 18: ...utes when player not in operation Exit the setting press the Play Stop button Disable Stop auto off function activation Record set mode Press Menu key to enter switch backward or forward to Record set...

Page 19: ...bs Mode Song Album Song Album Song Album Song Album Source LINE IN Encode IMAD PCM MSAD PCM PCM MP3 Channel Mono Stereo Mono Stereo Mono Stereo Mono Stereo Device INT INT INT INT Sample 8 11 16 22 32...

Page 20: ...Menu key forward or backward for entering Music folder voice folder or exit to setting After entering the folder switch Menu key forward or backward again for deleting a file Confirm the delete by pre...

Page 21: ...computer Connect the player to PC using the USB cable to download upload files to from PC The player is recognized automatically as a movable disc in the Windows ME 2000 XP However you have to install...

Page 22: ...ocedure listed below before disconnecting the USB cable from your computer or disconnecting the player from the USB cable Using your mouse double click the Safety Remove Hardware icon on the task bar...

Page 23: ...t too low raise the volume using the VOLUME button Cannot playback MP3 songs The MP3 files are corrupted download uncorrupted files Characters in display are corrupted Check the Language and confirm w...

Page 24: ...it by press the both Vol and Vol button at once Power FM reception Adjust the position of the player and earphones Turn off the power of other electric devices nearby the player Earphones function as...

Reviews: