INVENT3D
TM
Printer Operating Instructions and Troubleshooting Guide
AST2 © 10/26/16
Page 21
VIII. PRINTING A PART AND REMOVING THE PART FROM THE PRINT BOARD
To print:
1.
Ensure that the print board is at least two inches below the print head. Ensure that the Z-axis is
not locked in place by checking that the yellow thumb screw that locks the Z-axis is loose and is
not making any contact with the Z-axis lead screw knob.
2.
Go to the Main menu and select
from SD. Use the control knob to find and select the file to
be printed. For normal operations, no additional printer settings or adjustments are needed.
3.
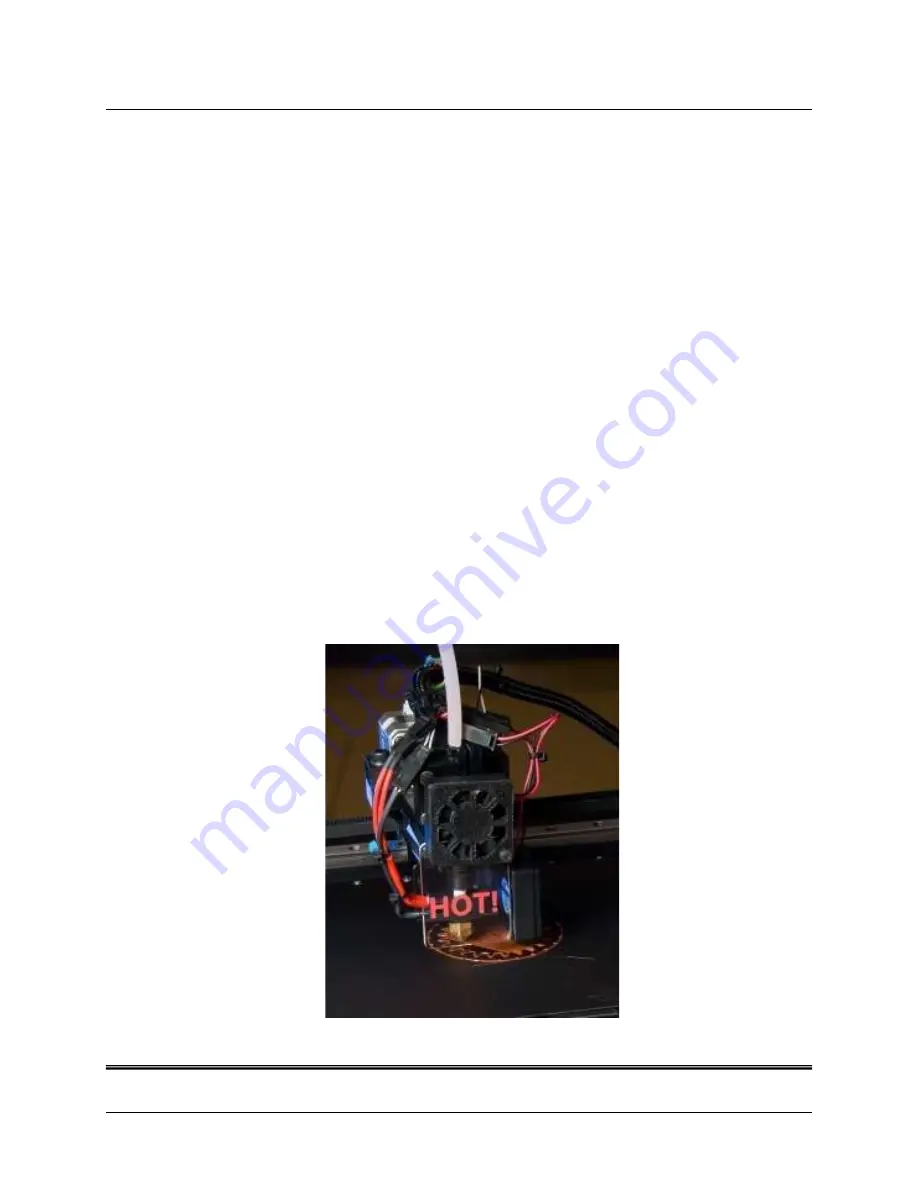
Watch the printer as it performs its start-up routine and begins to print. The temperature will
automatically increase from room temperature to 220°C. Once heated, the printer will move the
hot end to point (0, 0, 0). Then the hot end will move to the side of the board and extrude a small
amount of filament to ensure that the print head is not clogged. If the filament does not extrude,
refer to Troubleshooting Guide. This extra material should be cleared from the hot end by the
edge of print board as the hot end moves to being the print. If any of this material is dragged onto
the print board, remove it as soon as possible so it does not affect the print.
4.
The print will begin with an outline of the object to be printed. Be sure that the outline is clear
and aligns with the part to be printed. If there are any irregularities, select
Stop Print
from the
Main Menu. Lower the print board by hand using the knob on top of the Z-axis lead screw.
Remove the print board (see Step 8 of this Section), clear the filament from the board, replace the
board, and try the print again. If irregularities persist, refer to Troubleshooting Guide in this
document.
Observe the
part outline
and first layers


