


5
Blue
Solid
Connected to the Internet.
Red
Breathing
with 5s interval
Connectivity issues (no Internet
connection).
Red
and
Blue
cycle
Updating firmware (or any
breathing with 2.5s interval
scenario where device must not be
restarted).
Red
Solid
Critical issues (hardware or
otherwise).
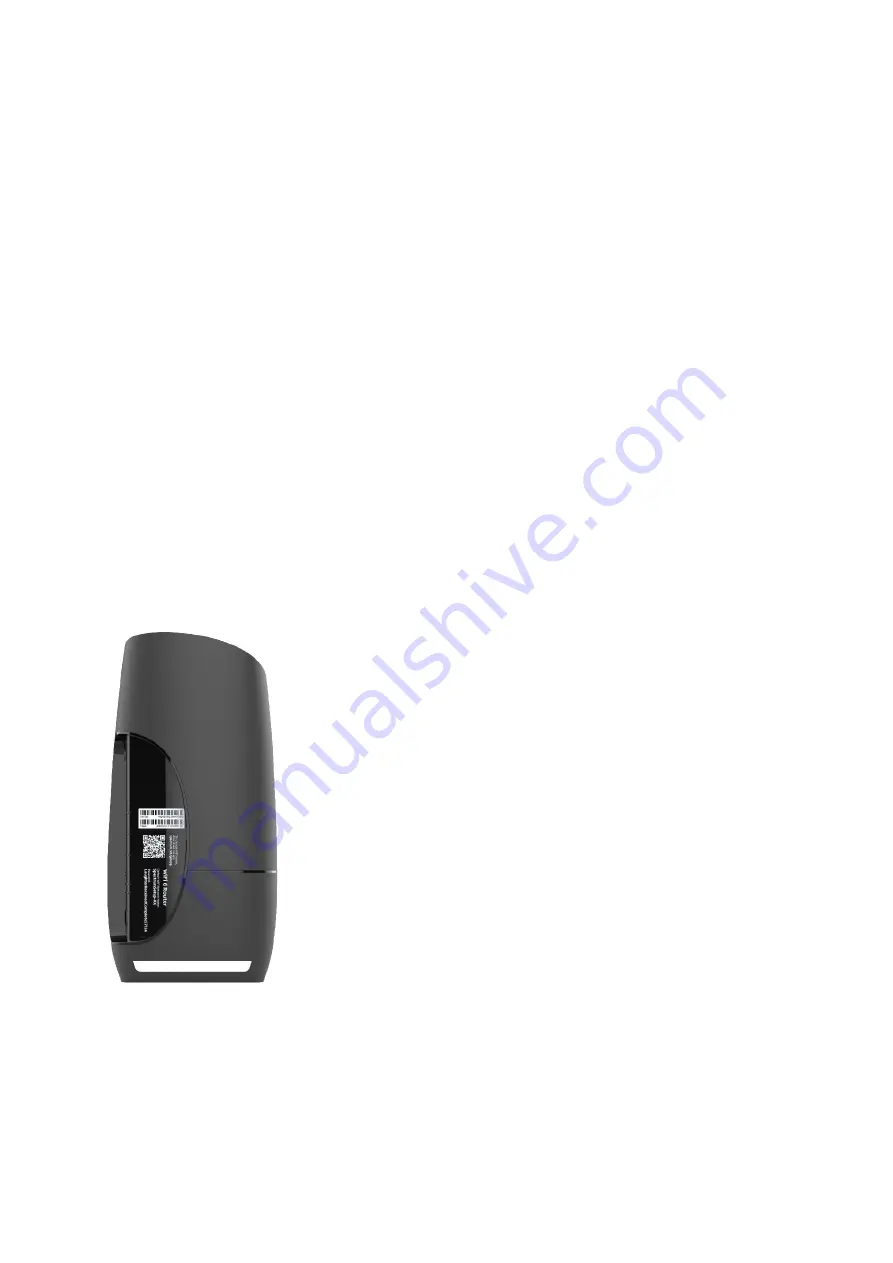
1.3.2 Rear Panel
The Ethernet and buttons are shown in the following figure.
Figure 3. WiFi Router rear view
Factory Reset (Reset)
: Press and hold the Reset button for over 5 seconds, the
Summary of Contents for SAX1V1K
Page 1: ...802 11ax Wave 2 Router User Guide 2020 5 21 ...
Page 45: ...44 ...
Page 59: ...58 Steps to set up IPv6 ...
Page 88: ...87 ...


