DIG UD IMB IU 0005 ENG V01
Page 45 of 49
!
WARNING!
This operation can be performed with the fingers only when using a “touch-screen”. It
is otherwise necessary to use the mouse device, moving the mouse pointer horizontally
while keeping the left button clicked.
To close the video preview
click the
Preview
button again. The screen returns this way to look as in Fig 61.
1.13.1.2.
The “Trim” screen command bar
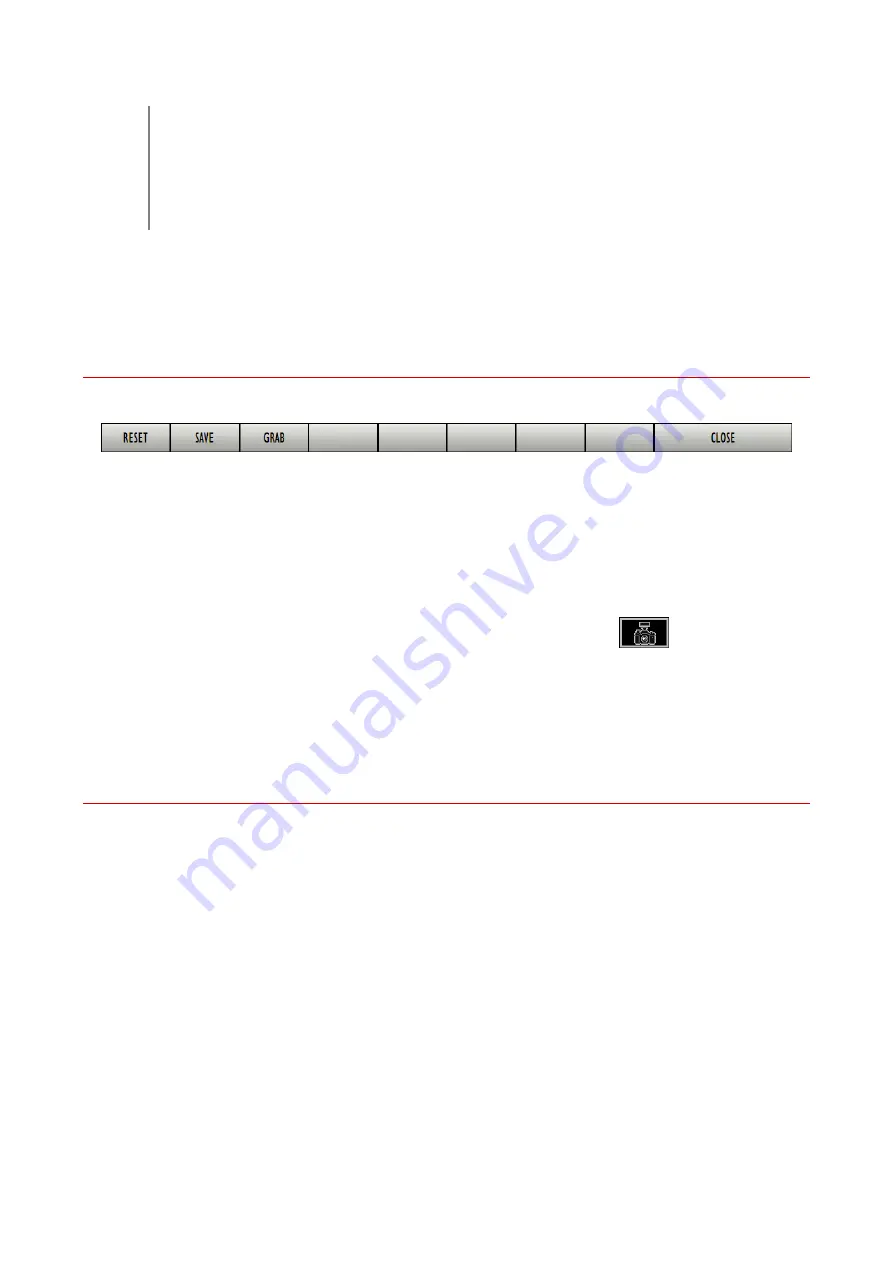
The command bar contains four buttons (Fig 63).
Fig 63 - Command bar
Use the
Reset
button to reset all the data specified on the screen. Click this button to go
back to the initial screen, prior to any selection.
Use the
Save
button to save the selected video portion as a new independent video. The
specific procedure is described in detail in paragraph 1.13.1 and in a concise way in
paragraph 1.13.2.
Use the
Grab
button to save the frame currently displayed on the left of the screen as a new
independent image. The
Grab
button has the same function of the
button on the
same screen. The related procedure is described in detail below Fig 54 and in a concise way
in paragraph 1.13.3.
The
Close
button closes the “Trim” screen. Click it to display the “Examination detail”
screen again.
1.13.2.
How to “trim” a video portion (concise procedure)
To select a video portion and save it as a new video
access the “Examination detail” screen containing the relevant video (Fig 51).
Click the thumbnail (on the left) corresponding to the relevant video.
The video is this way selected, it runs on the “display” area.
Click the
Trim
button on the command bar (Fig 51
A
). The “Trim” opens (Fig 52).
Use the cursor or the buttons described in paragraph 1.13 (Fig 54) to display the start frame
(see the example shown in Fig 57).
Click the
Set Start Position
button (Fig 56
A
).
Use the cursor or the buttons described in paragraph 1.13 (Fig 54) to display the stop frame
(see the example shown in Fig 59).


