DIG UD IMB IU 0005 ENG V01
Page 39 of 49
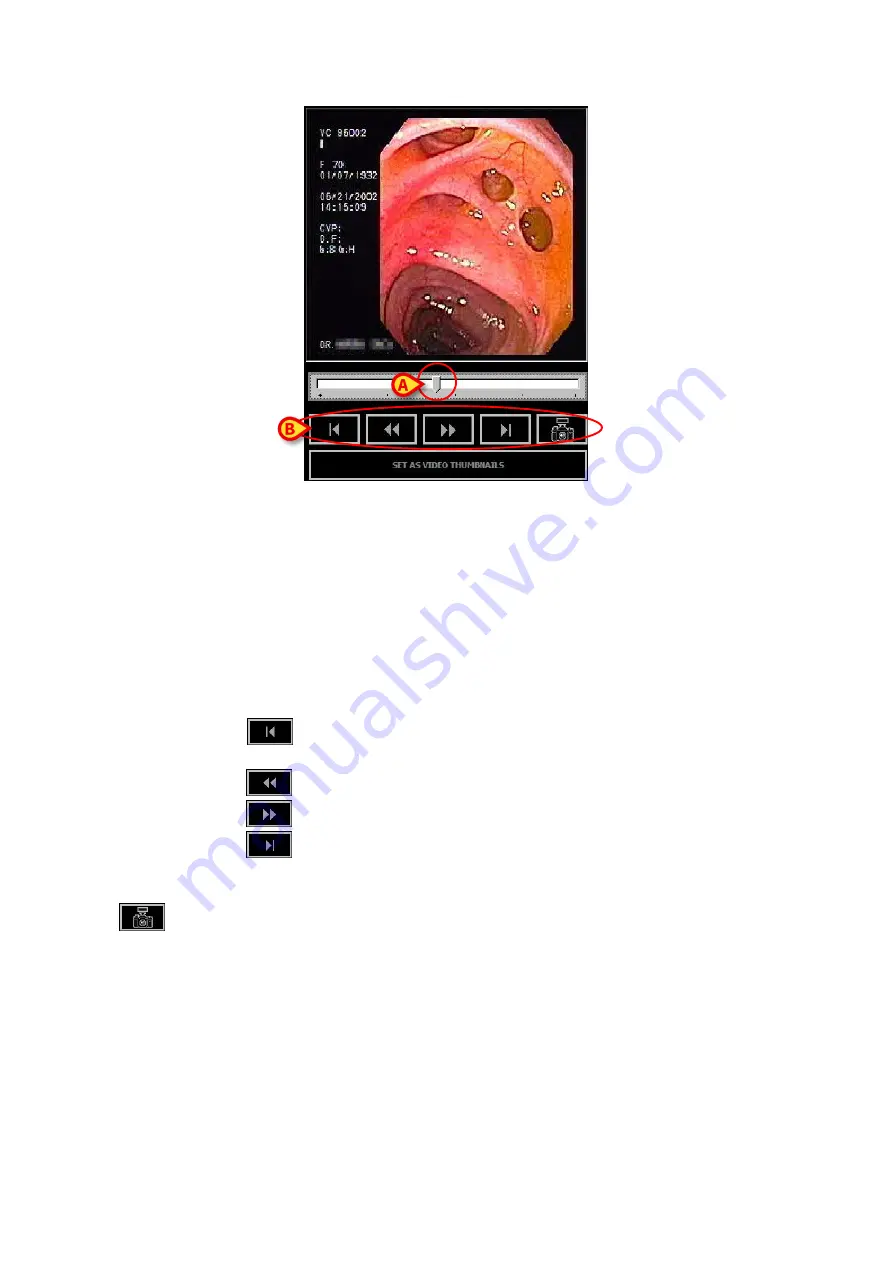
Fig 54 - Current frame (2)
In the example shown in Fig 54
A
the displayed frame is placed just before the middle of the video.
The cursor can be moved in two ways:
1)
dragging:
place the mouse pointer on the cursor and, keeping the left button clicked, drag the
cursor either to the right or the left; if using a touch screen the same operation can be
performed with a finger;
2)
using the buttons below the image (Fig 54
B
):
use the
button to place the cursor at the beginning of the bar (and therefore at
the beginning of the video);
use the
button to bring the cursor back frame by frame (one frame per click);
use the
to bring the cursor forward frame by frame (one frame per click);
use the
button to place the cursor at the end of the bar (and therefore at the end
of the video).
The
button has a different function. This button saves the frame currently displayed as an
autonomous image. Click it to create a new image that will be added to those displayed on the
“Examination detail” screen (Fig 51). Additional work tools are on the right of the “Trim” screen
(Fig 52).
The box indicated in Fig 52
D
and enlarged in Fig 55 displays information on the video and on the
operations performed.


