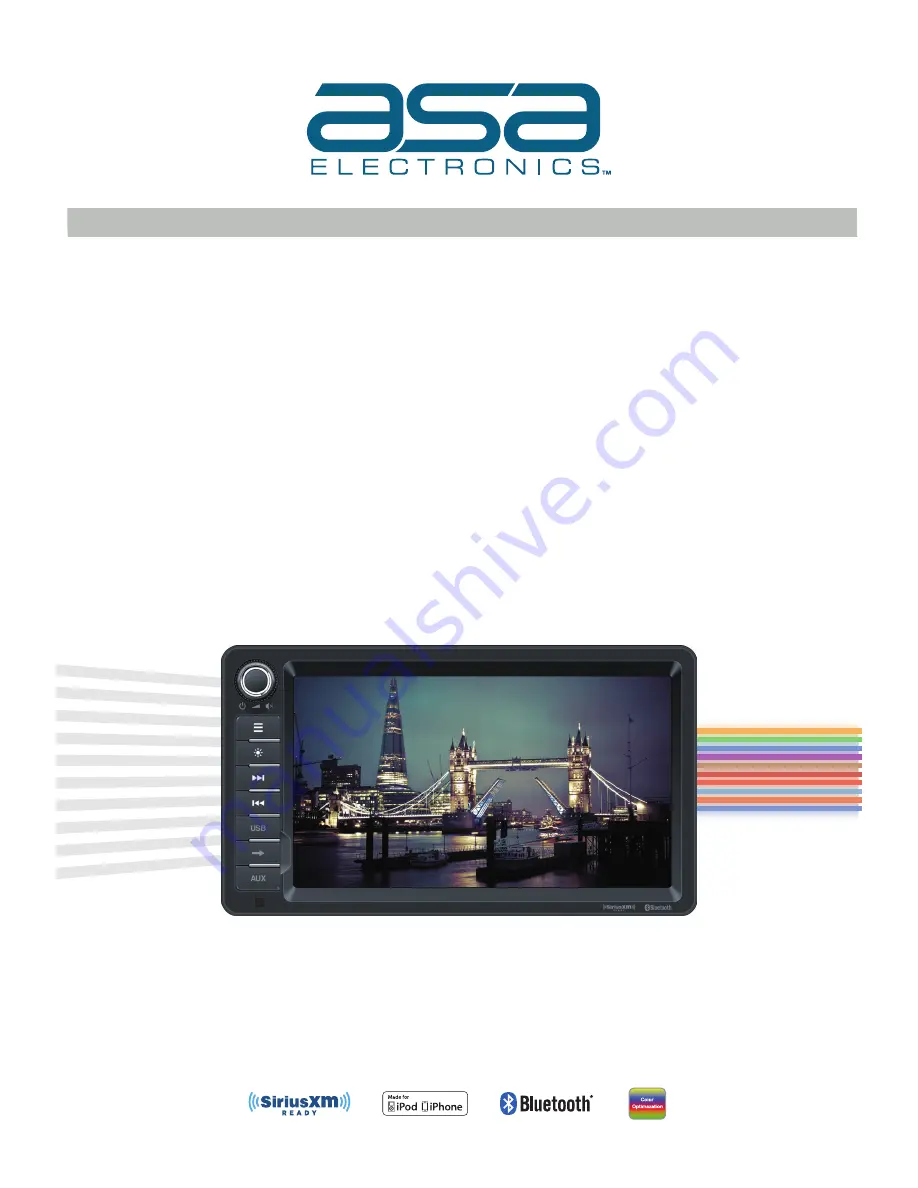
XRV10
Operating Instructions
10.1” Double DIN Multimedia Receiver
SiriusXM Ready™ / Built-In BT Technology /
iPhone® - iPod® / MHL / HDMI / USB / AV In
Page 1: ...XRV10 Operating Instructions 10 1 Double DIN Multimedia Receiver SiriusXM Ready Built In BT Technology iPhone iPod MHL HDMI USB AV In...
Page 2: ...QUALIZER CONTROL MENU 9 SYSTEM SETTINGS 10 RADIO TUNER OPERATION 13 USB OPERATION 15 Bluetooth Mode 19 iPod Mode 21 SiriusXM RADIO OPERATION 22 Using a Smartphone via HDMI MHL 27 CAMERA OPERATION 29 S...
Page 3: ...y one or more of the following measures Reorient or relocate the receiving antenna Increase the separation between the equipment and receiver Connect the equipment into an outlet on a circuit differen...
Page 4: ...Albums Power Management Charges iPhone iPod while Connected SiriusXM Ready Satellite Channel Name Artist Song and Categories Displayed on Monitor Vehicle Tuner and Subscription required and sold sepa...
Page 5: ...nt except when using for rear view video camera never use the video display function while driving the vehicle This is a violation of federal law WARNING Never disassemble or adjust the unit WARNING T...
Page 6: ...Seek up 5 Button Previous Seek down 6 Interface Cover Covers the 3 5mm AV In USB slot and Reset button 7 USB Connector Connect a USB device for playback of music video files 8 Reset Button Press to r...
Page 7: ...o turn the unit ON and long press to OFF When on press this button to turn the audio output ON and OFF 8 SUBTITLE SUB T Button Press to display and select the subtitle language in USB mode Each time t...
Page 8: ...e volume from the unit Press again to restore the volume is displayed on the LCD Adjusting the volume or using any of the audio setup features cancels the mute function Parking Brake Inhibit When the...
Page 9: ...drag the parameters adjustment bar User Set the desired audio effect Flat Select the original audio effect Reset Reset the user settings Adjust Fader Balance You can adjust front back left right balan...
Page 10: ...by status Display Adjust Night Dark Normal Bright Select the brightness of the screen Beep On Turn on the beep sound Each time you press a button the unit beeps Off Turn off the beep sound Illuminatio...
Page 11: ...an option repeatedly to select Language settings Description OSD Select on screen display language 3 Touch top left of the screen to exit Adjust Bluetooth Settings 1 Touch Bluetooth if necessary 2 To...
Page 12: ...from 00 to 06 When switching to the source the volume increases automatically 4 Touch top left of the screen to exit Version Sub Menu Features The Version Sub Menu is used to identify the model and re...
Page 13: ...ching stops and the station is played Manual Tuning Method 1 During manual tuning the frequency will be changed in steps Press and hold icon on the user interface more than 1 second to tune in a highe...
Page 14: ...reen Local Seeking Press the More and Local Distance icons to choose the Radio Distance or Local When the Local displays only stations with a strong signal strength will be detected EQ Selection Press...
Page 15: ...o video picture files supported in the USB stick the screen will display Load Error 2 Not all USB devices are compatible with the unit Removing the USB Device 1 Select another source in the main menu...
Page 16: ...Repeat All Repeat Off 8 Display equalizer 9 Display keypad to directly enter the number of the desired title Video playback Select the desired source via the main menu The device changes to the desir...
Page 17: ...st 8 Start and end REPEAT function Repeat mode Repeat One Repeat Folder Repeat All Repeat Off 9 Adjust the brightness contrast and saturation Image playback Select the desired source via the main menu...
Page 18: ...continue playback 5 Next image 6 Display keypad to directly enter the number of the desired title Tap on More to display additional operating options of the playback menu 7 Display the folder file lis...
Page 19: ...yourself with the Bluetooth capabilities of the device Compatibility with all Bluetooth device is not guaranteed Any obstacle between this unit and a Bluetooth device can reduce the operational range...
Page 20: ...n Auto Answer To turn on or off Auto answer function Pairing code To set paring code Phonebook Sync Phonebook sync may take several minutes to load on initial setup Music Mode A2DP A2DP is short for A...
Page 21: ...track Track down 1 Touch the button to move back to the beginning of the current track 2 Touch the button twice to move back to the beginning of the previous track Fast forward Fast reverse Fast forw...
Page 22: ...adio ID of your tuner Note The SiriusXM Radio ID does not include the letters I O S or F In the USA you can activate online or by calling SiriusXM Listener care Visit www siriusxm com activatenow Call...
Page 23: ...dditional information related to the song track now playing More Icon Touch to go to SiriusXM Menu Page 2 Direct Entry Icon Touch to display the Direct Entry Menu Previous Icon Touch to tune to the pr...
Page 24: ...M menu page 1 touch the Direct Entry icon to display the Direct Entry Menu 2 Enter the desired SiriusXM radio channel using the on screen number pad then touch the Ok icon If you wish to delete an ent...
Page 25: ...1 On the SirusXM menu page 2 touch the Lock icon The following screen appears 2 Enter your 4 digit password The following screen appears 3 Touch the Lock Mature icon The mature channels are now locked...
Page 26: ...ser advisory messages are listed below Advisory Displayed Cause Check SXM Tuner Check the SiriusXM tuner connection on the back of the unit to ensure that it s correctly connected Check SXM Antenna En...
Page 27: ...to connect the additional micro USB port On the adapter itself to a power source in order for the HDMI MHL adapter to function properly Smartphone HDMI MHL adapters are available at your local mobile...
Page 28: ...unit Refer to the head unit smartphone documentation for further information on pairing connecting devices 3 Connect Your Smartphone Most Android smartphones will require an HDMI MHL adapter in additi...
Page 29: ...is placed in reverse gear See Camera Conguration Setting Func Function Camera 1 mode Skip The output of camera 1 image is skipped Normal default The output of camera 1 image is in normal mode Mirror...
Page 30: ...era 1 is triggered NOTE The upper area of the screen is the current playback information bar area Press the top of the screen to remove the bar or make the bar reappear Camera Control Options Touch th...
Page 31: ...I RC Installation Hints 1 Set Radio Select Switch Set the SWI RC to position 7 Pioneer Other Sony 2 Programming Use the Pioneer Sony Other radio function mapping order for branded head units 3 When pr...
Page 32: ...t it Open the cap located on the bottom left of the panel press Reset button with a ball point pen or similar tool Tip When the unit has been reset all the settings will return to default settings Rep...
Page 33: ...wiring is in contact with metal part of car Insulate all speaker wiring connections Poor sound quality or distortion Speaker power rating does not match unit Replace speakers Wrong connections Check...
Page 34: ...car in hot or cold weather for a long time please wait until the temperature in the car becomes normal before operating the unit 5 Using the car heater in low temperature environment may result in moi...
Page 35: ...n Size 10 1 Measured diagonally 16 9 Widescreen Screen Type TFT LCD Resolution 1024h x 600v x RGB WVGA General Auxiliary Audio Input Impedance 10k Ohm Power Supply 11 to 16VDC negative ground Power An...
Page 36: ...36 XRV10 NOTES...
Page 37: ...OM 2016 Printed in China XRV10 Common Replacement Parts Microphone 4M mating harness 31914310B Remote Control PXRV10REM Wire Harness Bulk Pack separately for ASA 30314310 Operation manuals and other m...