9
3 Parameter programming
3-1 Example 1: Single-parameter setting by scanning 1D barcodes
Important notes:
1.
During the process of programming, LED is lighting to indicate the programming correctness. LED
will go off if any incorrect programming operation performed.
2.
After each successful programming, LED will go off and the imager will beep twice.
3.
Throughout the programming barcode menus, the factory default settings are indicated with
asterisks (*).
Two programming modes have been provided as bellows:
❶ Single-scan setting
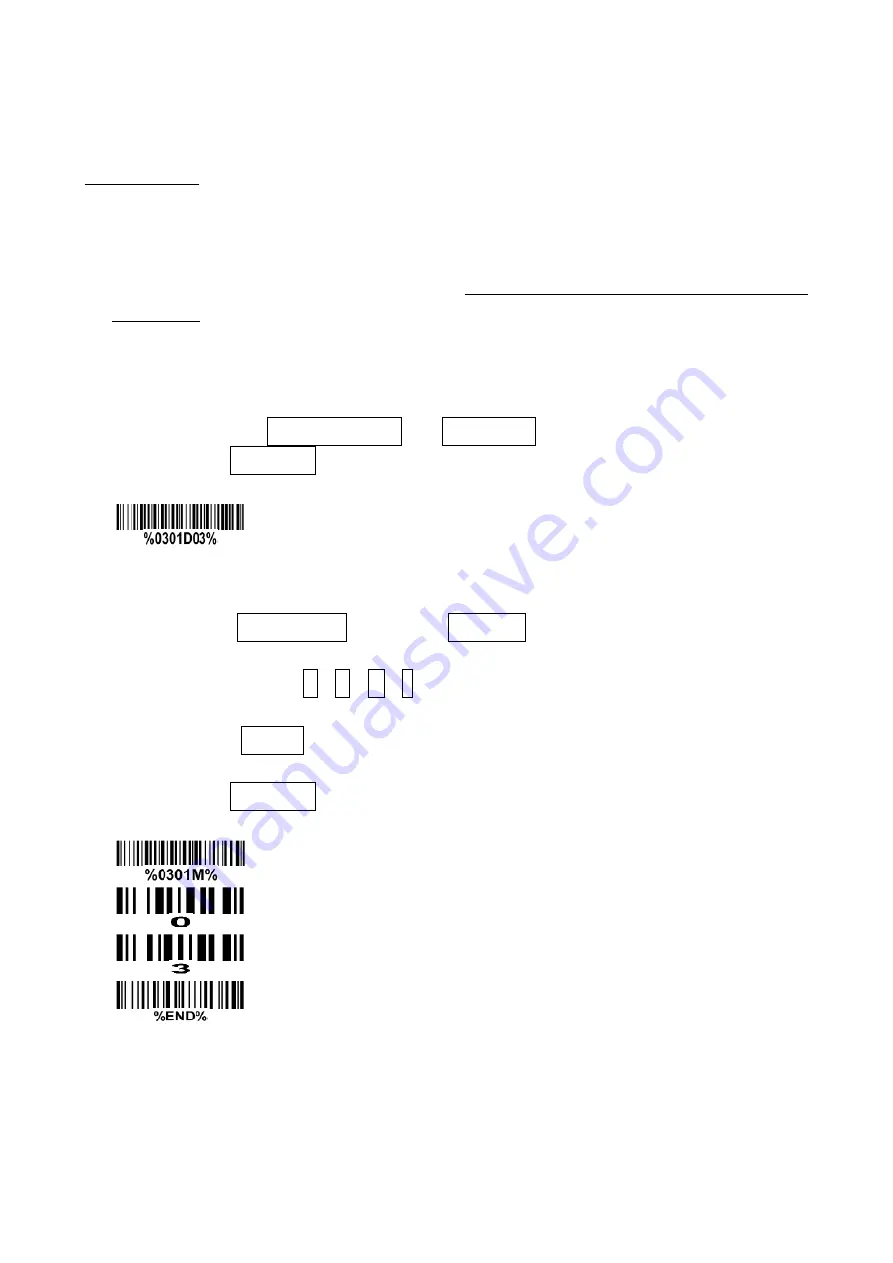
Scan the appropriate Single-scan setting (e.g. %0101D00%) according to the user‘s demand.
Example: to set Flow control to be XON/XOFF.
Steps: Scan the following barcode.
❷ Multiple-scan setting
Step 1. Scan the Option barcode barcode (e.g. %0101M%) according to the user‘s demand.
Step 2. To the right of the option barcode, the necessary alphanumeric inputs are listed. Scan two
alphanumeric entries from 0 to 9 or A to F, refer to
9 Configuration alphanumeric entry barcode
Step 3. Repeat Step 2, if more user parameters input are required.
Step 4. Scan the %END% barcode, listed on the lower left hand corner of each parameter setting
part.
Example: to set Flow control to be XON/XOFF.
Steps: Referring to
, scan the following barcodes in order.
Summary of Contents for AS-2350
Page 1: ...AS 2350 Presentation Imager User Manual Version AS 2350_UM_EN_V1 1 3...
Page 2: ......
Page 4: ...ii...
Page 10: ...4 2 2 Dimensions...
Page 11: ...5 2 3 Parts of the imager Figure 2 2 Trigger Scan window Beeper...
Page 14: ...8 2 6 Field of view Figure 2 6 Field of view Figure 2 7 Field of view Front view...
Page 92: ...86 Aztec Code 12345678901234567890 Han Xin Code 12345678901234567890...


