Page 9/15
Page 9/15
ParkIT Install Guide
5. Accessing the Camera
Steps of accessing the web interface of the camera from a browser:
1.
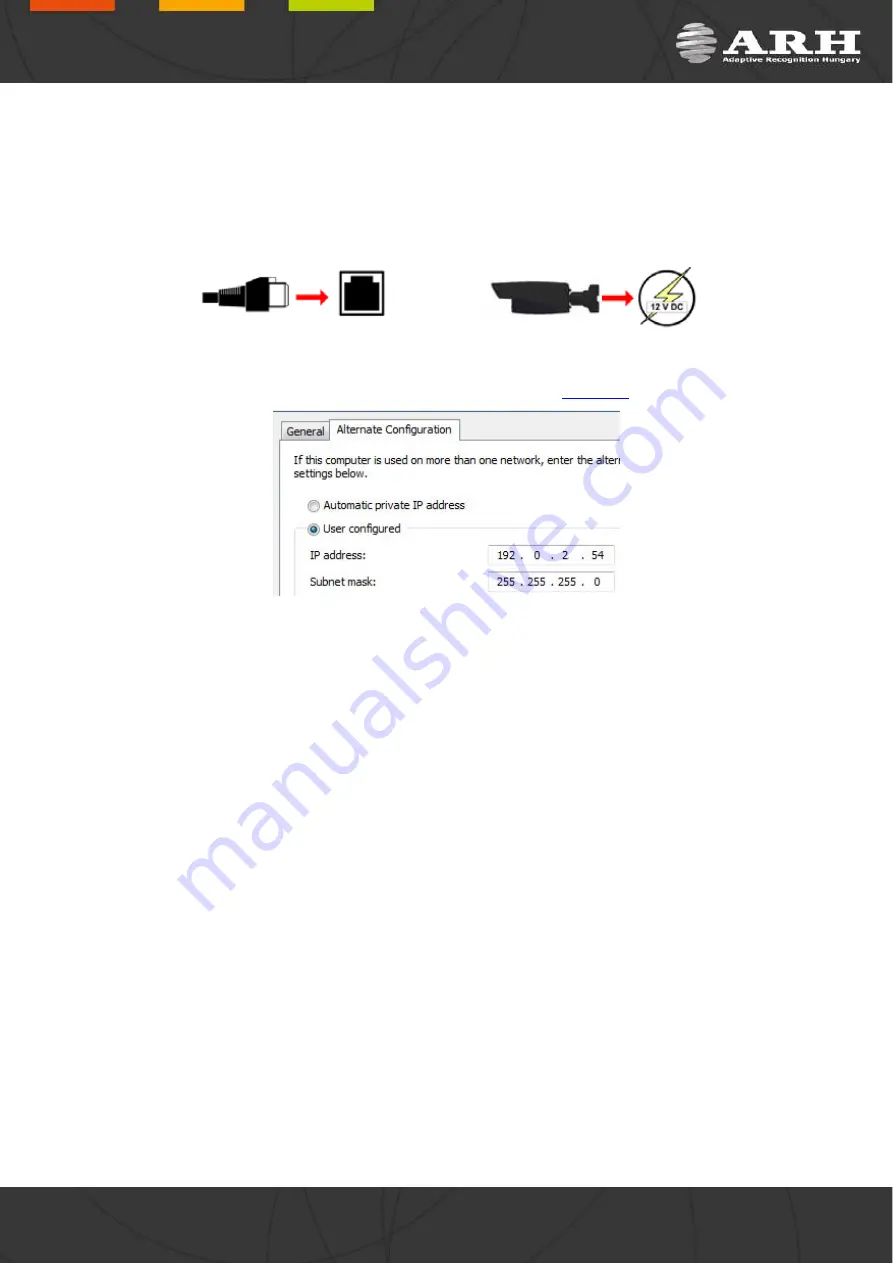
Connect the camera to a computer or network switch, then power on the camera. After it is turned on, both
status LEDs (red and green on the camera front) are turned on while the camera is booting. After finished, the
green status LED
at the camera is ready for operation.
flashes two times signaling th
2.
Enter an alternate IP address in the 192.0.2.x subnet – where x is an integer number between 1 and 254
except
3
– with the subnet mask of 255.255.255.0. For more information, see
3.
Use the ping command
to test the communication with the camera
4.
Reply from 192.0.2.3
ddress of the PC can be pinged.
n on and enter the previous ping
.
Start a browser
then enter the default IP address of the camera into the address bar (
http://192.0.2.3
).
r.
Windows:
Linux:
C:\>ping
userna
-t 192.0.2.3
me@mylinux:~$ ping 192.0.2.3
Soon, the ping package returns:
. If not:
o
first check the Ethernet LEDs at the PC or the switch side
o
check whether the IP address is set correctly; the own IP a
o
proxy is set in the browser or the browser is not set to offline.
If these obstacles are checked and there is still no reply, power off the
command again.
5
After this, the camera starts with administrator privileges, ready to be set up and configured.
NOTE
: To enable all camera functions, enable JavaScript and ActiveX controls in your browse


