


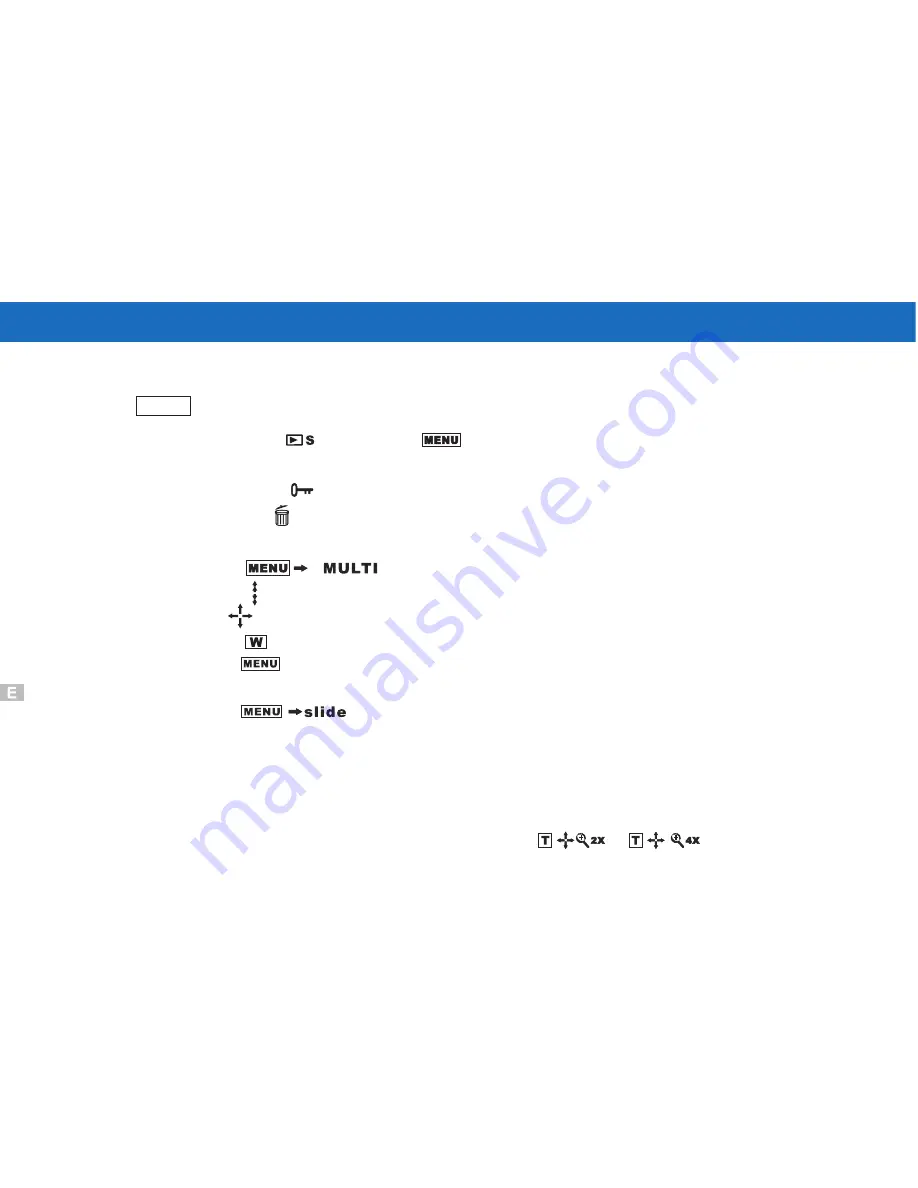
Viewing Pictures
Playback Pictures
Use
button to specify whether the image appears after picture is taken.
MENU
1.Set MODE dial to
and press
to display.
2.Select playback way to MULTI or SLIDE.
3.Select PROTECT
to protect images from being deleted.
4.Select DELETE
to erase images.
Multi Frame Mode:
4.Press
if you want to resume and select another.
5.Press
to specify the photographed image under single frame mode.
Slide Mode:
1.Press
.
2.The images that are displayed will be a slide.
3.Press
to pause.
Enlarge Pictures using Zoom mode:
1.You can enlarge the preview to check the image.
2.Zoom in different parts of the image.
3.Pressing
reverts picture to zoom out.
1.Press
.
2.Press
to toggle between multi frames mode.
3.Use
to display the image from 6 frames.
20
"ok"
"ok"
"ok"
"ok"
"ok"
Summary of Contents for DC3550
Page 1: ...Digital Camera DC3550 User s Manual 9 9 9 9 6 8 8 5 5 ...
Page 2: ......
Page 4: ......
Page 10: ...Accessory Set up CARD CARD Figure 1 Figure 2 Figure 3 Figure 4 6 ...
Page 33: ...29 Note Screen display the driver file name automatically Then click Next ...
Page 34: ...30 Note Select the driver Then click Next Search ...
Page 35: ...31 Note Select locations of data source Then click Next ...
Page 36: ...Digital Camera Zoom 32 Note Screen display to confirm the driver location Then click Next F ...
Page 38: ...34 Note Screen display a removable Disk appear Then click it ...
Page 39: ...35 Note A new file appear ...
Page 40: ...36 Note Click the file ...
Page 41: ...37 Note Click the file to playback picture ...
Page 43: ...39 ...
Page 44: ...40 Note The set up process automatically please wait ...
Page 45: ...41 Note The software recommended that you exit all Windows programs If you ready click Next ...
Page 46: ...42 Note Display the LICENSE AND WARRANTY information If you agree click Yes ...
Page 47: ...43 Note Please select the image file type s that you wish associate then click Next ...
Page 48: ...44 Note Choose the file destination location Browse the destination folder then click Next ...
Page 49: ...45 Note select folder name Accessories or new then click Next ...
Page 50: ...46 8 21 8 21 Note display Current setting automatically then click Next ...
Page 51: ...47 Note display Online Registration automatically then click Continue ...
Page 52: ...48 ...
Page 55: ...51 ...
Page 56: ...52 ...
Page 57: ...53 ...
Page 58: ...54 ...
Page 59: ...55 21SE ...
Page 61: ...57 ...
Page 62: ...58 ...
Page 63: ...59 Note The instruction of Location Installation Update then click Next ...
Page 64: ...60 Note The software recommended that exit all Windows programs If ready click Next ...
Page 65: ...61 Note Display the LICENSE AND WARRANTY information If you agree click Agree ...
Page 66: ...62 Note Choose the file destination location Browse the folder then click Next ...
Page 67: ...63 Note Please select the image file type s that you wish associate then click Next ...
Page 68: ...64 Note Select folder name Accessories or new then click Next ...
Page 69: ...65 Note Selection of Plugin then click Next ...
Page 70: ...66 Note The set up process automatically please wait ...
Page 71: ...67 Note The instruction of Setup Assistant then click Next ...
Page 72: ...68 Note The MIME Setting then click Next ...
Page 73: ...69 Note Select the file type assocition then click Next ...
Page 75: ...71 ...
Page 76: ...72 ...
Page 77: ...73 ...
Page 78: ...74 ...
Page 79: ...75 ...
Page 89: ......


