


- 26 -
Using the Computer
3.3 Using the Wi-Fi Feature
The computer is built-in with a Wi-Fi module for Wi-Fi networking. Once the
driver is installed as described in
2.5 Driver Installation
on page
17
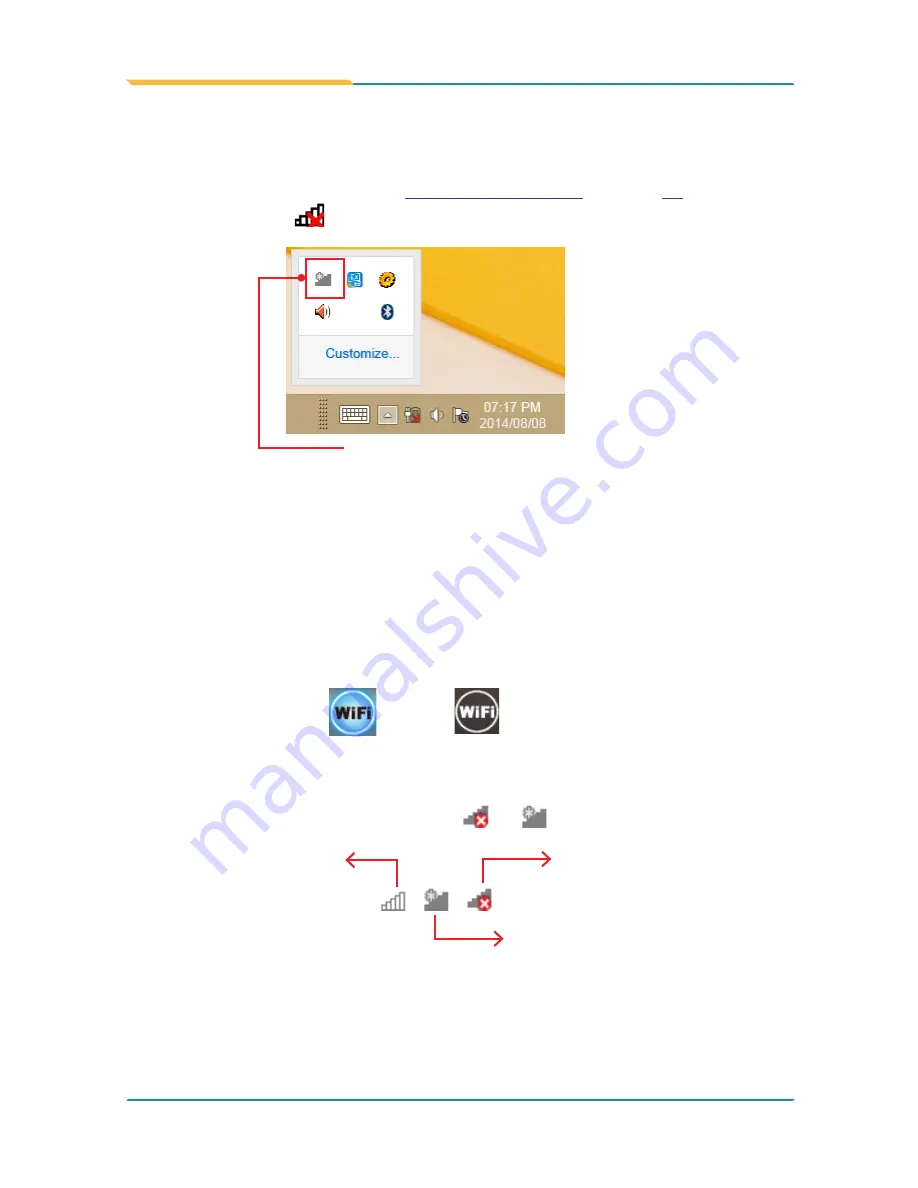
, a Wi-Fi
signal strength icon
shows up in the notification area.
Wi-Fi icon in the notification area
The following descriptions assume that you have installed the
ARBOR System
Suite
to use the function key. Follow the guide below to connect the computer
to a Wi-Fi hotspot:
1. Launch the Wi-Fi module by hitting the function key (F1 by default). The
system shows the Wi-Fi status in the bottom right corner of the screen.
Hitting the function key will toggle on/off the Wi-Fi function. When Wi-Fi is
enabled, the function icon is highlighted in blue or otherwise dimmed.
Wi-Fi enabled Wi-Fi disabled
When Wi-Fi is enabled, the Wi-Fi signal strength icon in Windows
notification area also changes from
to
.
Wi-Fi disabled
Wi-Fi enabled and there
are available wireless
networks in range
The computer is
connected to a
wireless network
Summary of Contents for Gladius G0975
Page 2: ... II This page is intentionally left blank ...
Page 3: ... i Revision History Version Date Descriptions 1 0 2014 09 Initial release ...
Page 17: ... 1 1 Chapter 1 Introduction Chapter 1 Introduction ...
Page 23: ... 7 Introduction 1 4 Dimensions 258 260 21 200 26 22 5 24 30 6 197 95 A A Unit mm ...
Page 24: ... 8 This page is intentionally left blank ...
Page 25: ... 9 2 Chapter 2 Getting Started Chapter 2 Getting Started ...
Page 37: ... 21 3 Chapter 3 Using the Computer Chapter 3 Using the Computer ...
Page 51: ... 35 4 Chapter 4 Utilities Chapter 4 Utilities ...


