VITAM-9XXA Series User Manual
123
4.
Touching all screens completes the mapping and the desktop reappears on the
monitors.
5.
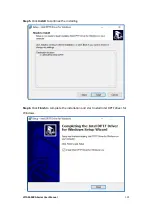
Select a display and execute the “Calibration” function. A message to start
calibration appears. Click
OK.
6.
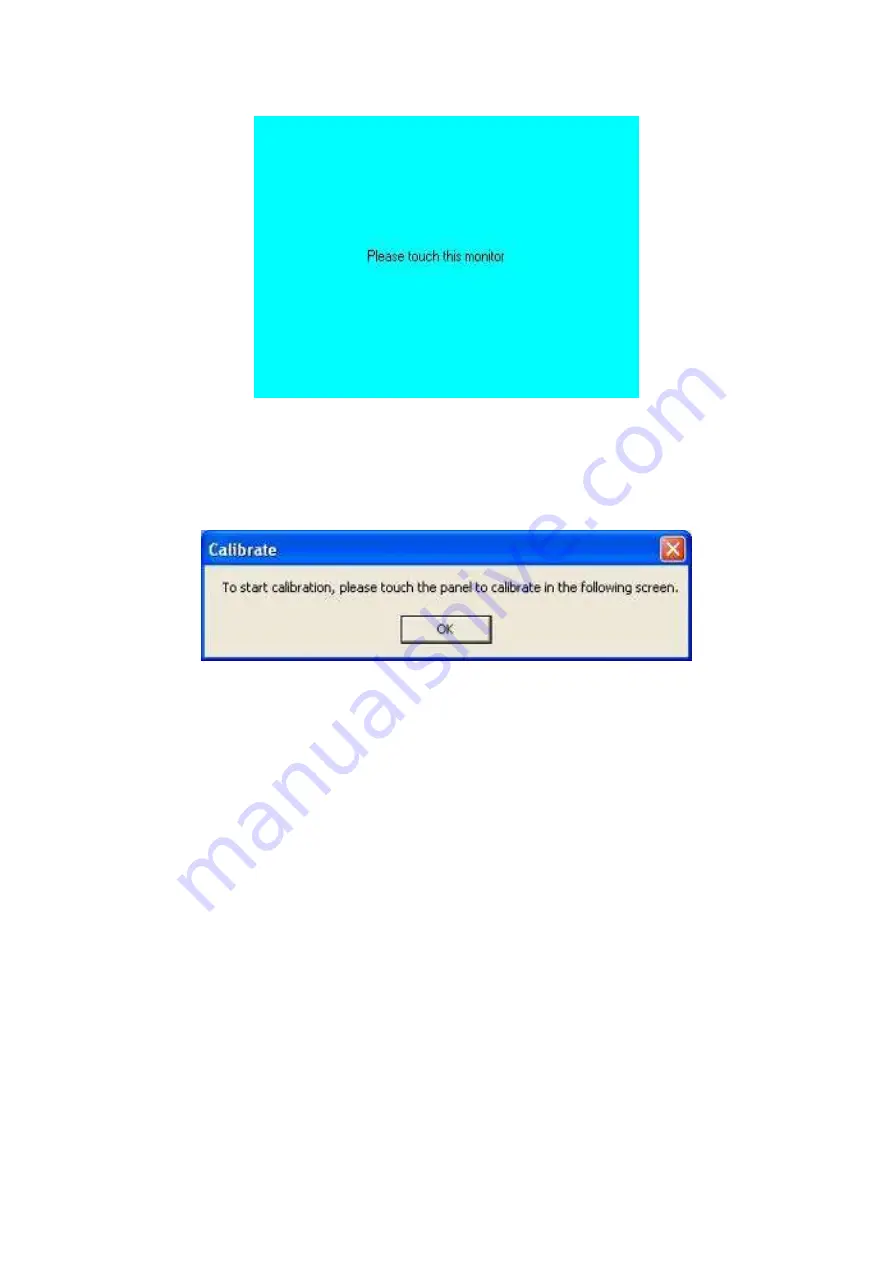
“Touch this screen to start its calibration” appears on one of the screens. Touch
the screen.
7.
“Touch the red square” messages appear. Touch the red squares in sequence.
8.
Continue calibration for each monitor by clicking
Standard Calibration
and
touching the red squares.
NOTES:
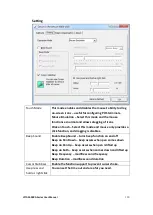
1. If you use a single VGA output for multiple monitors, please do not use the
Multiple Monitor
function. Just follow the regular procedure for calibration on
each of your desktop monitors.
2. The Rotating function is disabled if you use the Multiple Monitor function.
3. If you change the resolution of display or screen address, you have to redo
Map
Touch Screens,
so the system understands where the displays are.
Summary of Contents for VITAM-9 A Series
Page 21: ...VITAM 9XXA Series User Manual 20 Unit mm Figure 2 1 Motherboard Dimensions ...
Page 106: ...VITAM 9XXA Series User Manual 105 the installation Step4 Click Next to continue ...
Page 107: ...VITAM 9XXA Series User Manual 106 Step5 Click Finish to complete the installation ...
Page 112: ...VITAM 9XXA Series User Manual 111 Step10 Click Finish to complete the installation ...
Page 116: ...VITAM 9XXA Series User Manual 115 Step6 Click Finish to complete installation ...


