- 15 -
2)
For tough contaminants, soak the electrode in Apera electrode cleaning solution (AI1166) for at
least minutes. Then use a soft brush to remove the contaminants. Afterwards, soak the electrode
in 3M KCL soaking solution for at least 2 hours. Rinse it off, then re-calibrate the tester before
using again.
3)
For other special contaminants, refer to the table below:
Contamination
Cleaning Solution
Inorganic metal oxide
Dilute acid less than 1mol/L
Organic lipid, protein containing samples
Apera cleaning solution (AI1166)
Resin macromolecule
Dilute alcohol, acetone, ether
Paints
Dilute bleacher, peroxide
6.8
The Self-diagnose Information
During usage, the following icons may show up on LCD. This is the meter’s self-diagnose information,
which can help you understand what may go wrong with the meter or electrode.
6.8.1. The stable icon
-2.00 pH
or
19.99 pH
— this icon appears when the pH value exceeds the
measurement range. This icon will also show up when the electrode is not well connected with the meter
or when the electrode is not insertd into solution. This is a normal phenomenon.
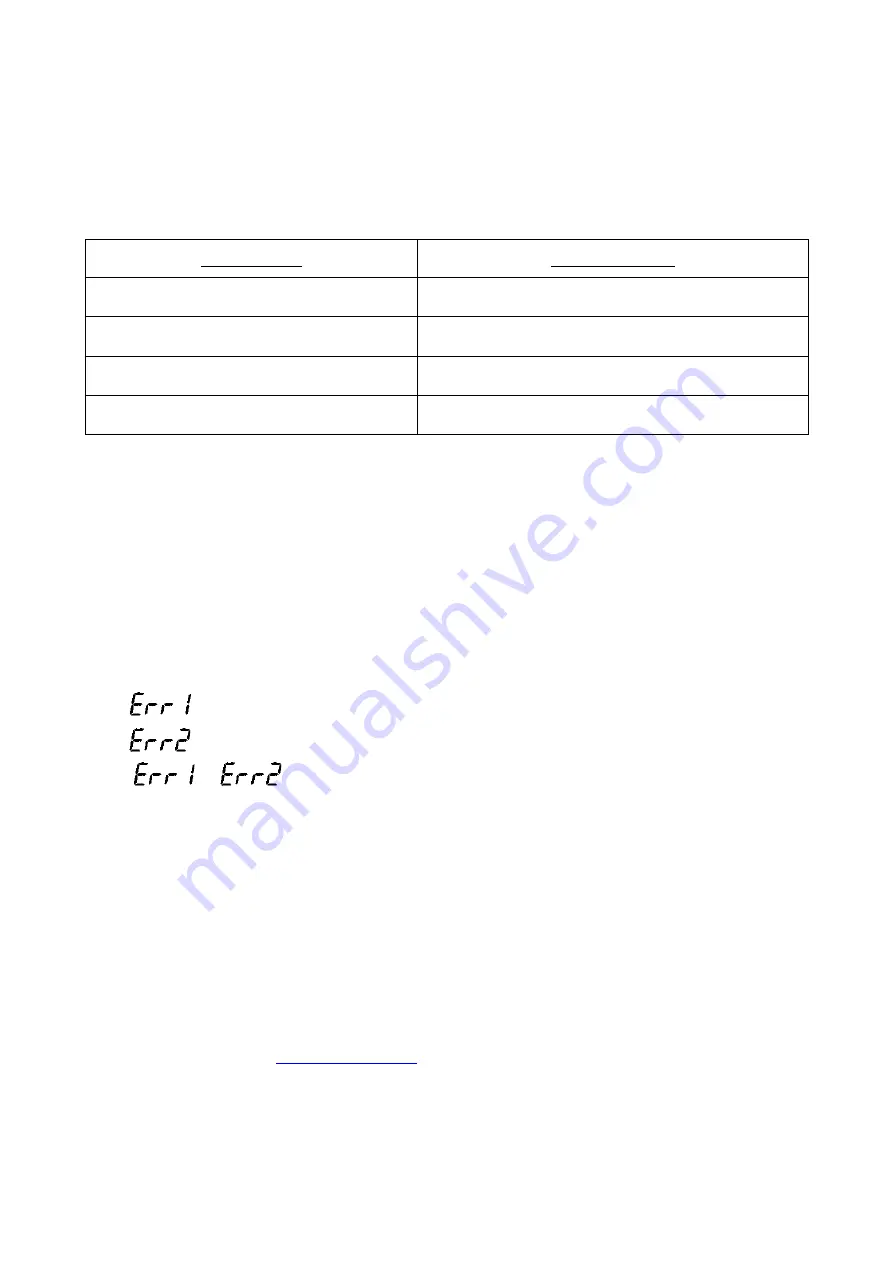
6.8.2. — Electrode offset out of range (<-60mV or >60mV)
6.8.3. — Electrode slope out of range (< 85% or >105%)
When or shows up:
1)
Make sure there is no damage on the electrode’s glass bulb (if so, an electrode replacement is
necessary). Check if there is air bubble inside the glass bulb. If so, shake the electrode with force
for several seconds to remove the bubble.
2)
Check the quality of buffer solution. Make sure it’s fresh and clean and conforms to the meter’s
buffer series setting.
3)
Set the meter to factory default setting mode (refer to section 6.6.7), then recalibrate it.
If the meter is still not working after the above checkings, it’s time to replace a new pH electrode or contact


