14
14
7.
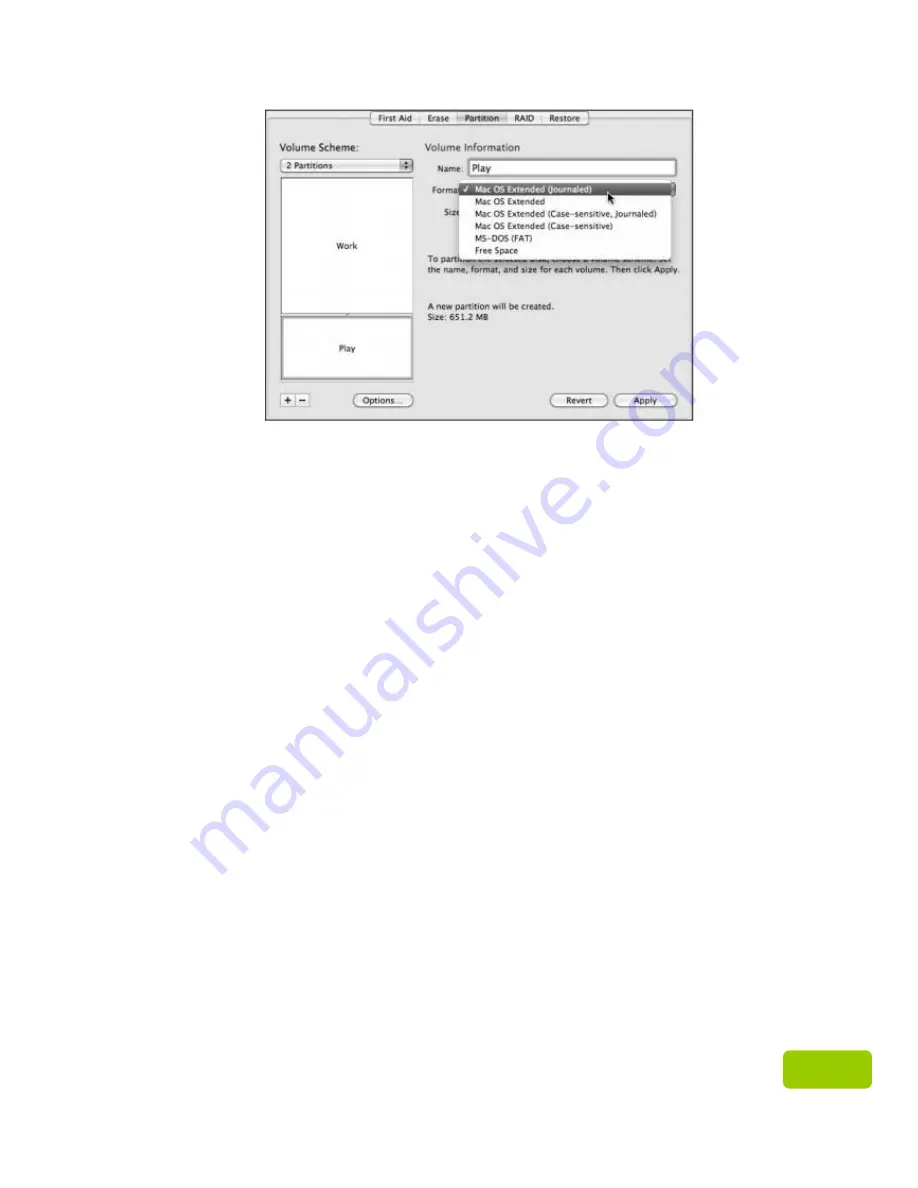
Choose a name and volume format for each partition.
8.
Once you have double-checked all your choices, click the “Apply” button.
Partitioning and formatting takes only a few moments, and once the process is
complete, you should see new volumes in the Disk Utility list and in the
Finder.
Note:
1. Formatting will erase everything on the drive. If you have data or files that
you want to protect and keep using, back them up in another storage before
performing the formatting procedure.
2. In Windows operating systems, a FAT32 partition is limited to 4GB. For drives
larger than this capacity, please reformat it with NTFS. For Mac users, use
MAC OS Extended (Journaled) when using large size drive.


